
For your virtual machines to communicate with each other, you need a virtual network. It works like your own LAN that only you use.
Creating a network
Open the overview of your Platform and, under Virtual Networks, click Create New Virtual Network. You assign:
- Name
- So you can recognize it again, such as
LANorDMZ. - Pool and CIDR
- The address range, for example pool
172.16.10.0and CIDR24for172.16.10.0/24. - Gateway
- The address that connects the network to other networks, usually the first address of the range. See also the note below.
- VLAN
- The identifier that separates this network from the others. Use each identifier only once.
After that, the network is available when you create a VM and in the network management of every VM.
Editing a network
In the Virtual Networks list, the pencil opens the Edit Virtual Network dialog. There you change the name, the Gateway and the VLAN. You may also clear the gateway.
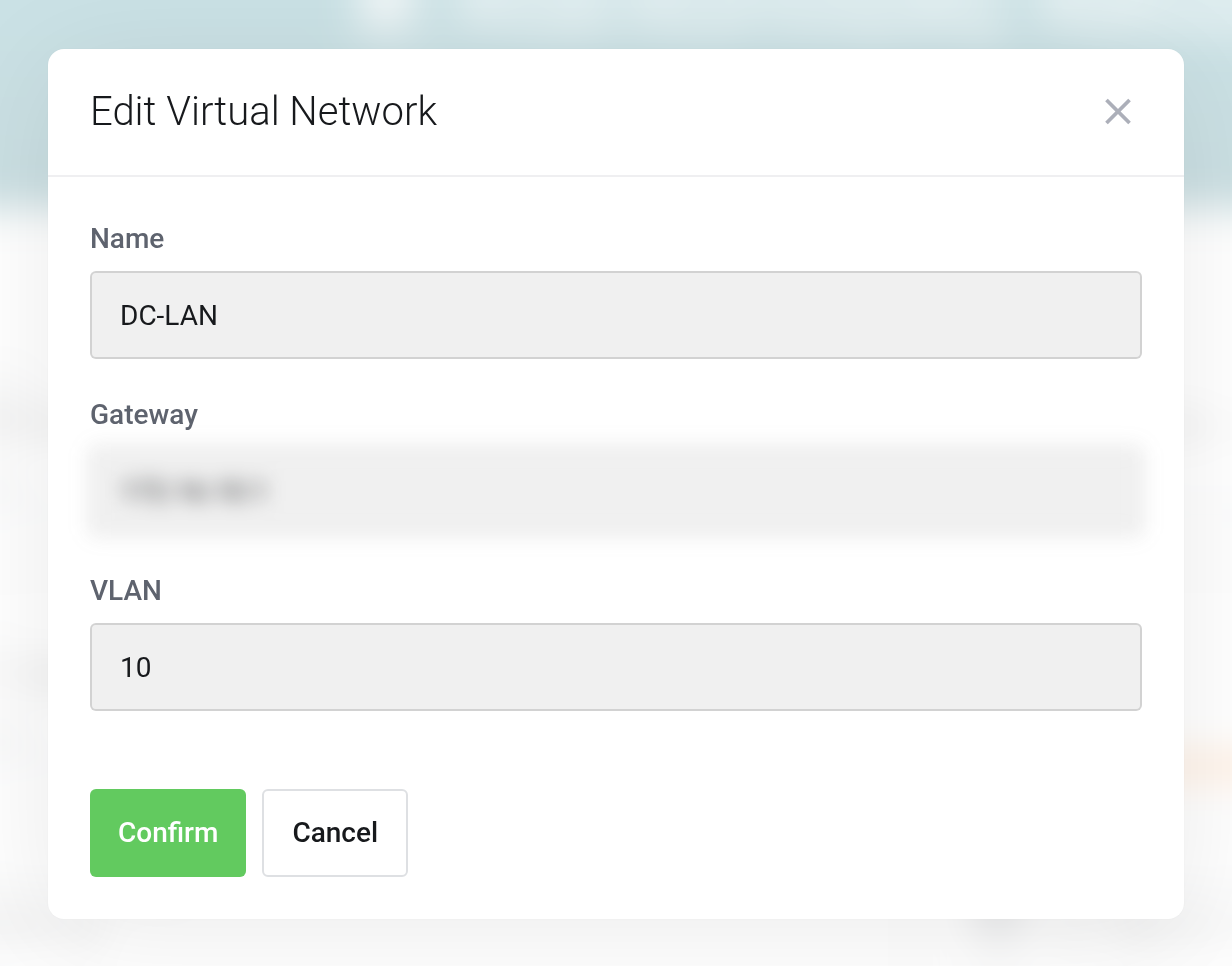
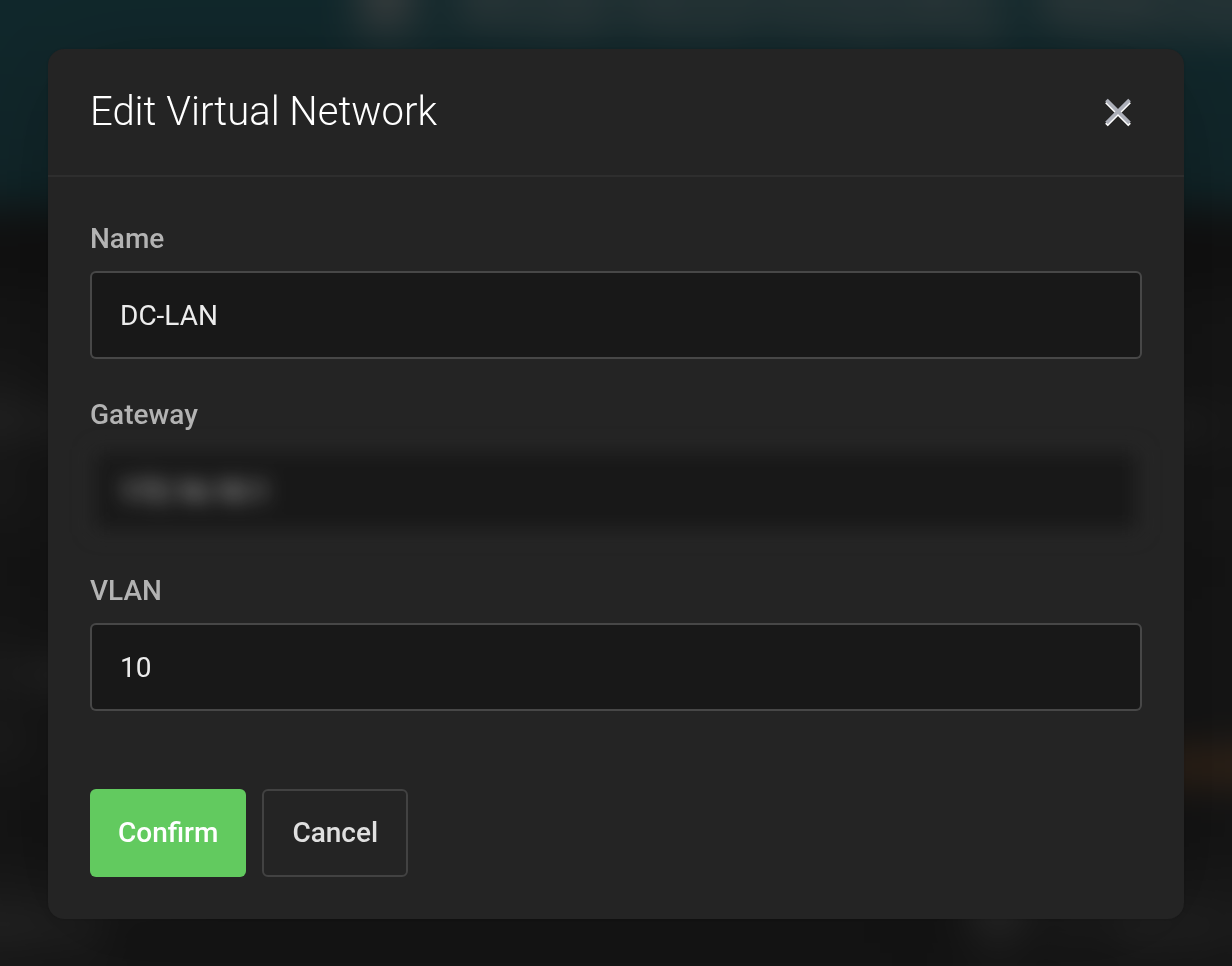 Changing the name, gateway and VLAN of an existing network.
Set a gateway only if the network is the way out. Every VM in a virtual network receives its gateway as the default route. If a VM reaches the internet through another network interface, for example its public address or a firewall VM of your own, leave the gateway of the private network empty. Otherwise the VM looks for the way to the internet through the wrong network.
Assigning a network to a VM
In the management view of the VM under Network, you add a network interface via Add Virtual Network and assign the IP address. The Interfaces tab shows the network interfaces of the VM.
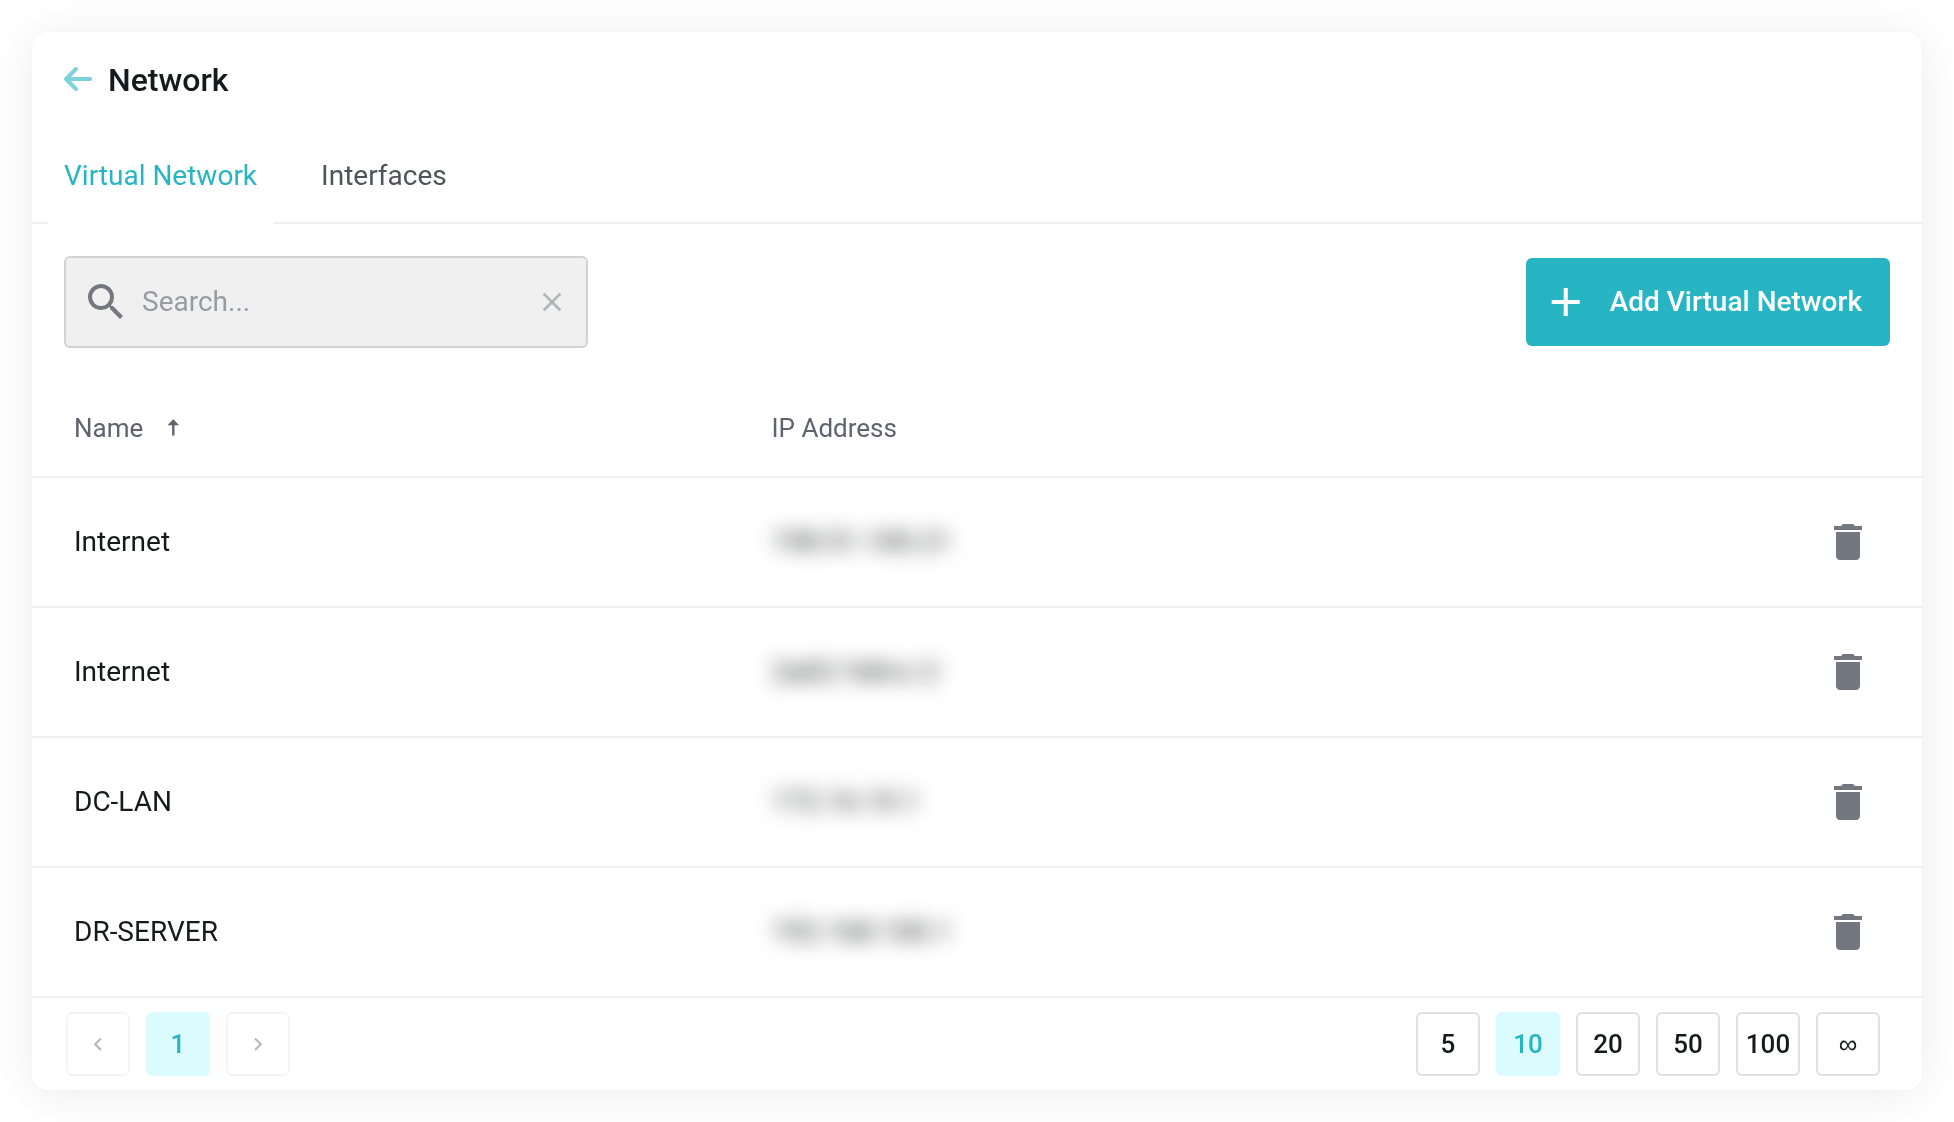
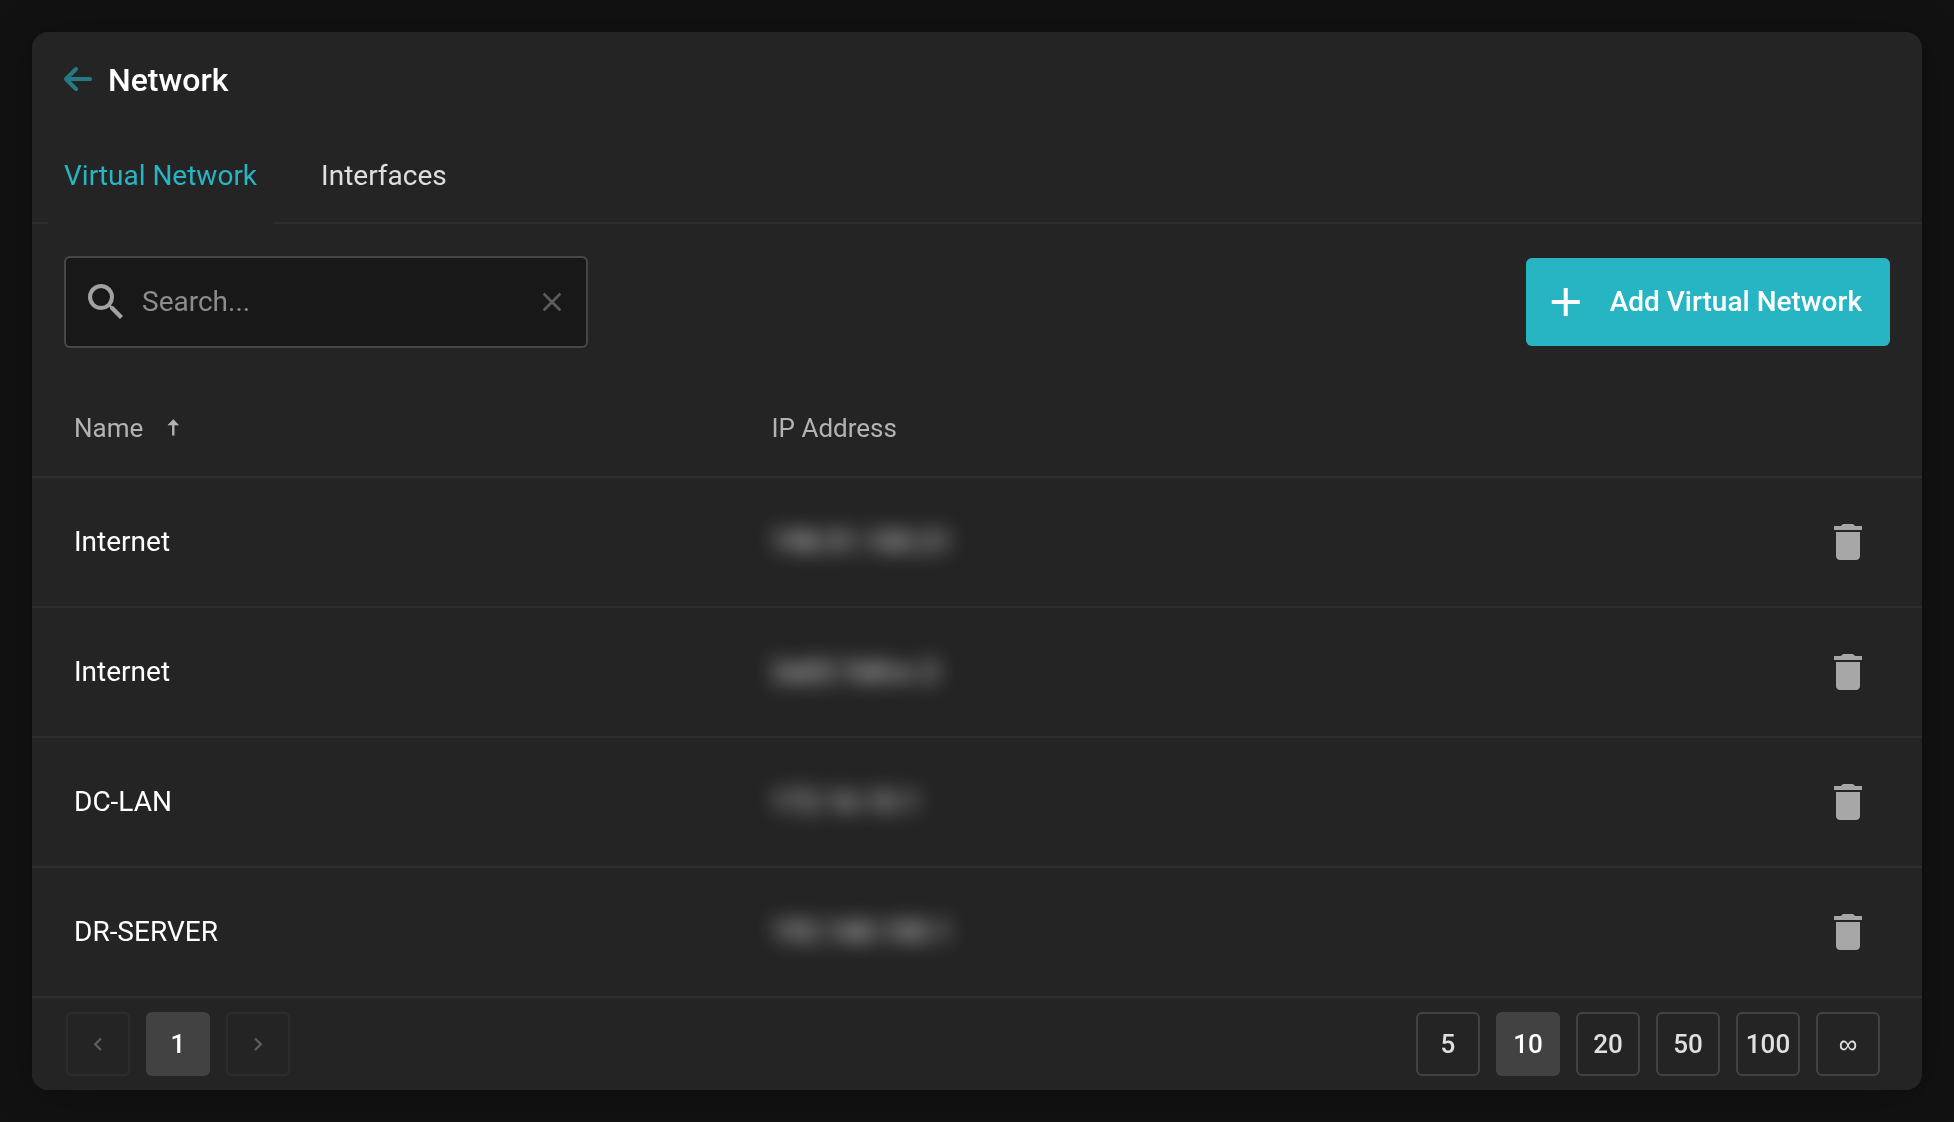 Network page of a VM: assigned networks and their addresses. The addresses are blurred in this picture.
Reconfiguring the network
After changes, the VM picks up the new assignment with Reconfigure Network in the Server Summary.
- Click Reconfigure Network and confirm the prompt.
- The change runs in the background. The VM is shut down cleanly within the next minute, its network interfaces are set up again, and then it starts again.
- If the VM is still running after about two minutes, it is powered off. Until it is running again, the buttons for starting and stopping are locked.
The MAC addresses of the network interfaces are kept. Your operating system therefore recognizes the interfaces again, and configurations that refer to the MAC address keep working.
The VM is briefly unreachable during this. Plan the reconfiguration for a quiet moment and save open work beforehand.
Using networks of other services
When you create a virtual machine, you can switch the Source field from From This Service to From All Services and place the machine directly in a network of another one of your cloud services. Details in Using networks of other services.


