
The name servers determine who serves the DNS records of your domain. This article shows how to change them for a domain registered with us — and what else to enter if your own name servers are inside the domain itself (glue records).
Our name servers
New domains point to our two name servers:
| Name server |
|---|
ns01.mydatacenter.at |
ns02.mydatacenter.at |
With them, you maintain your records in DNS management directly on the domain. You only need other name servers if your DNS records are hosted with another provider or you run your own name servers.
Changing name servers
- Open your domain: on the Dashboard the Domains tile or directly My Domains, then the domain you want.
- On the left, choose Nameservers.
- Choose Use default nameservers for our name servers or Use custom nameservers (enter below) for others.
- For your own name servers, enter at least two names in the fields Nameserver 1 to Nameserver 5 — the name only, without an IP address.
- Click Change Nameservers.
The change goes to the registry immediately. It can take up to 24 hours until it takes effect everywhere.
- Switching to our name servers
- If there is no zone for the domain on our name servers yet, we create it automatically, and DNS management on the domain is enabled. The new zone is empty: if a website or email already runs on the domain, create your records before you switch — see DNS management on the domain.
- Switching away from our name servers
- If DNSSEC is enabled, we remove the key at the registry in the same step. Otherwise the domain would become unreachable for many users. See Enabling DNSSEC.
Your own name servers inside your own domain (glue records)
If your name servers are named after the domain itself — for example ns1.musterfirma.at for musterfirma.at — the registry also needs their IP addresses. Otherwise nobody could find the name servers. These addresses are called glue records.
The form recognizes such name servers by itself. Below each of them, a field IP address(es) for … appears, marked Glue.
- Enter the name server as described above.
- In the field below, enter its IP address. Separate several addresses with a space; IPv4 and IPv6 are possible.
- Click Change Nameservers.
The form cannot be saved without an address. Addresses already stored are pre-filled in the field and stay in place if you do not change them.
The same applies in the cart: if you tick Own nameservers for this domain for a new domain and enter name servers inside the domain, the domain configuration asks for the addresses as well.
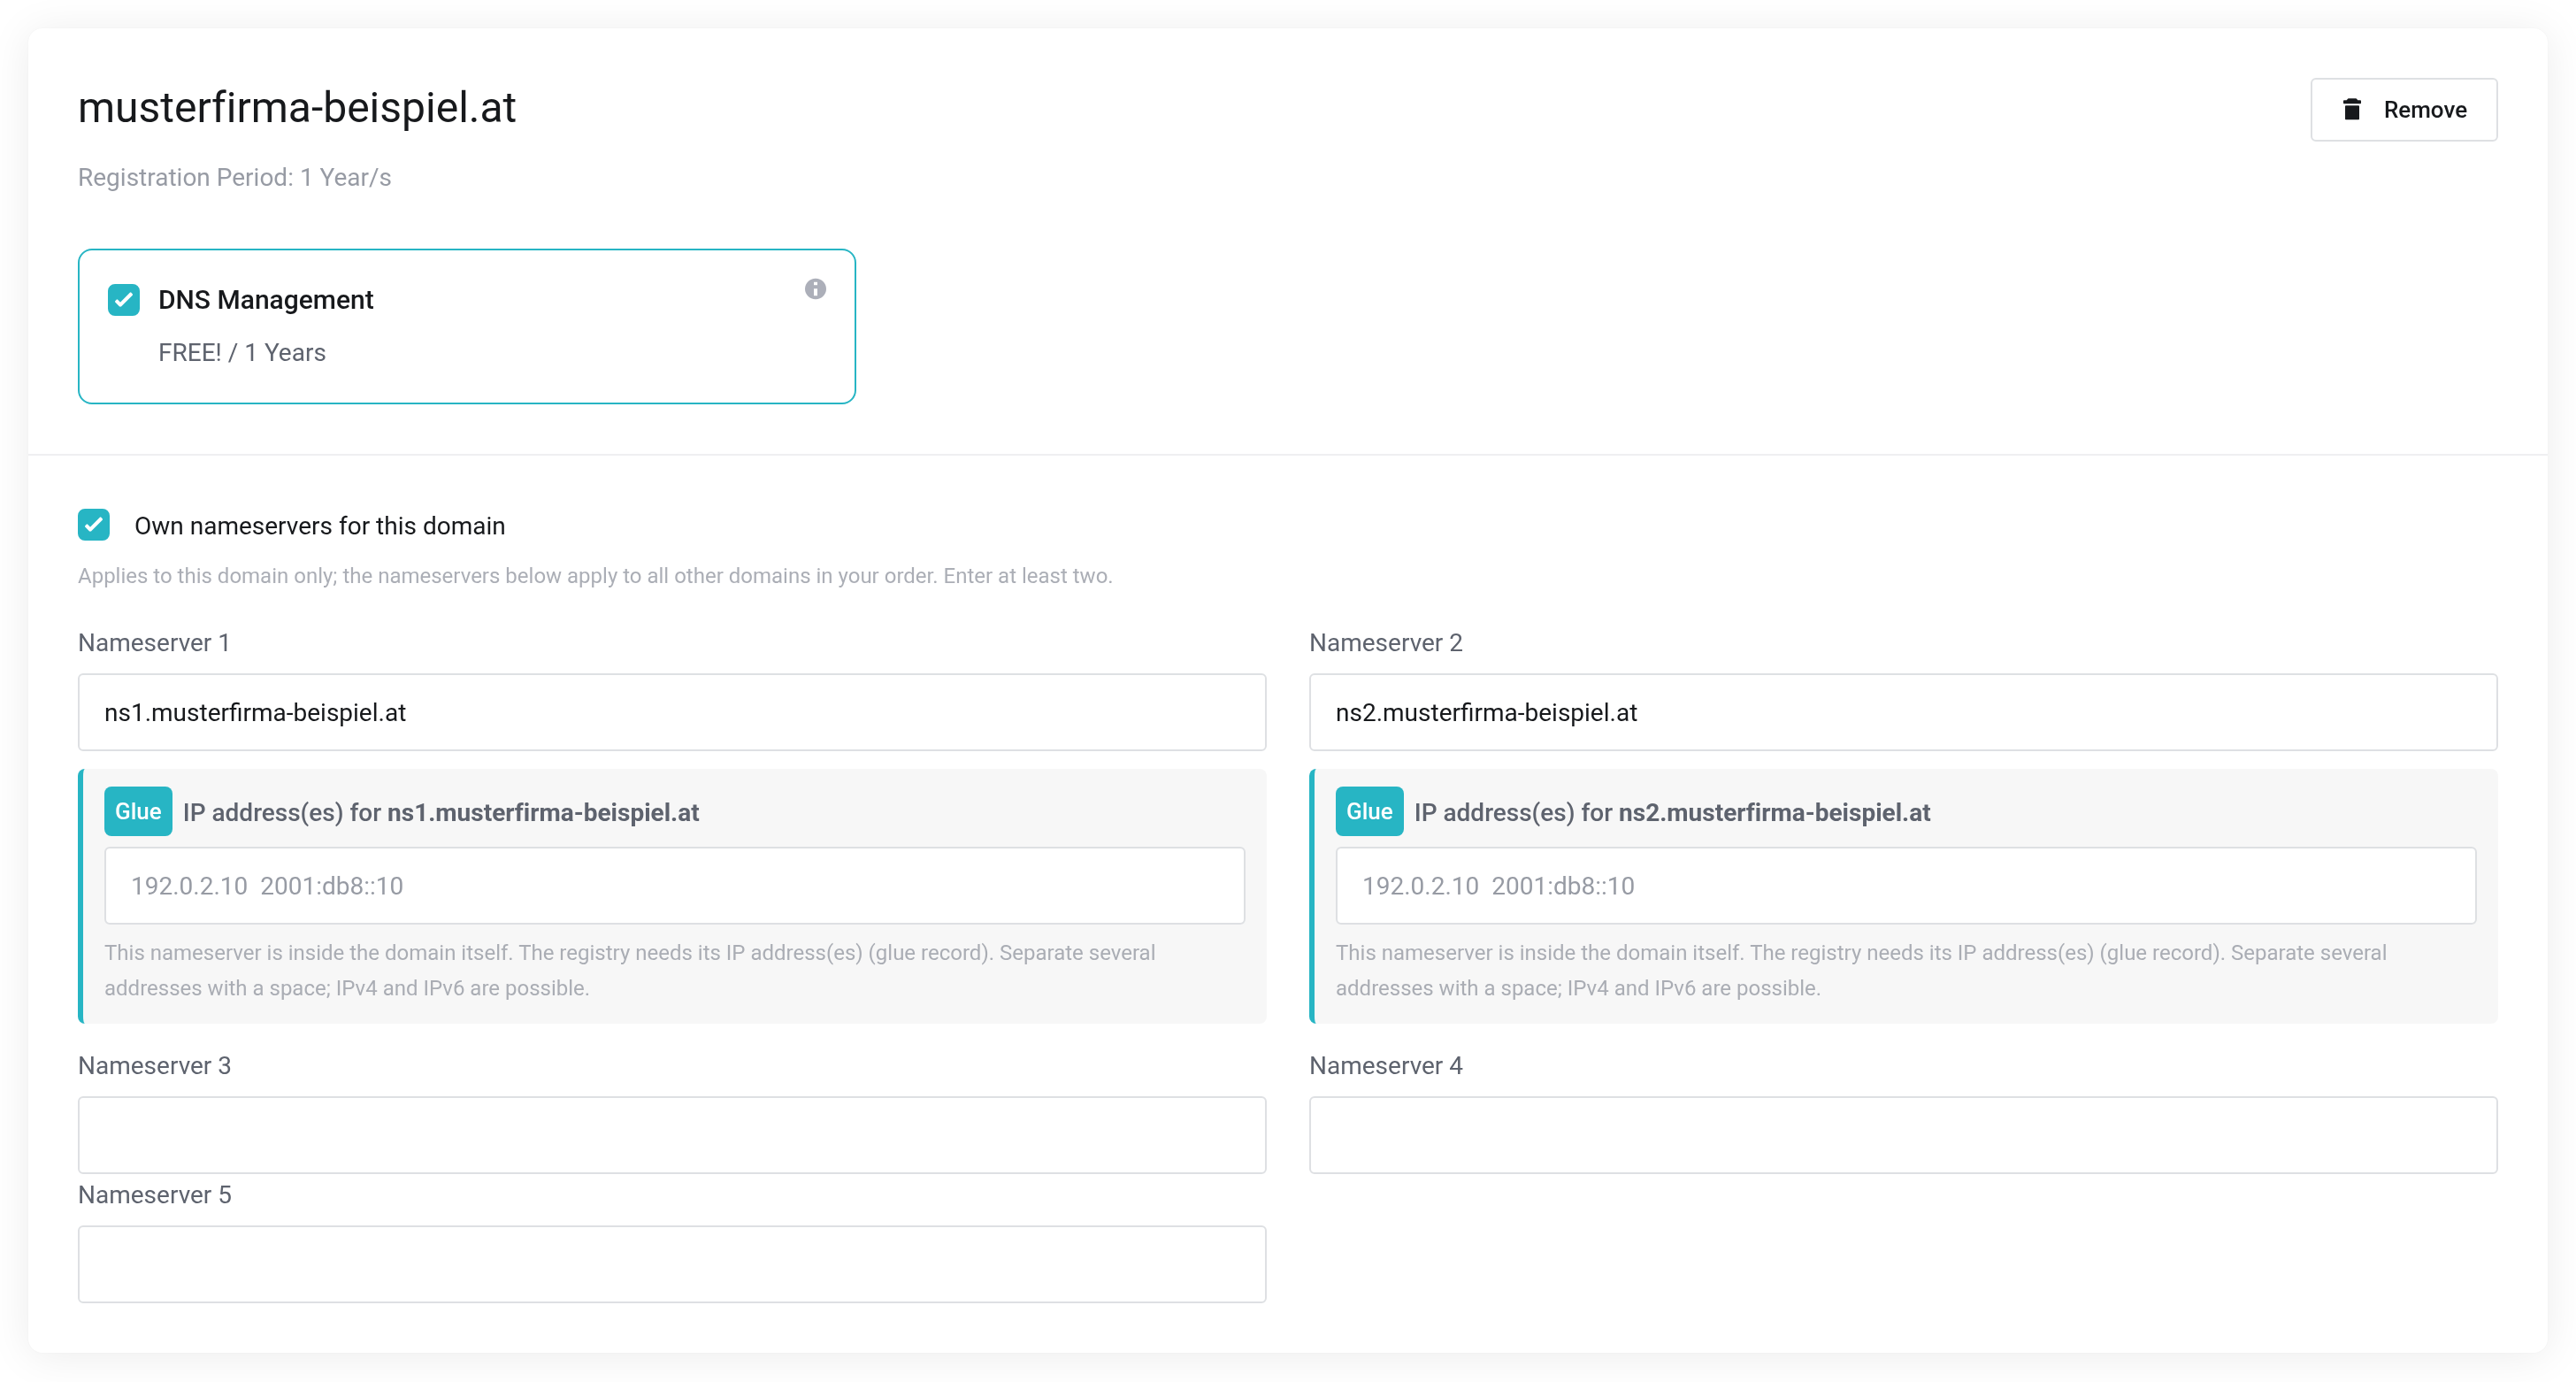
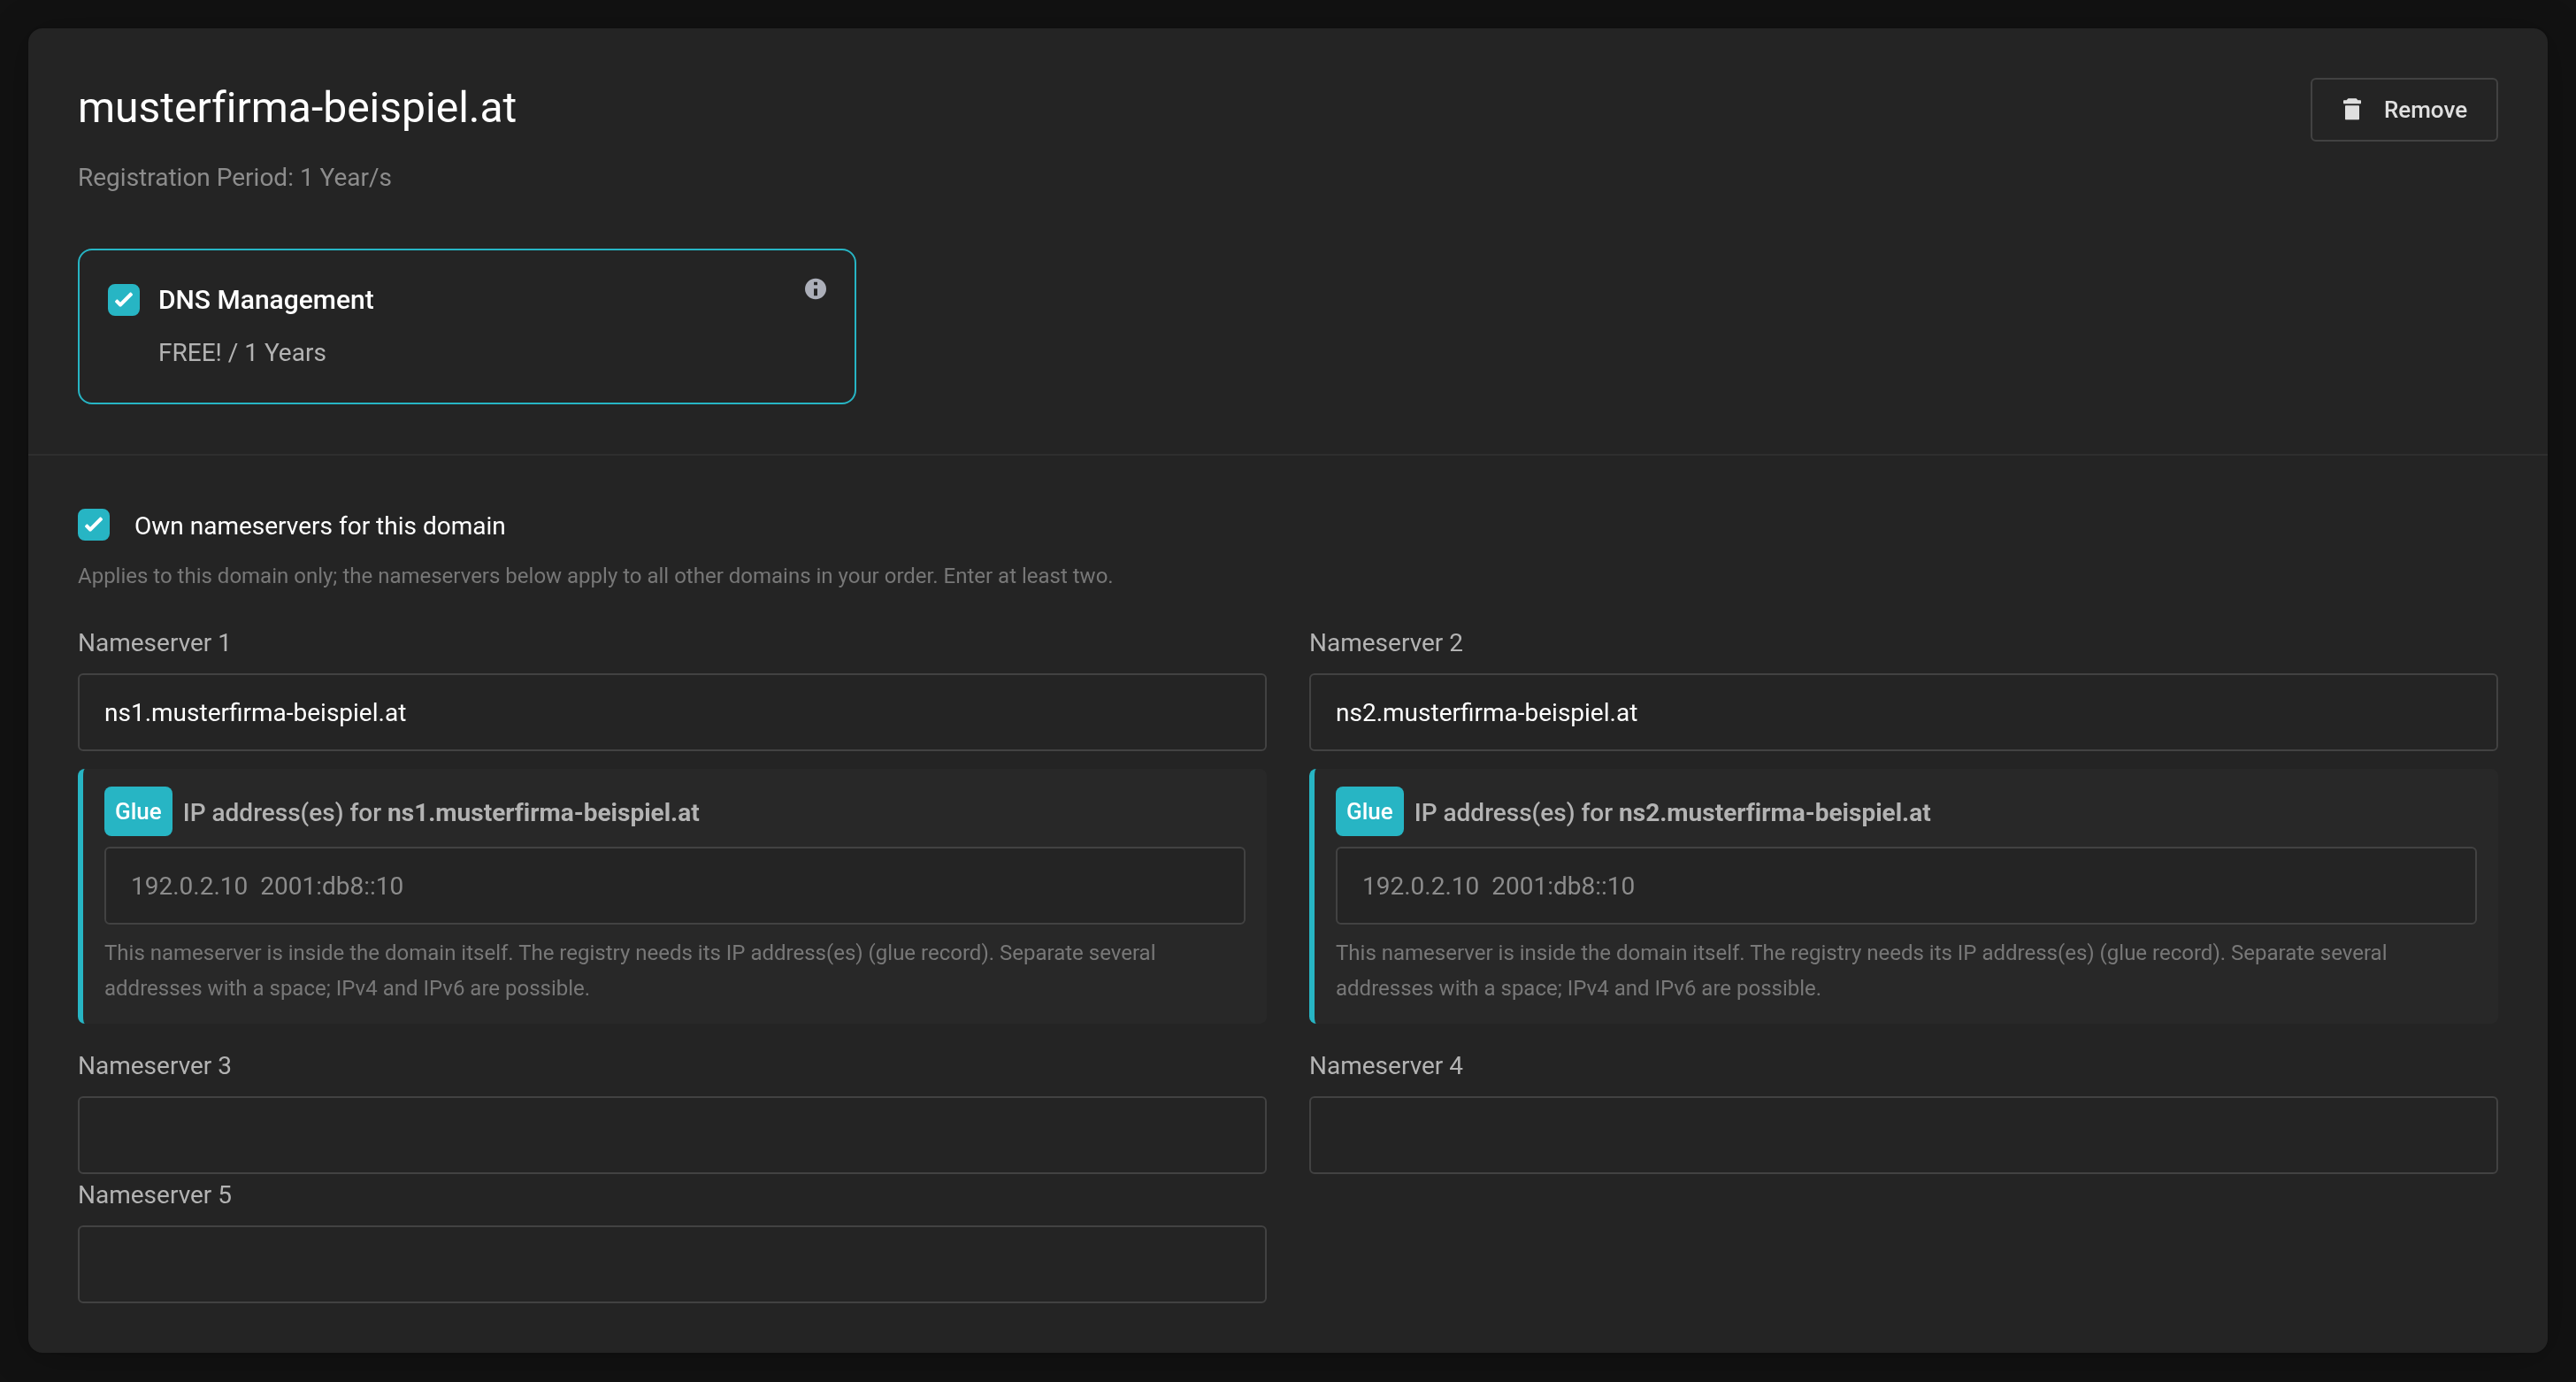 If a name server is inside the domain itself, the form asks for its IP address.
If something doesn't work
- “Please enter at least one IP address for ….”
- The name server mentioned is inside your domain. Enter its IP address in the field below it.
- “Not a valid IPv4 or IPv6 address: …”
- Check the spelling. Separate several addresses with spaces, not with commas or semicolons.
- “Not a valid nameserver name: …” (in the cart)
- Enter the name only, for example
ns1.musterfirma.at— without an IP address and withouthttps://. - Nothing changes, the domain still resolves the old way
- Other servers keep the old details cached for a while. Wait up to 24 hours.


