
With a Location and a Sync Job you pair your Managed Proxmox Backup Server with a second Proxmox Backup Server, for example the one in your own server room.
A sync job copies between two Proxmox Backup Servers. For backups from the cloud, use the backup job in the Cloud product.
Step 1: Creating access on your own server
- Sign in to your Proxmox Backup Server.
- Configuration → Access Control → User Management → Add: create a user and set a password.
- Permissions tab → Add → User Permission: set the path to your datastore, role at least DatastoreReader.
- Make a note of the fingerprint: Datastore → the datastore you want → Summary → Show Connection Information.
For the pull direction, your server has to be reachable on TCP port 8007 from our address. You will find the address in the Connection Information, in the IP addresses field.
Step 2: Creating the Location
Management → Remotes → New Location.
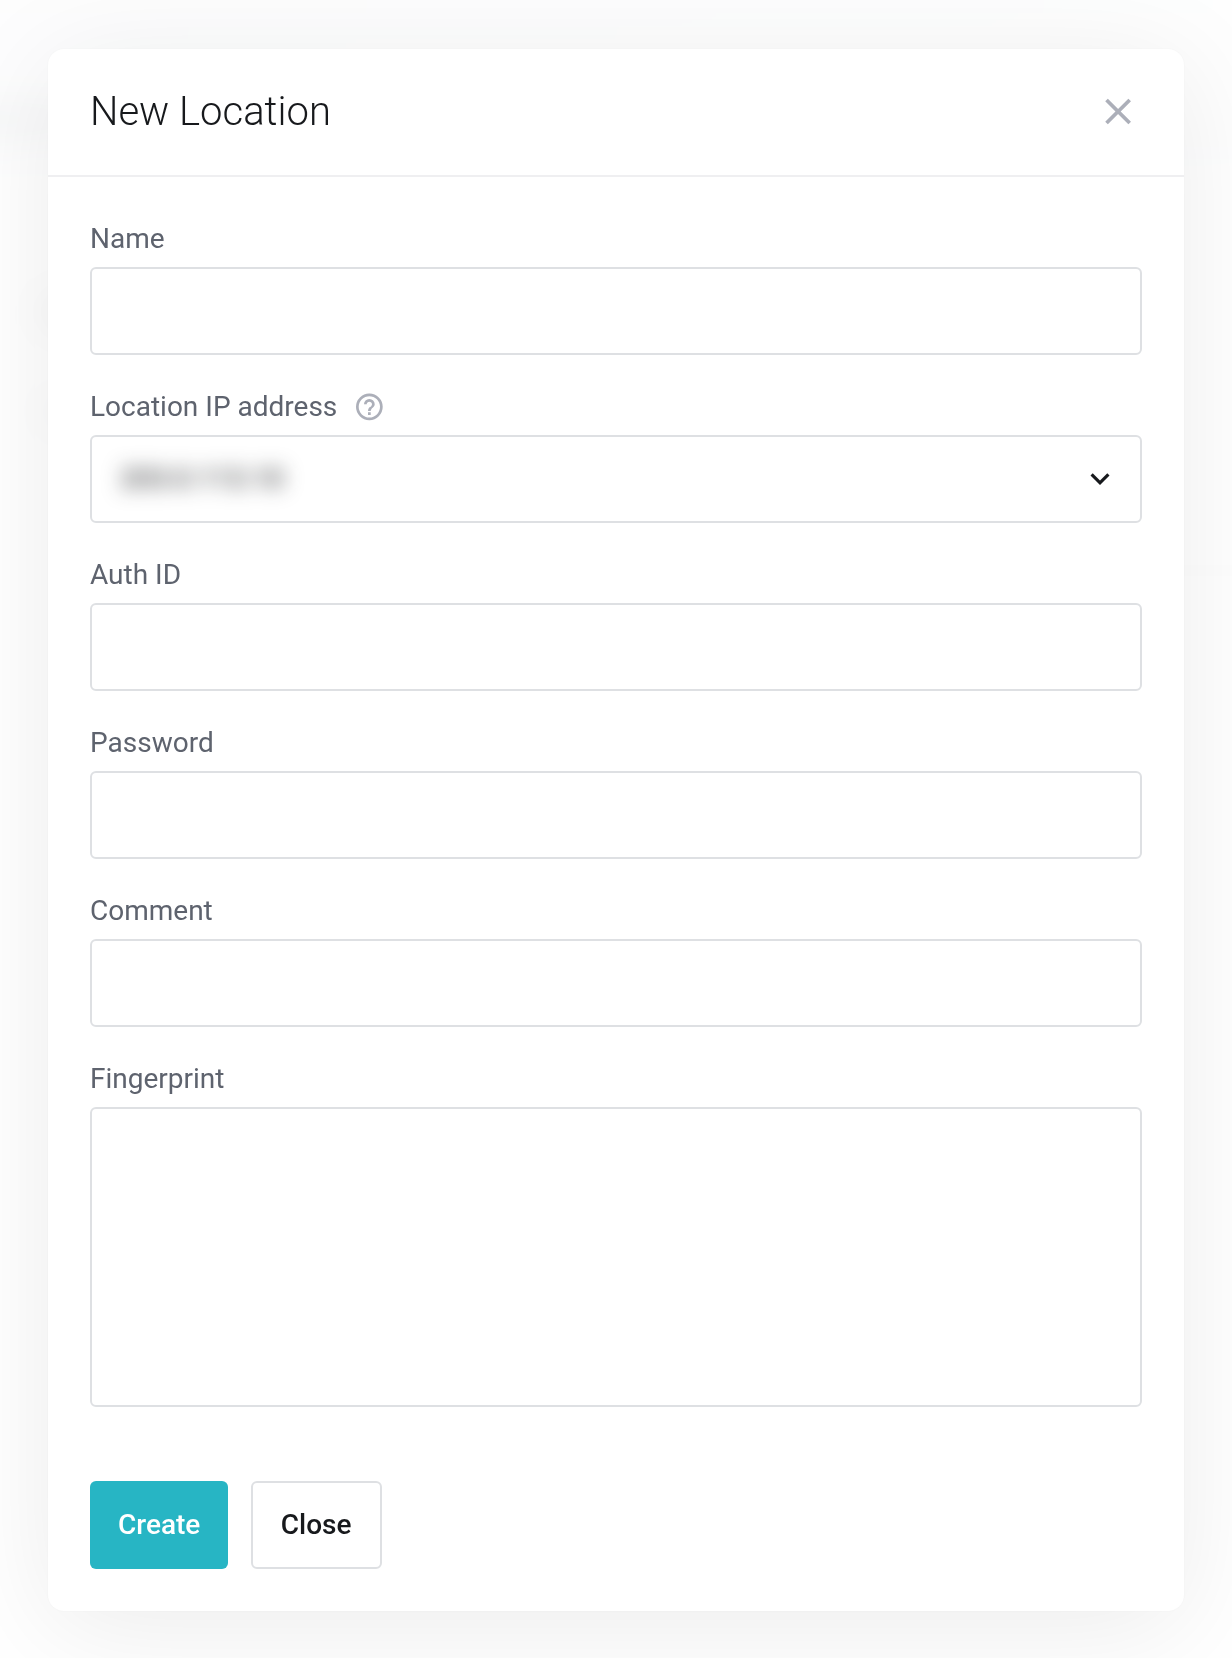
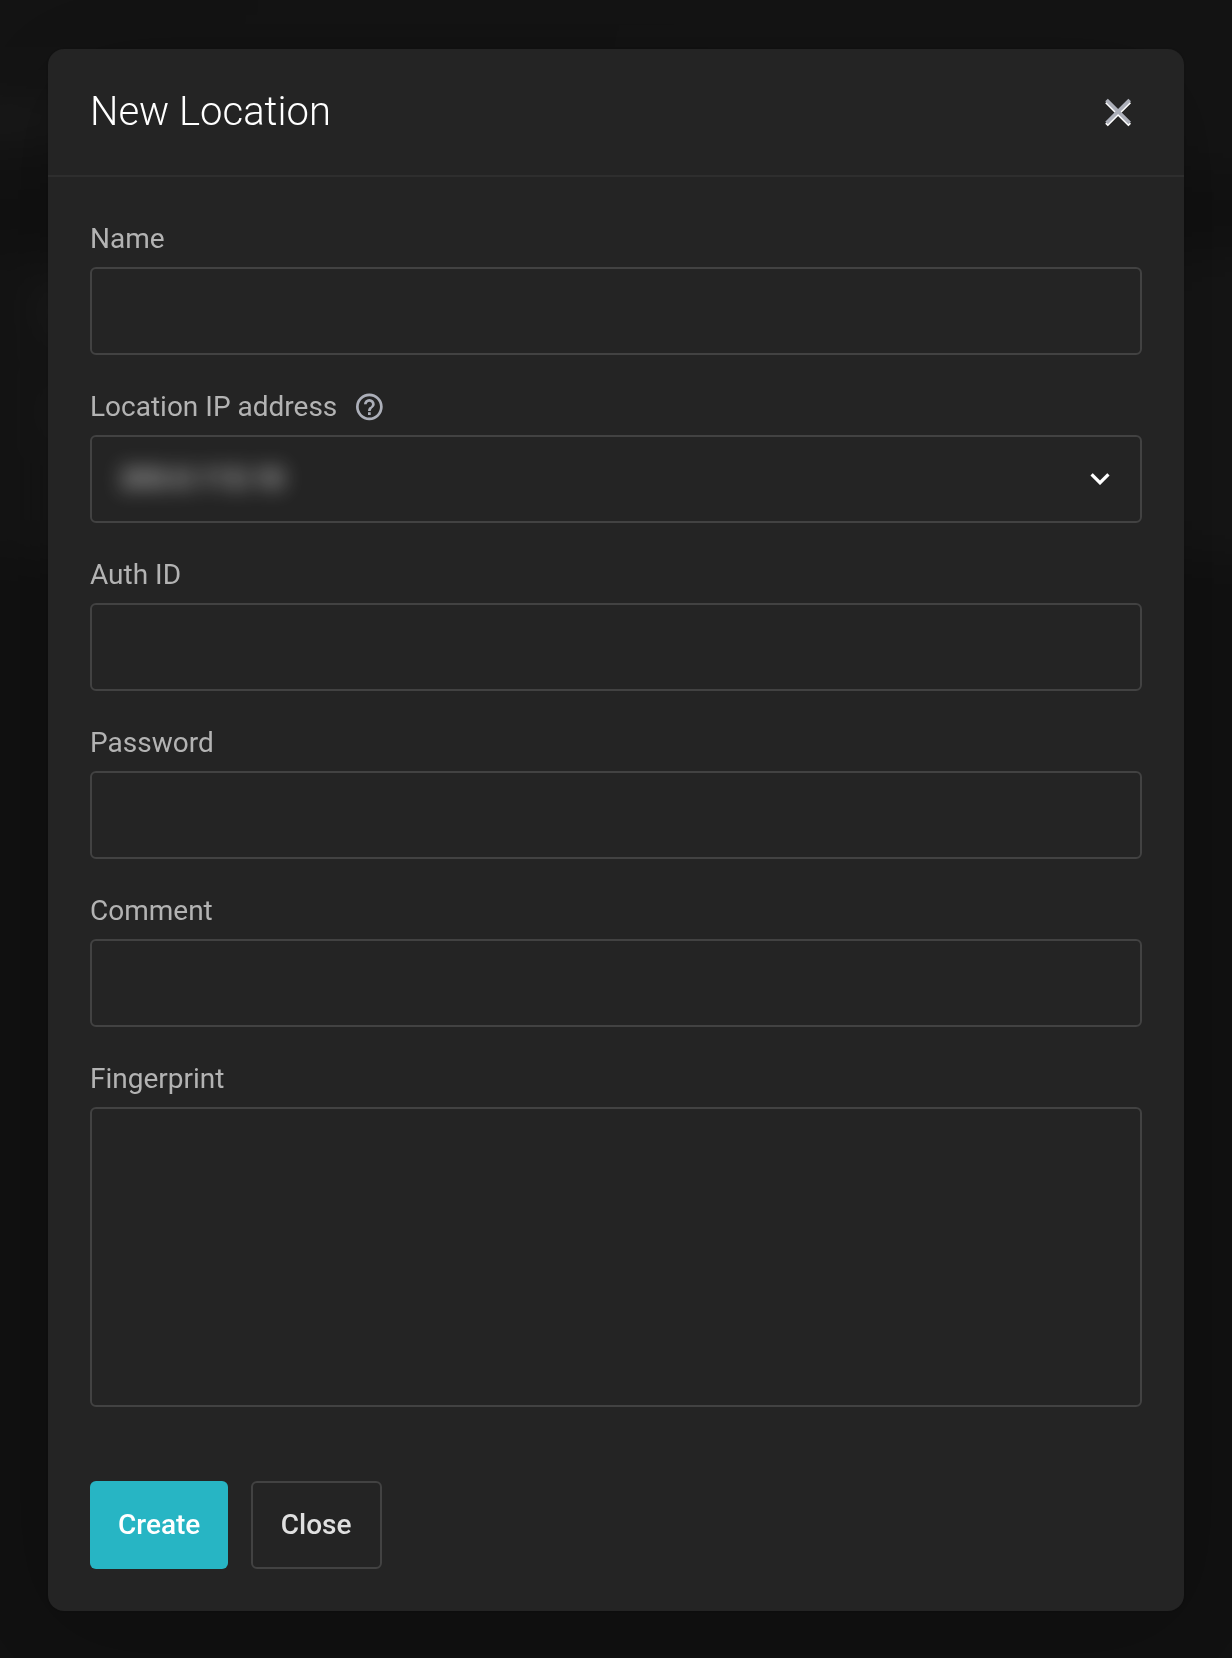 The New Location dialog.
- Name
- Required field, at most 14 characters, letters, digits and underscore only. No hyphen, no period. Example:
hq_wien. - Location IP address
- Choose from the addresses you provided when ordering.
- Auth ID
- The user from step 1 in the format
benutzer@pbsorbenutzer@pam. An API token is appended with an exclamation mark:sync@pbs!mydc. - Password
- Password or token secret. Leave it empty when editing to keep it.
- Fingerprint
- Required field, exactly 32 two-digit hex values separated by colons.
Step 3: Creating the Sync Job
Management → Sync-Jobs → New Sync Job.
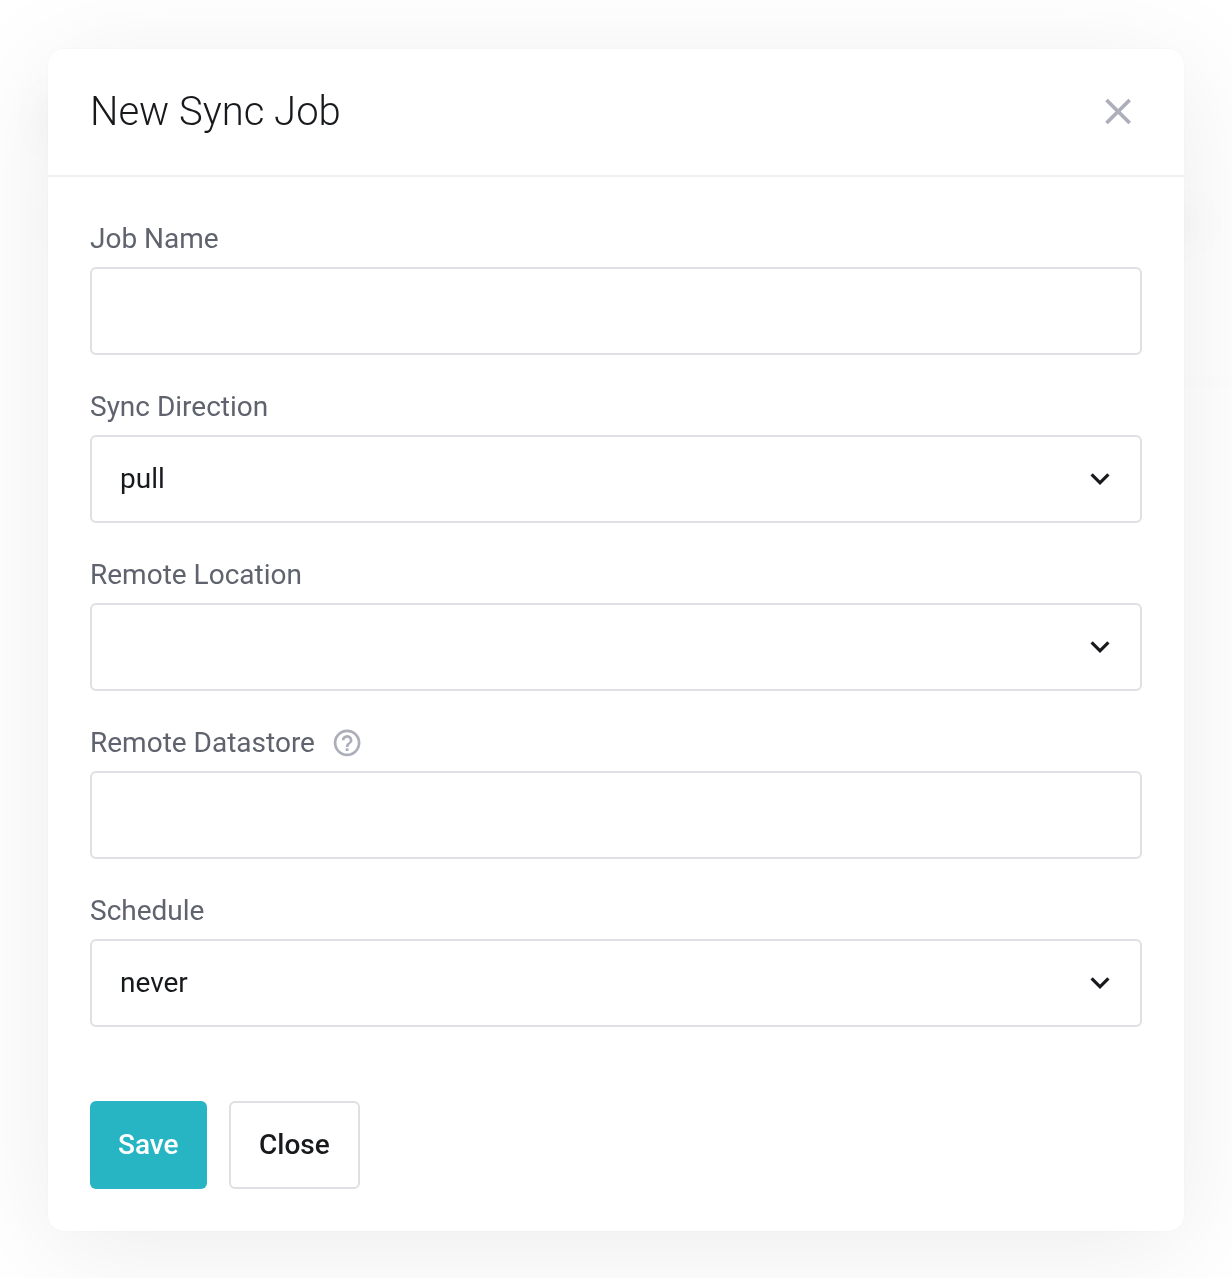
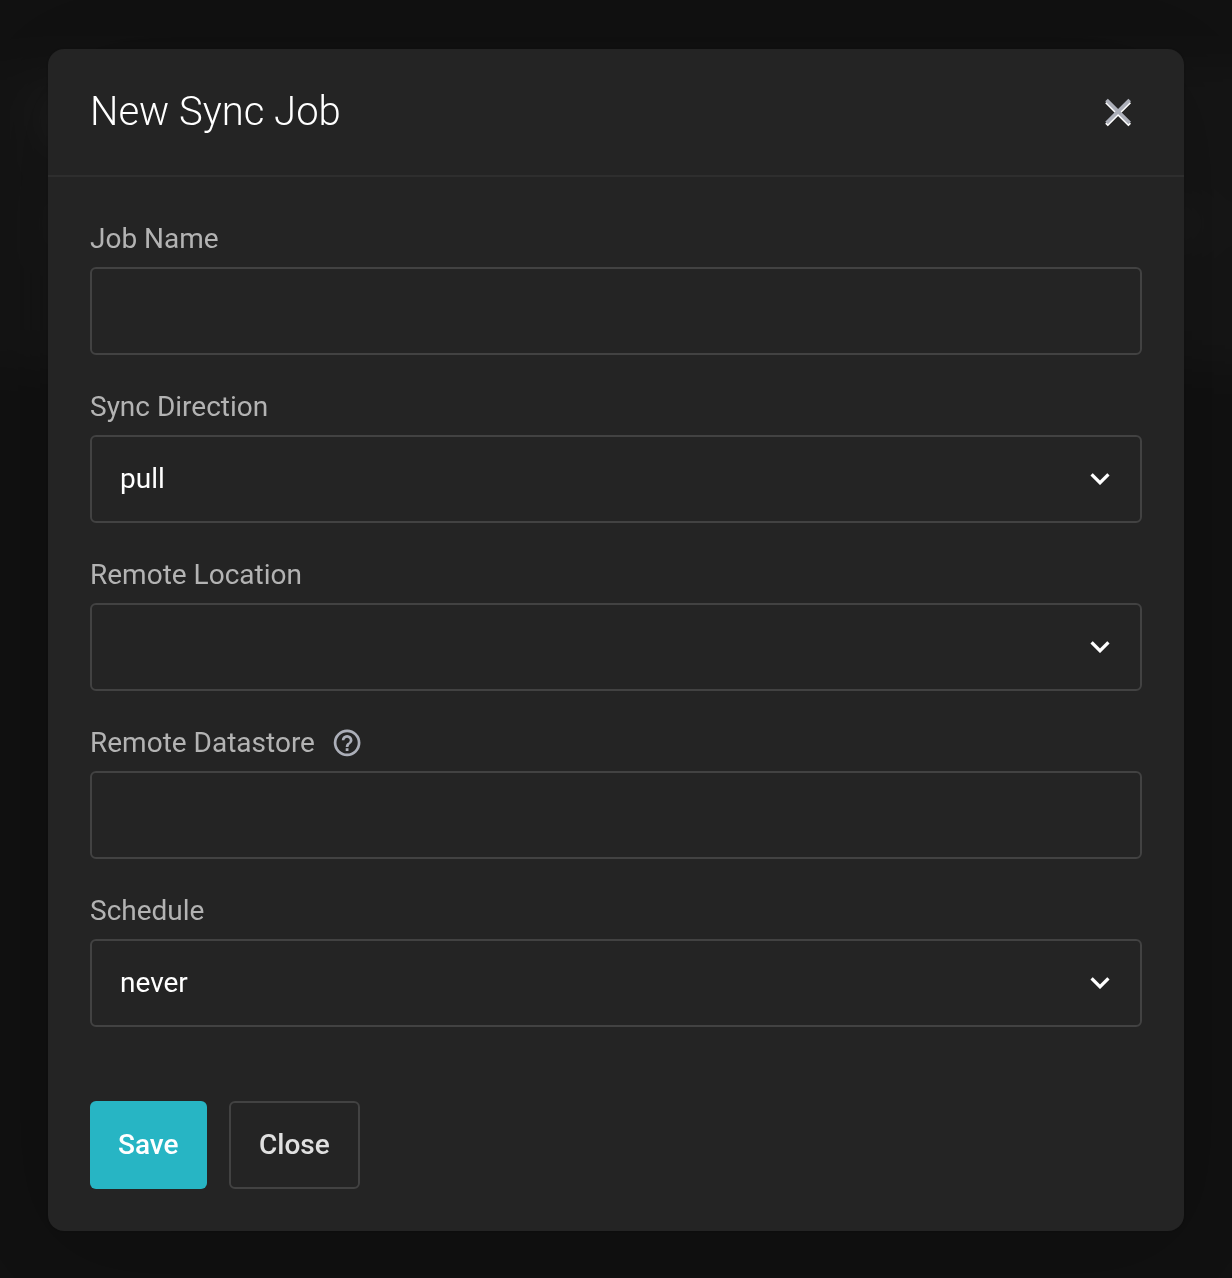 The New Sync Job dialog.
- Job Name
- Required field, at most 16 characters, letters, digits, underscore and period. No hyphen.
- Sync Direction
- pull fetches backups from your server to us, push sends them from us to your server.
- Remote Location
- The location you created in step 2.
- Remote Datastore
- Name of the datastore on the remote server. Letters, digits, underscore, period and hyphen are allowed, at most 32 characters.
- Schedule
- never, hourly, daily, weekly, monthly or yearly. never removes the schedule; you can still start the job by hand.
- Local namespace
- The namespace in your datastore with us: the target for pull, the source for push. Default is Root (datastore).
- Remote namespace
- Optional, the namespace on the remote server, e.g.
customer/cluster1. Empty means the top level of the remote datastore. - Max. depth
- How many namespace levels below are synced as well: All levels, This namespace only or 1 to 7.
- Group filter (include/exclude)
- Empty transfers all backup groups. Otherwise one filter per line:
type:vm– all virtual machines (likewisetype:ct,type:host)group:vm/100– exactly one machineregex:^vm/1..$– a regular expression on type/number
exclude:leaves groups out, e.g.exclude:group:ct/105. If include filters are present, only what matches at least one of them is transferred; exclude filters then remove groups again. Invalid lines are rejected when saving. - Encrypted backups only
- Transfers only backups that are encrypted on the client side; unencrypted ones are skipped. Useful when the target server may only see encrypted data.
The same fields are available when editing a sync job; an emptied group filter transfers all groups again.
When you save, the location is checked live. No connection to remote possible! means: address, port, credentials or fingerprint are wrong. Remote datastore not found! means: the connection works, but the datastore name does not exist there.
Overview and first run
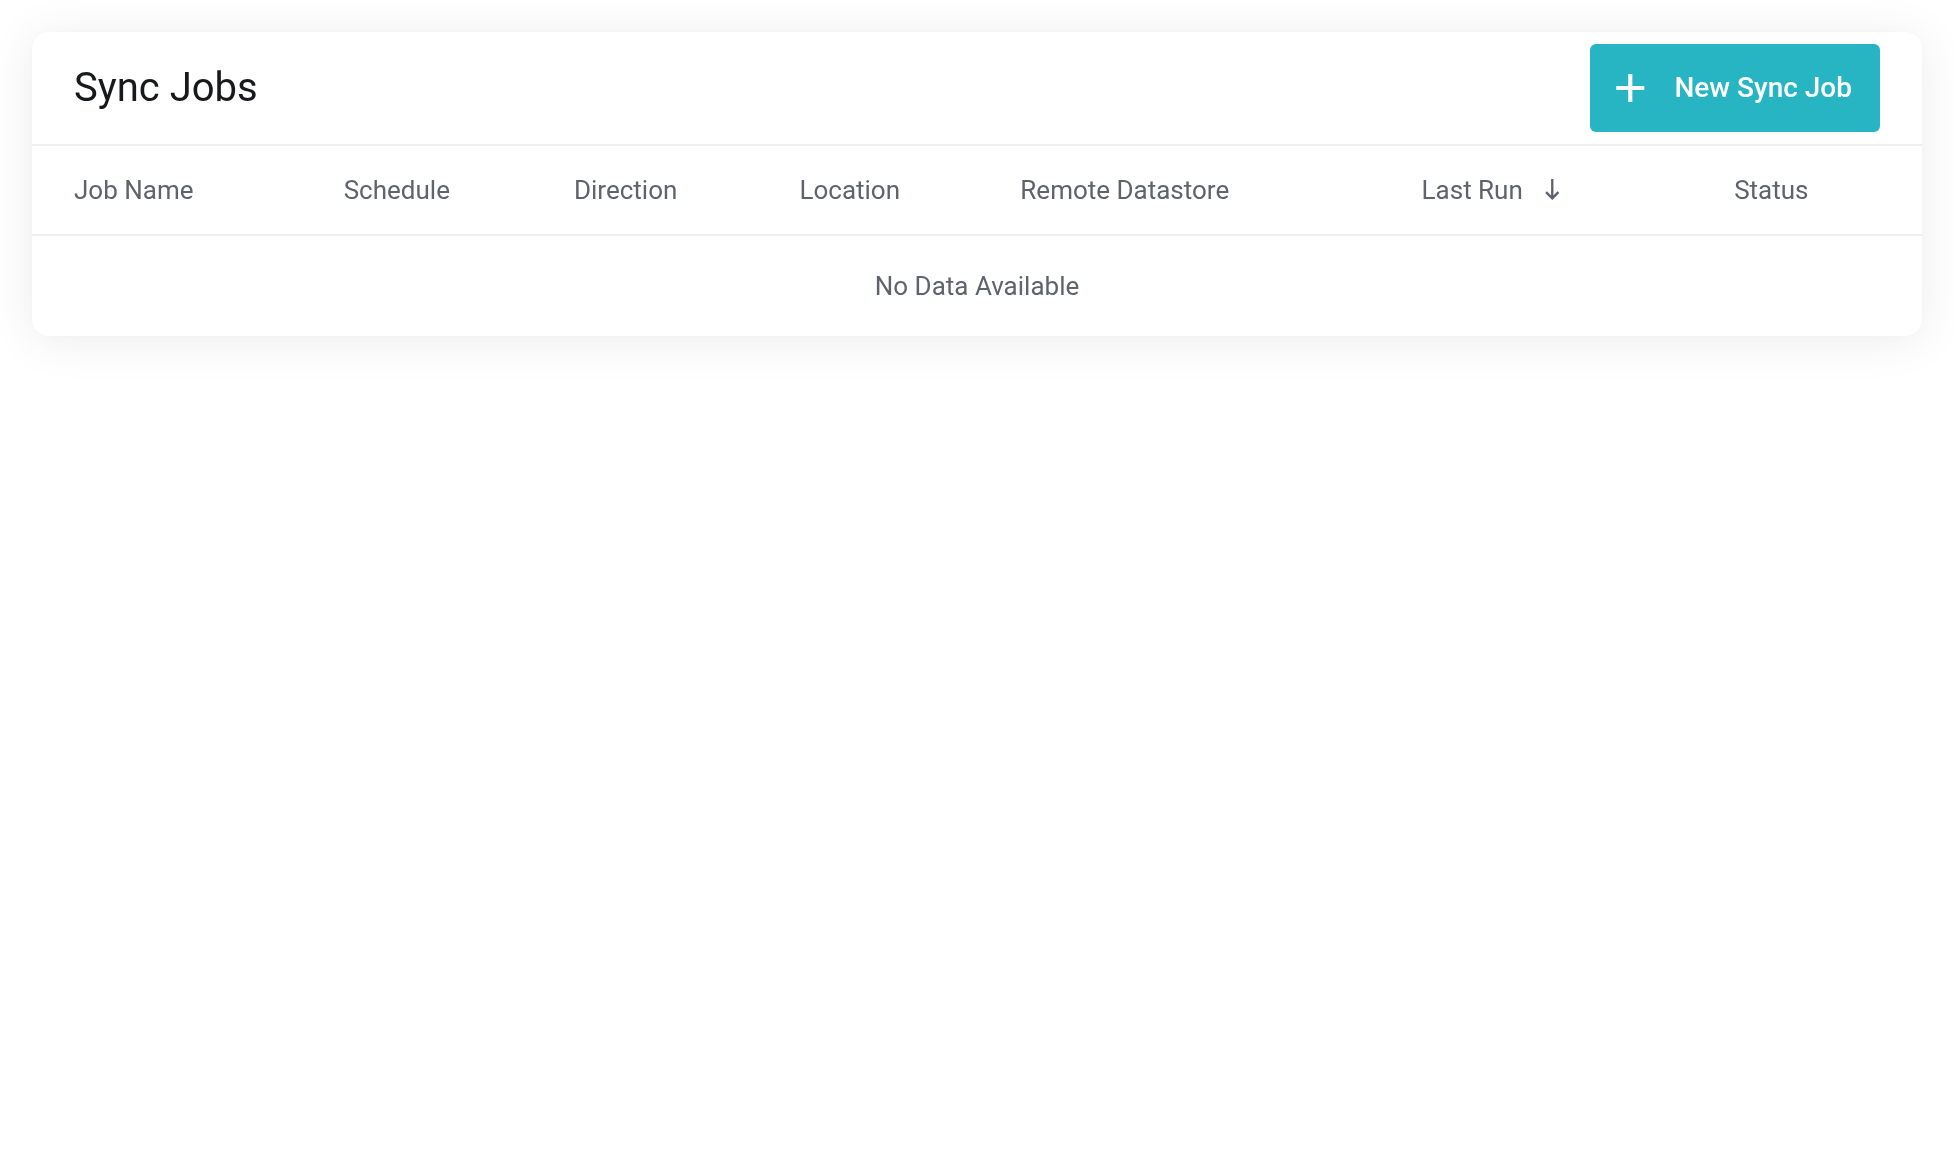
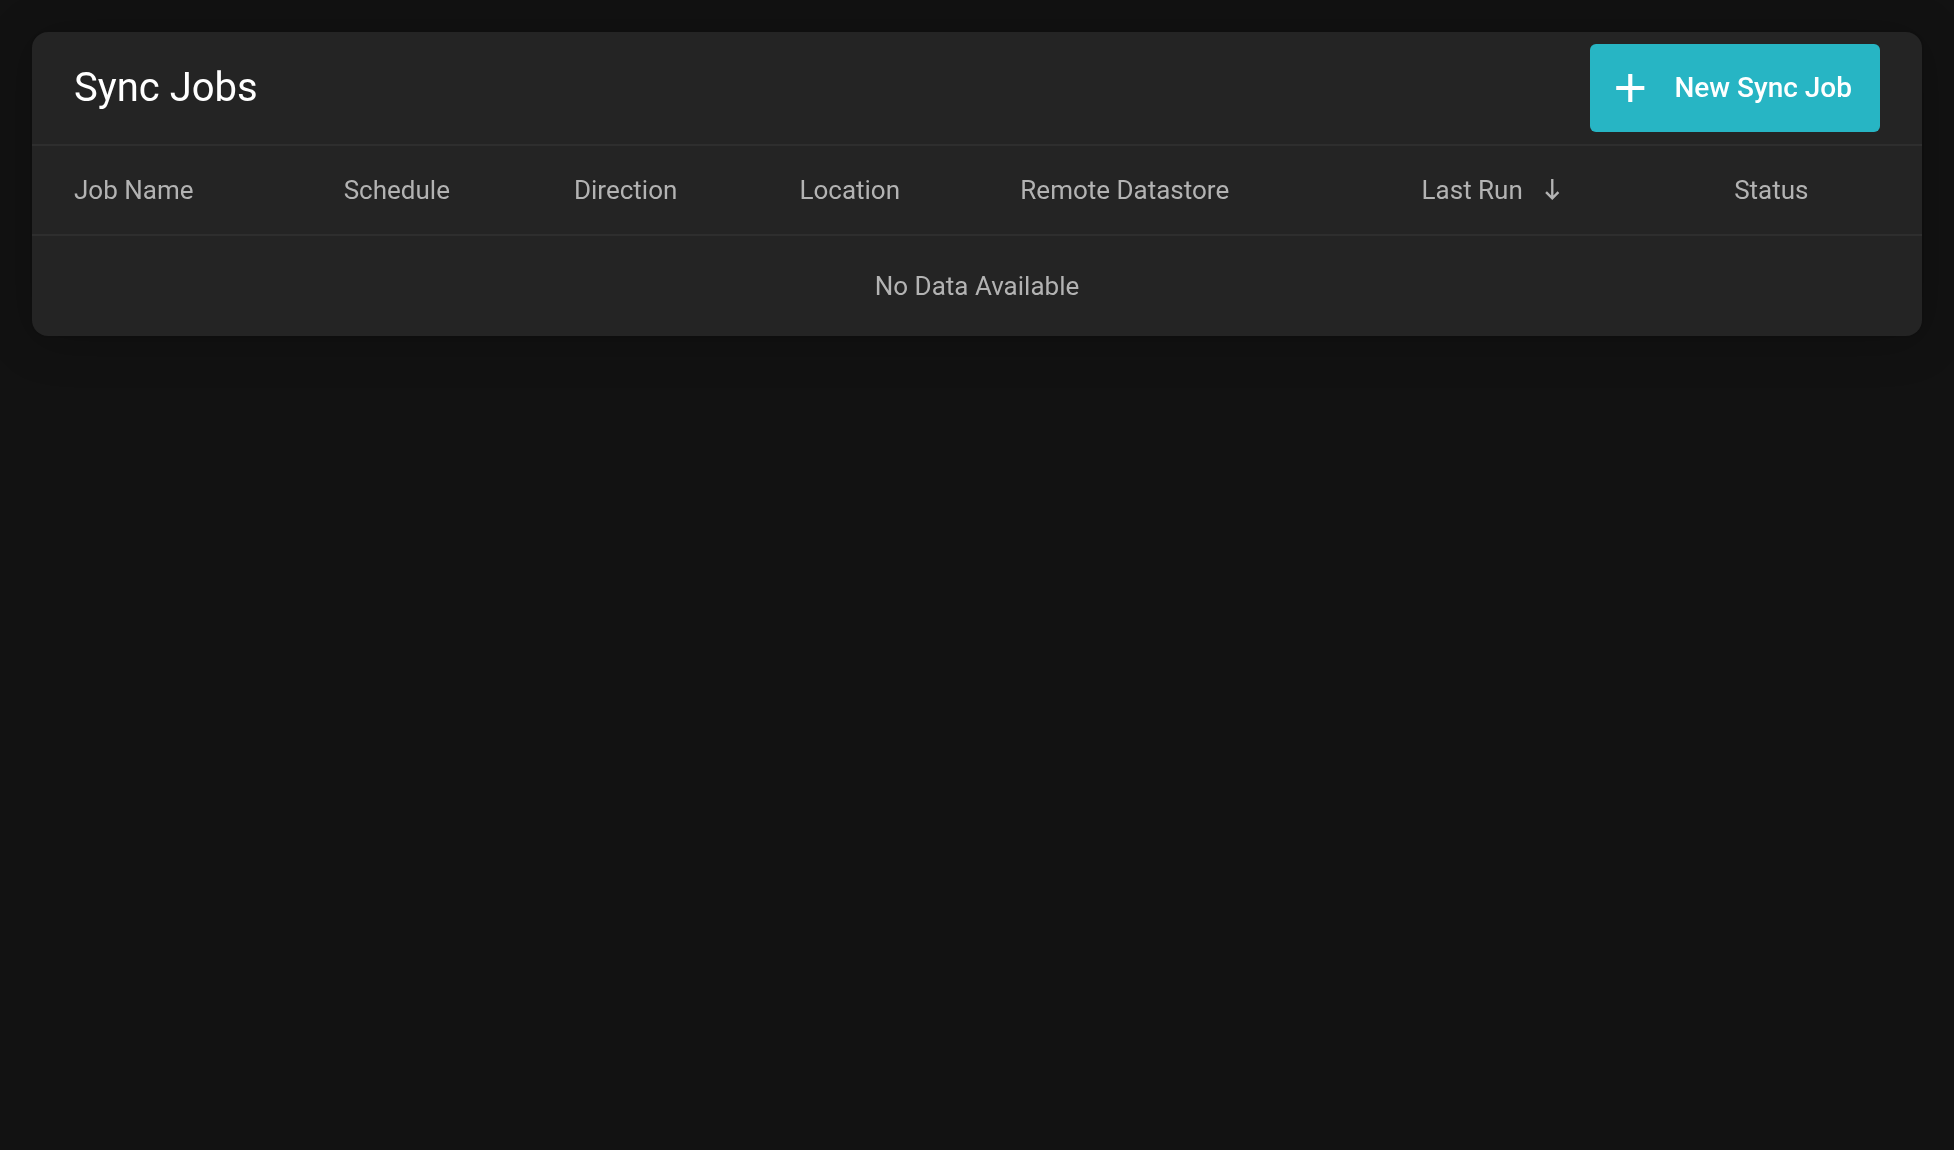 The Sync Jobs page with one job set up.
It is a good idea to start a new job once by hand with Run Sync Job now, so you can see straight away whether the connection works. The icons at the end of the row also give you Show latest job log, Edit Sync Job and Delete Sync Job. To end a sync that is running, use Stop Sync Job.
The Namespace and Group filter columns show what the job transfers. A lock means encrypted only. For a push job, the Location column shows myDC, meaning your datastore with us.
When cleaning up, delete the job first, then the location. A location that a job still points to cannot be removed.
The first run transfers everything you have stored and can take hours, depending on the amount of data. After that, only new data is transferred.
To find out by email when a run fails, switch on the Sync jobs event under Notifications.


