
With Custom ISO images you upload your own installation medium, for example an operating system we do not offer. You then use it to install a virtual machine on your Platform.
Requirements
- A Private Cloud Computing – Platform – Vienna service. Custom images cannot currently be used with the Server product.
- The feature is meant for experienced users. We enable it for your client account on request – write to us. Once it is enabled, the left-hand column of your service shows the entry Custom ISO images.
- An ISO file (extension
.iso, ISO 9660 or UDF format).
Limits
| What | Limit |
|---|---|
| Size per file | 8 GiB |
| Number of images | 5 |
| Storage for all images together | 20 GiB |
The images are only visible to your client account.
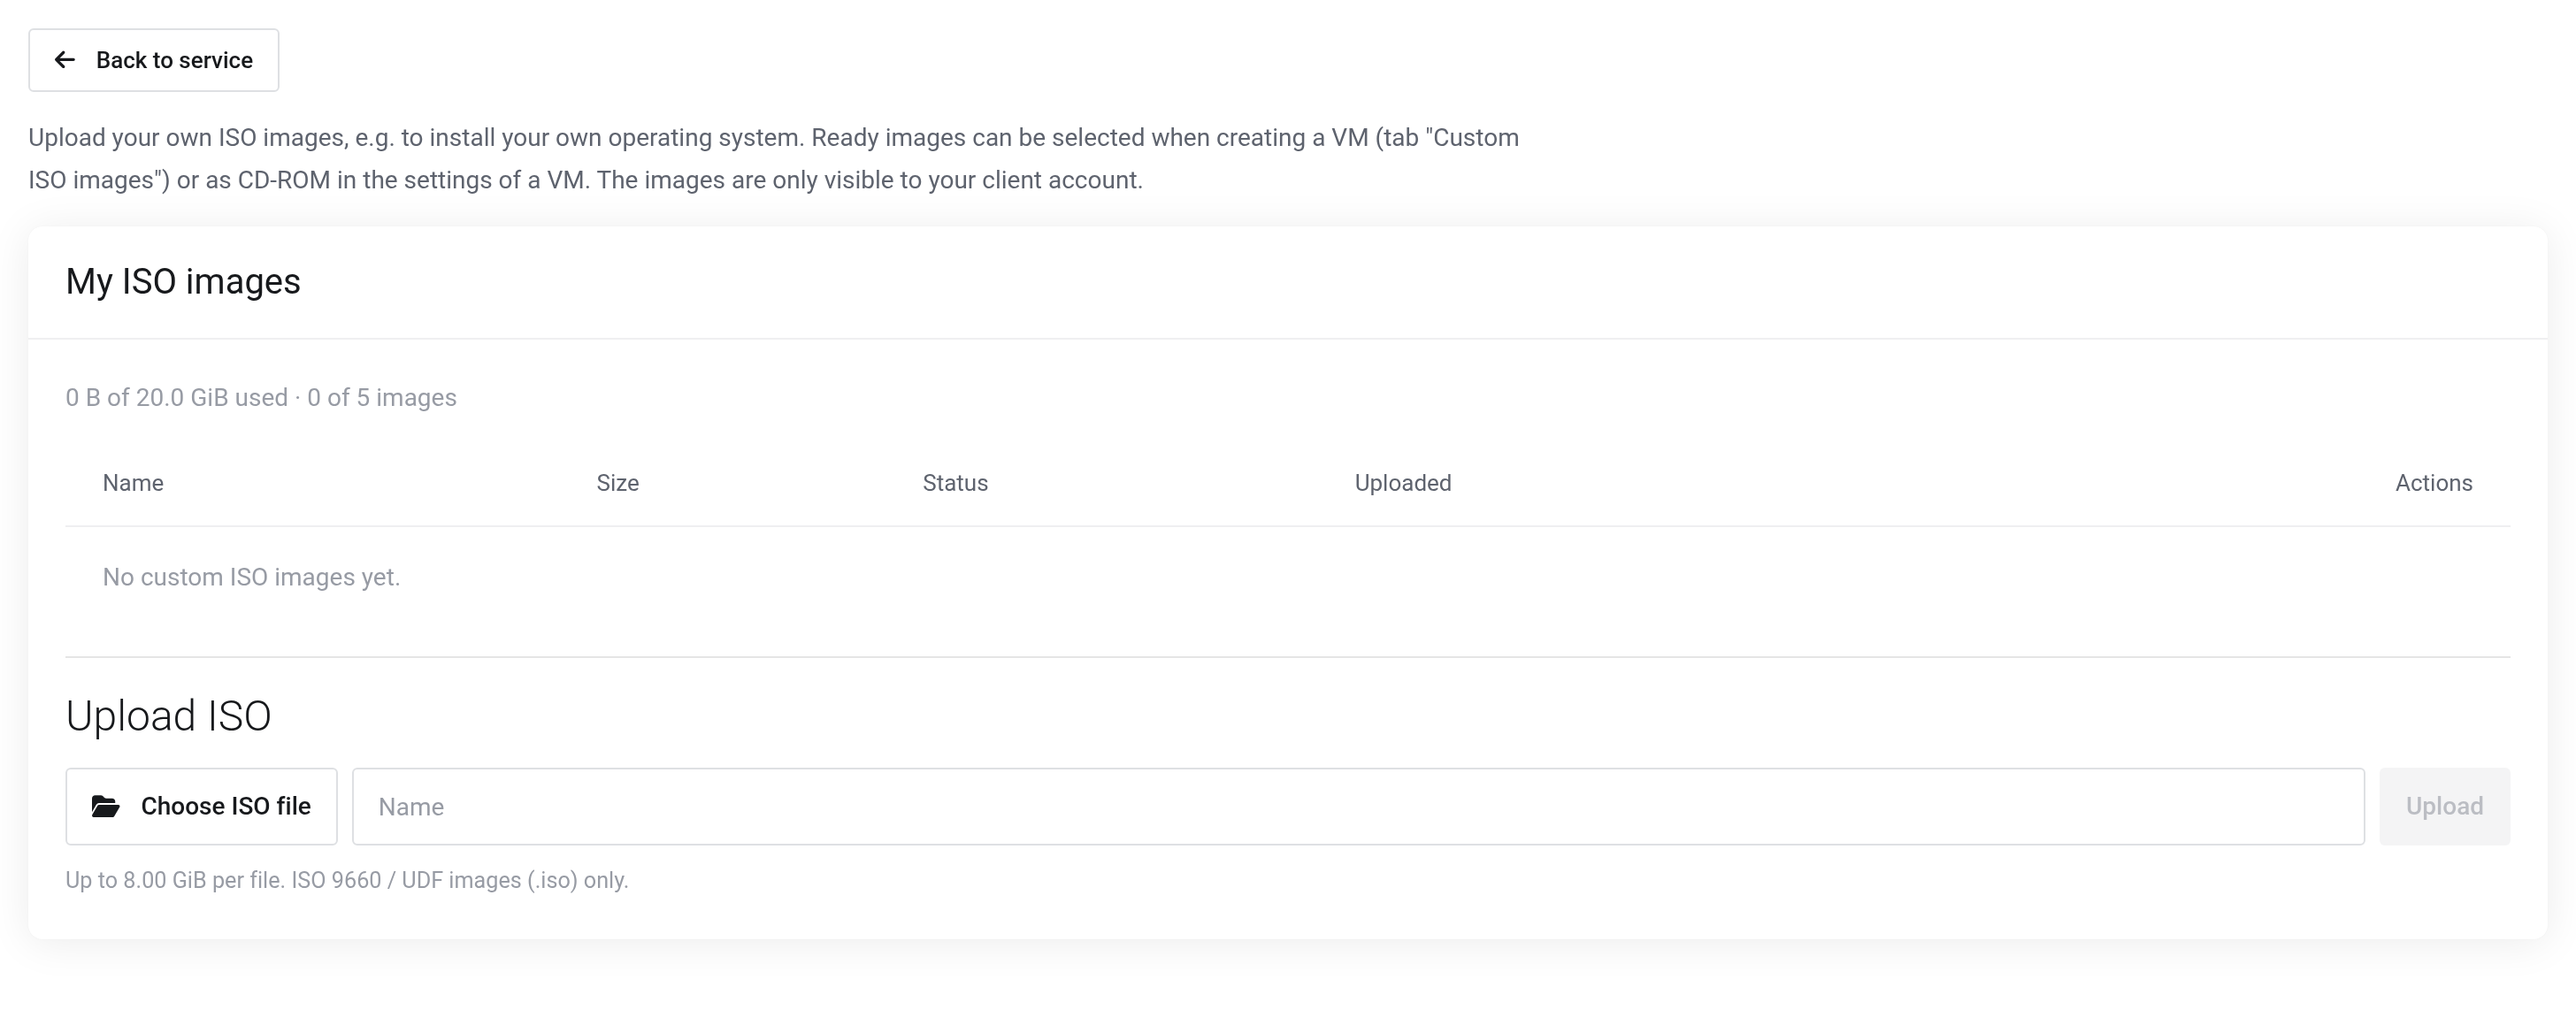
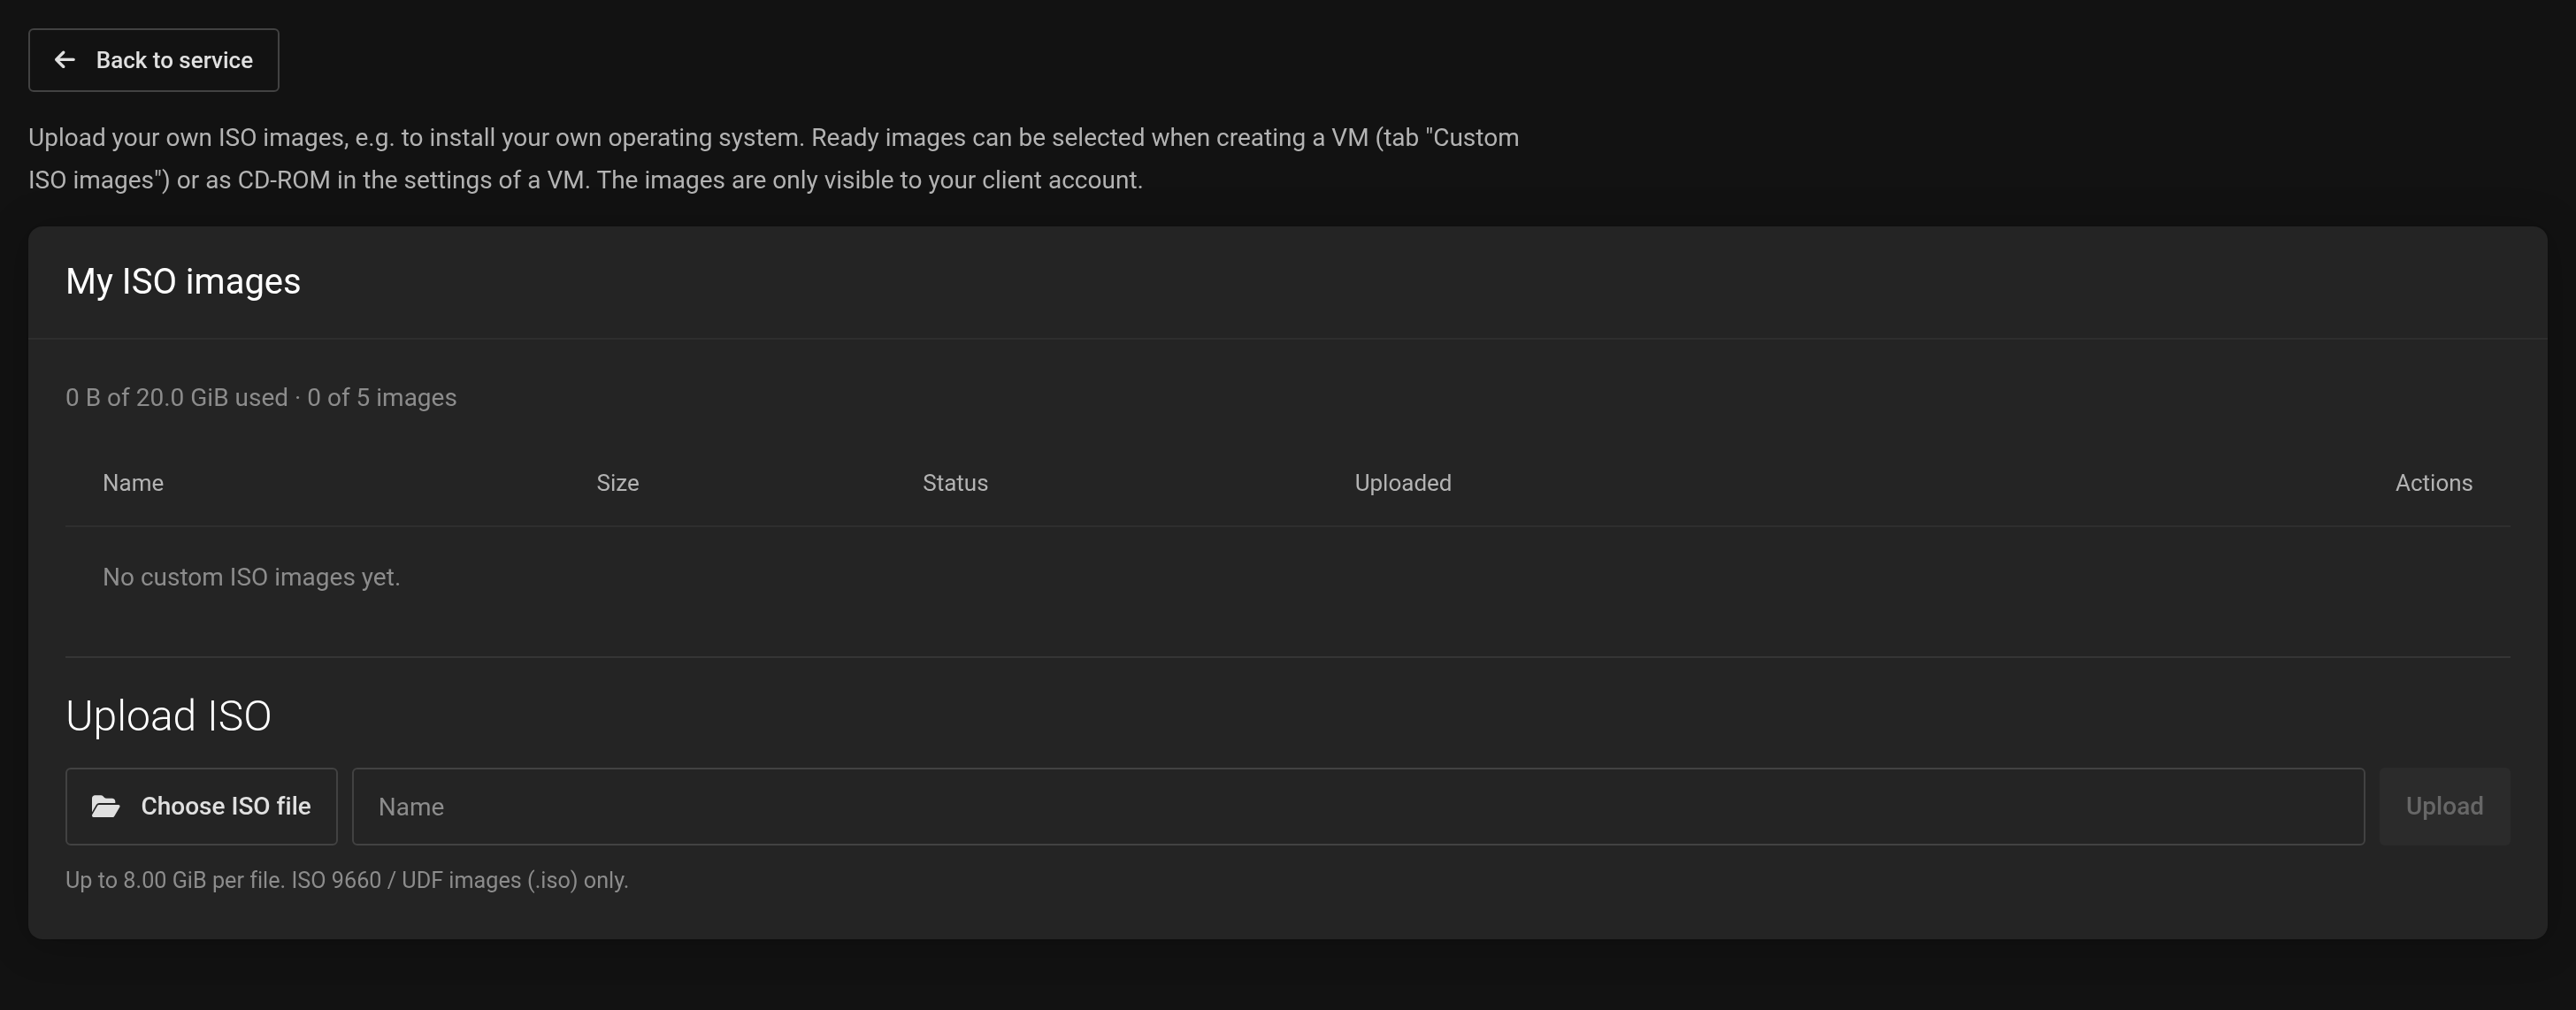 Your images and the storage used at the top, the upload below.
Uploading an image
- Open your Platform service and click Custom ISO images on the left.
- Under Upload ISO, click Choose ISO file and select the file.
- Under Name, enter a name that helps you recognize the image later.
- Click Upload. Keep the page open until the upload has finished.
- The Status column then shows Transferring … first and Ready after a few minutes. You do not have to wait for this part – you may leave the page.
Upload interrupted? The list then shows Incomplete. Choose the same file again and click Resume. The upload continues where it stopped. An upload that makes no progress for six hours is discarded.
Using an image for a new VM
- Click Add New Virtual Machine on the left.
- Choose the Custom ISO images tab. It appears as soon as at least one image is Ready.
- Click the tile of your image and fill in the rest of the form – see Creating a virtual machine.
- The new VM boots from the image. You run the installation in the VNC Console.
If the name of your image contains “Windows”, the wizard suggests the same values as for our Windows images – see Creating a Windows server.
Inserting an image into an existing VM
- Open the VM. In the Server Summary, click the pencil next to the name of the VM. The Details dialog opens.
- Choose your image in the ISO Image 1 field.
- If the VM should boot from it, set Boot Device 1 to the CD-ROM drive in the same dialog.
- Click Confirm and then Reboot at the top.
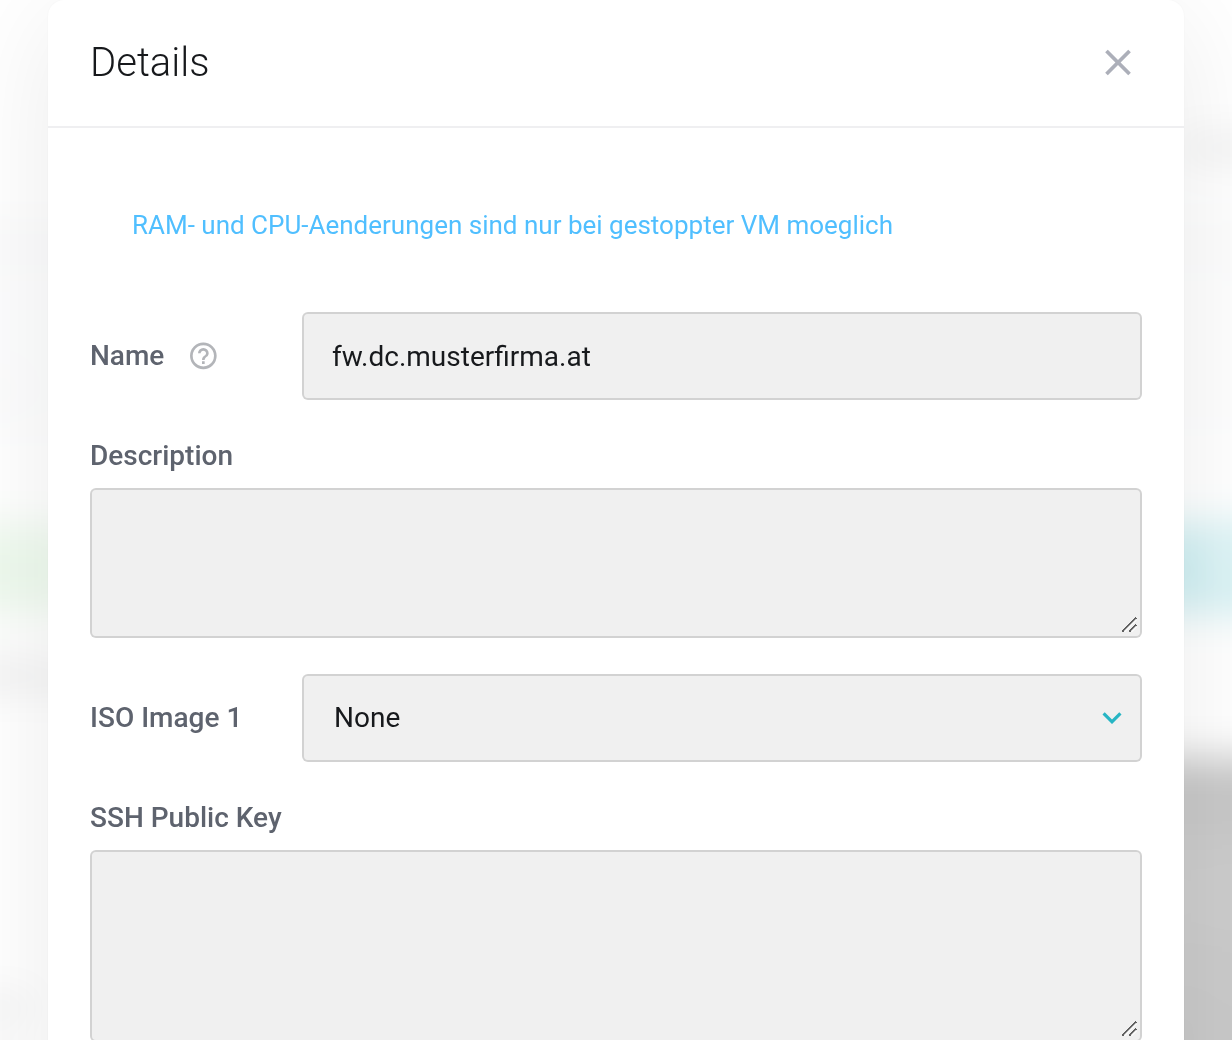
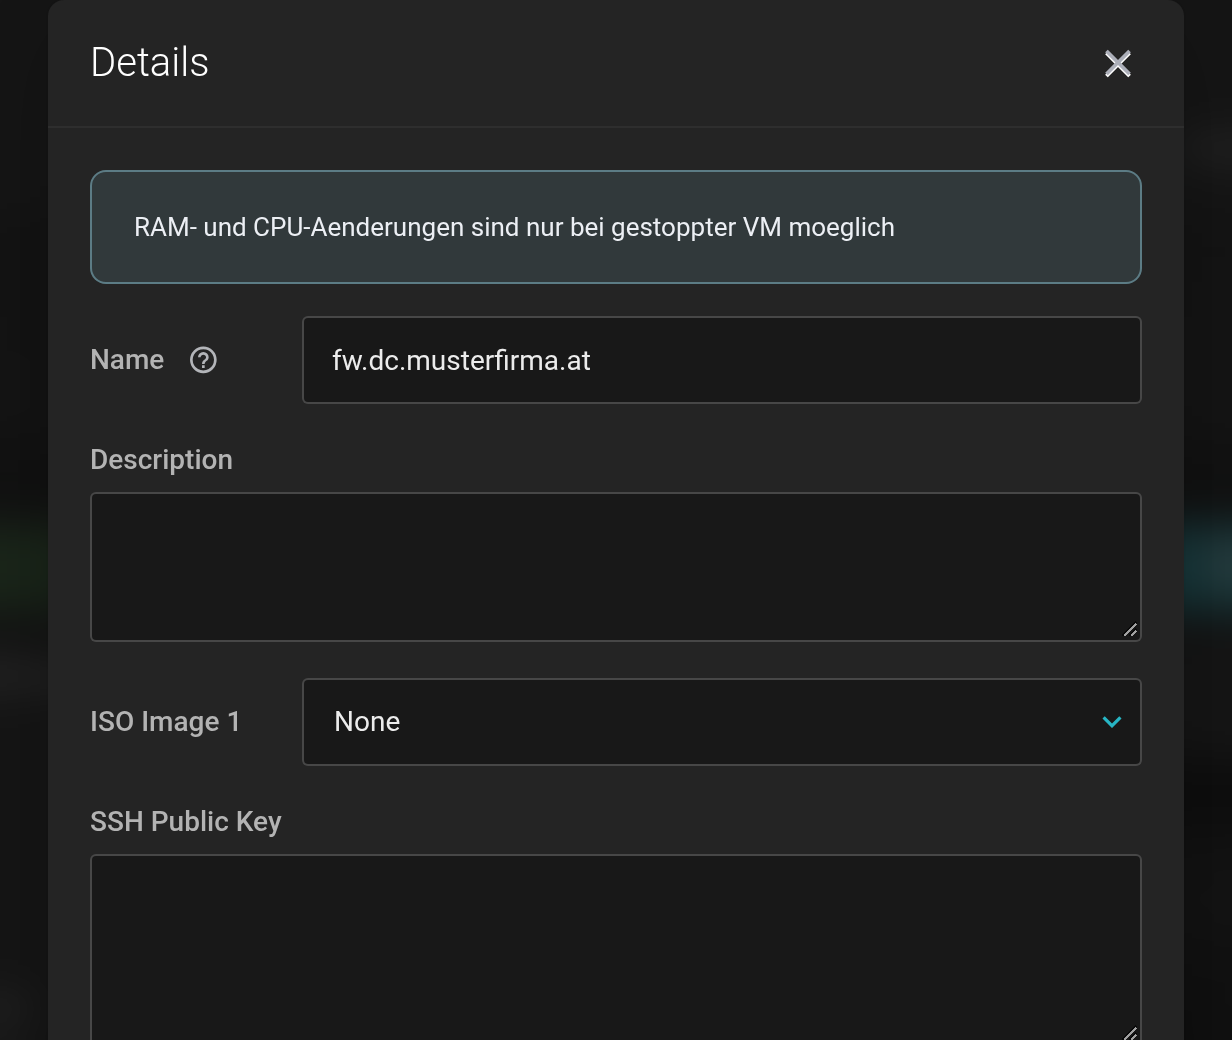 In the Details dialog you insert an image in the ISO Image 1 field.
After the installation: set Boot Device 1 back to the hard disk and set ISO Image 1 to None. Otherwise the VM starts the installer again at the next reboot.
Deleting an image
In the My ISO images list, click Delete next to the image. As long as the image is still inserted in a VM, the page refuses. Eject it first: in the Details dialog of the VM, set ISO Image 1 to None.
If it does not work
- “The file is not a valid ISO image (ISO 9660/UDF).”
- The file is not an ISO image, for example an
.imgfile or an archive. Download the ISO version of the installation medium. - “The maximum number of ISO images has been reached.” or “Your storage quota for ISO images is not sufficient.”
- Delete an image you no longer need.
- “This feature is not enabled for your client account.”
- Write to us and we will enable it.


