
You control your virtual machines in the Client Area: one at a time on the page of the VM, or several at once in the list of your Platform. This article shows both and explains the sections in the left-hand column.
The list of virtual machines
On the overview of your Platform, Virtual Machines lists all VMs with status, vCPU, memory, disk and IP addresses. Clicking a name opens the VM.
If a VM has additional disks or more than one network interface, a small (i) appears next to the value. Hover over it to see the storage location and size of each disk, or the network and IP addresses of each interface. Clicking the (i) opens the matching page of the VM.
Controlling several VMs at once
- Tick the VMs you want in the list. A bar with Start, Shut down, Stop, Reset and Snapshot appears above the table.
- Click the action and confirm the prompt.
- A message shows for how many VMs the action was triggered. VMs for which it does not fit – Start on a running VM, for example – are skipped; the message gives the reason.
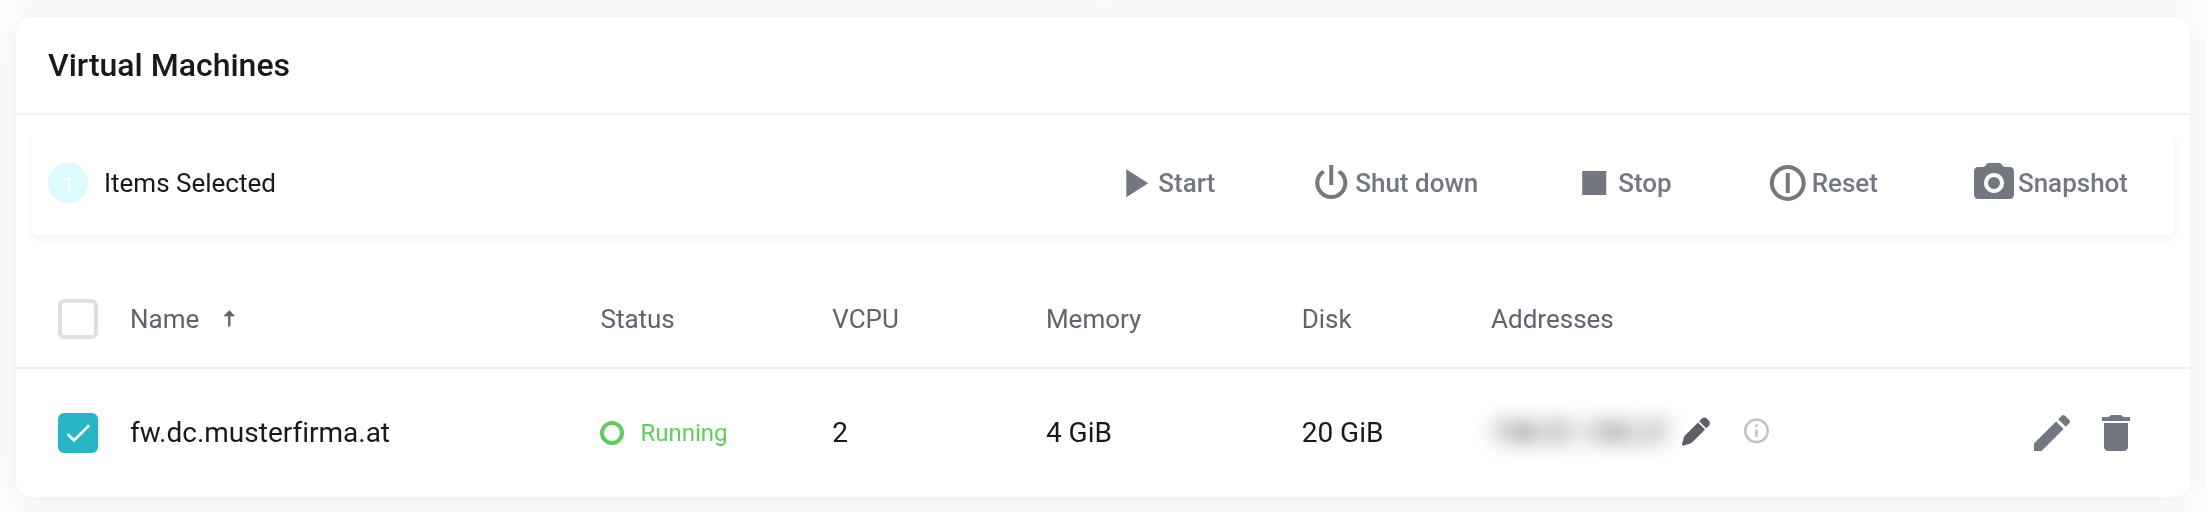
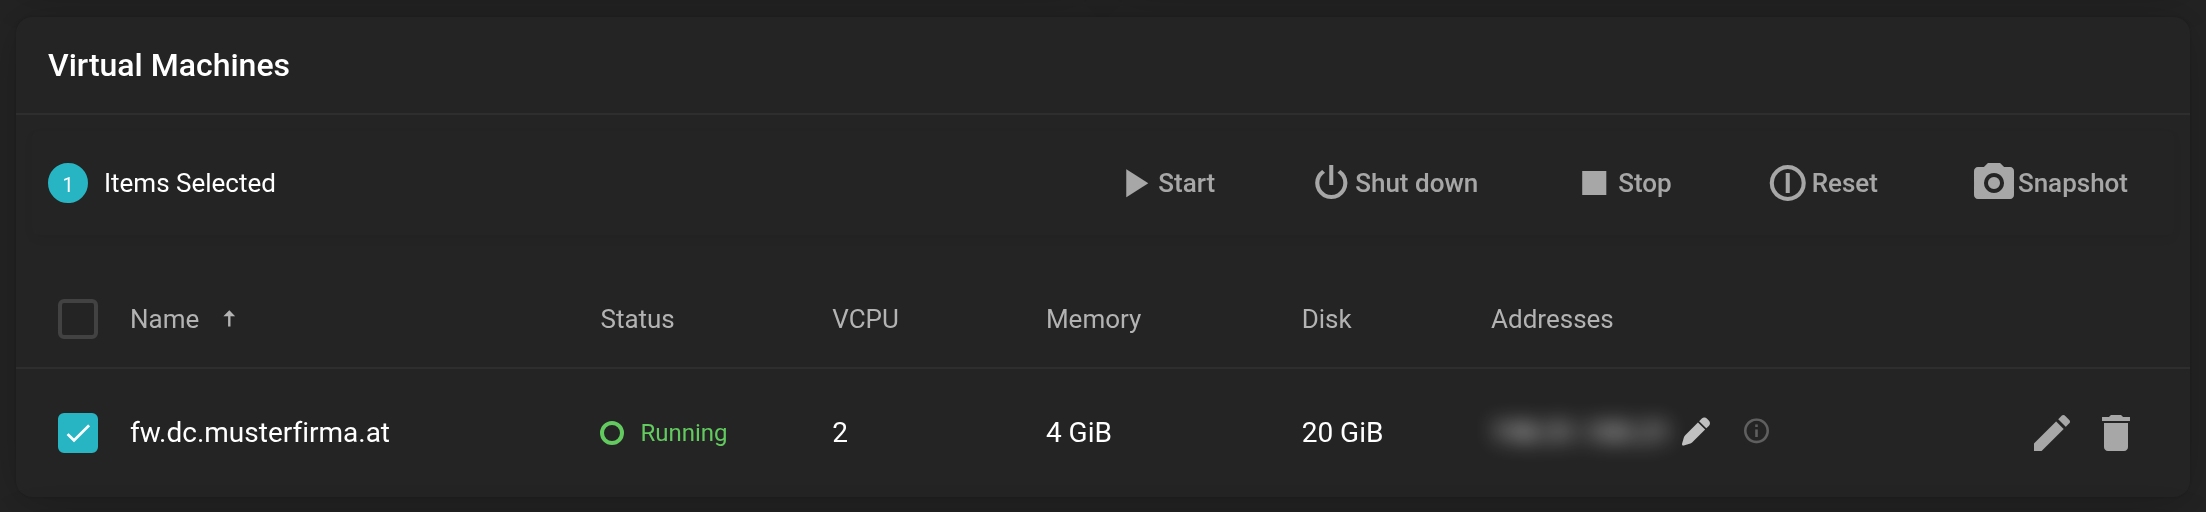 As soon as a VM is ticked, the bar for actions on several VMs appears.
- Shut down
- Asks the operating system to shut down. If it does not within two minutes, the VM is stopped.
- Stop
- Switches off at once. Unsaved data is lost.
- Reset
- Restarts at once without shutting down the operating system. Unsaved data is lost.
- Snapshot
- Every ticked VM gets its own snapshot with the name you enter – handy before updating several servers.
The page of a VM: Server Summary
Clicking the name opens the Server Summary of the VM.
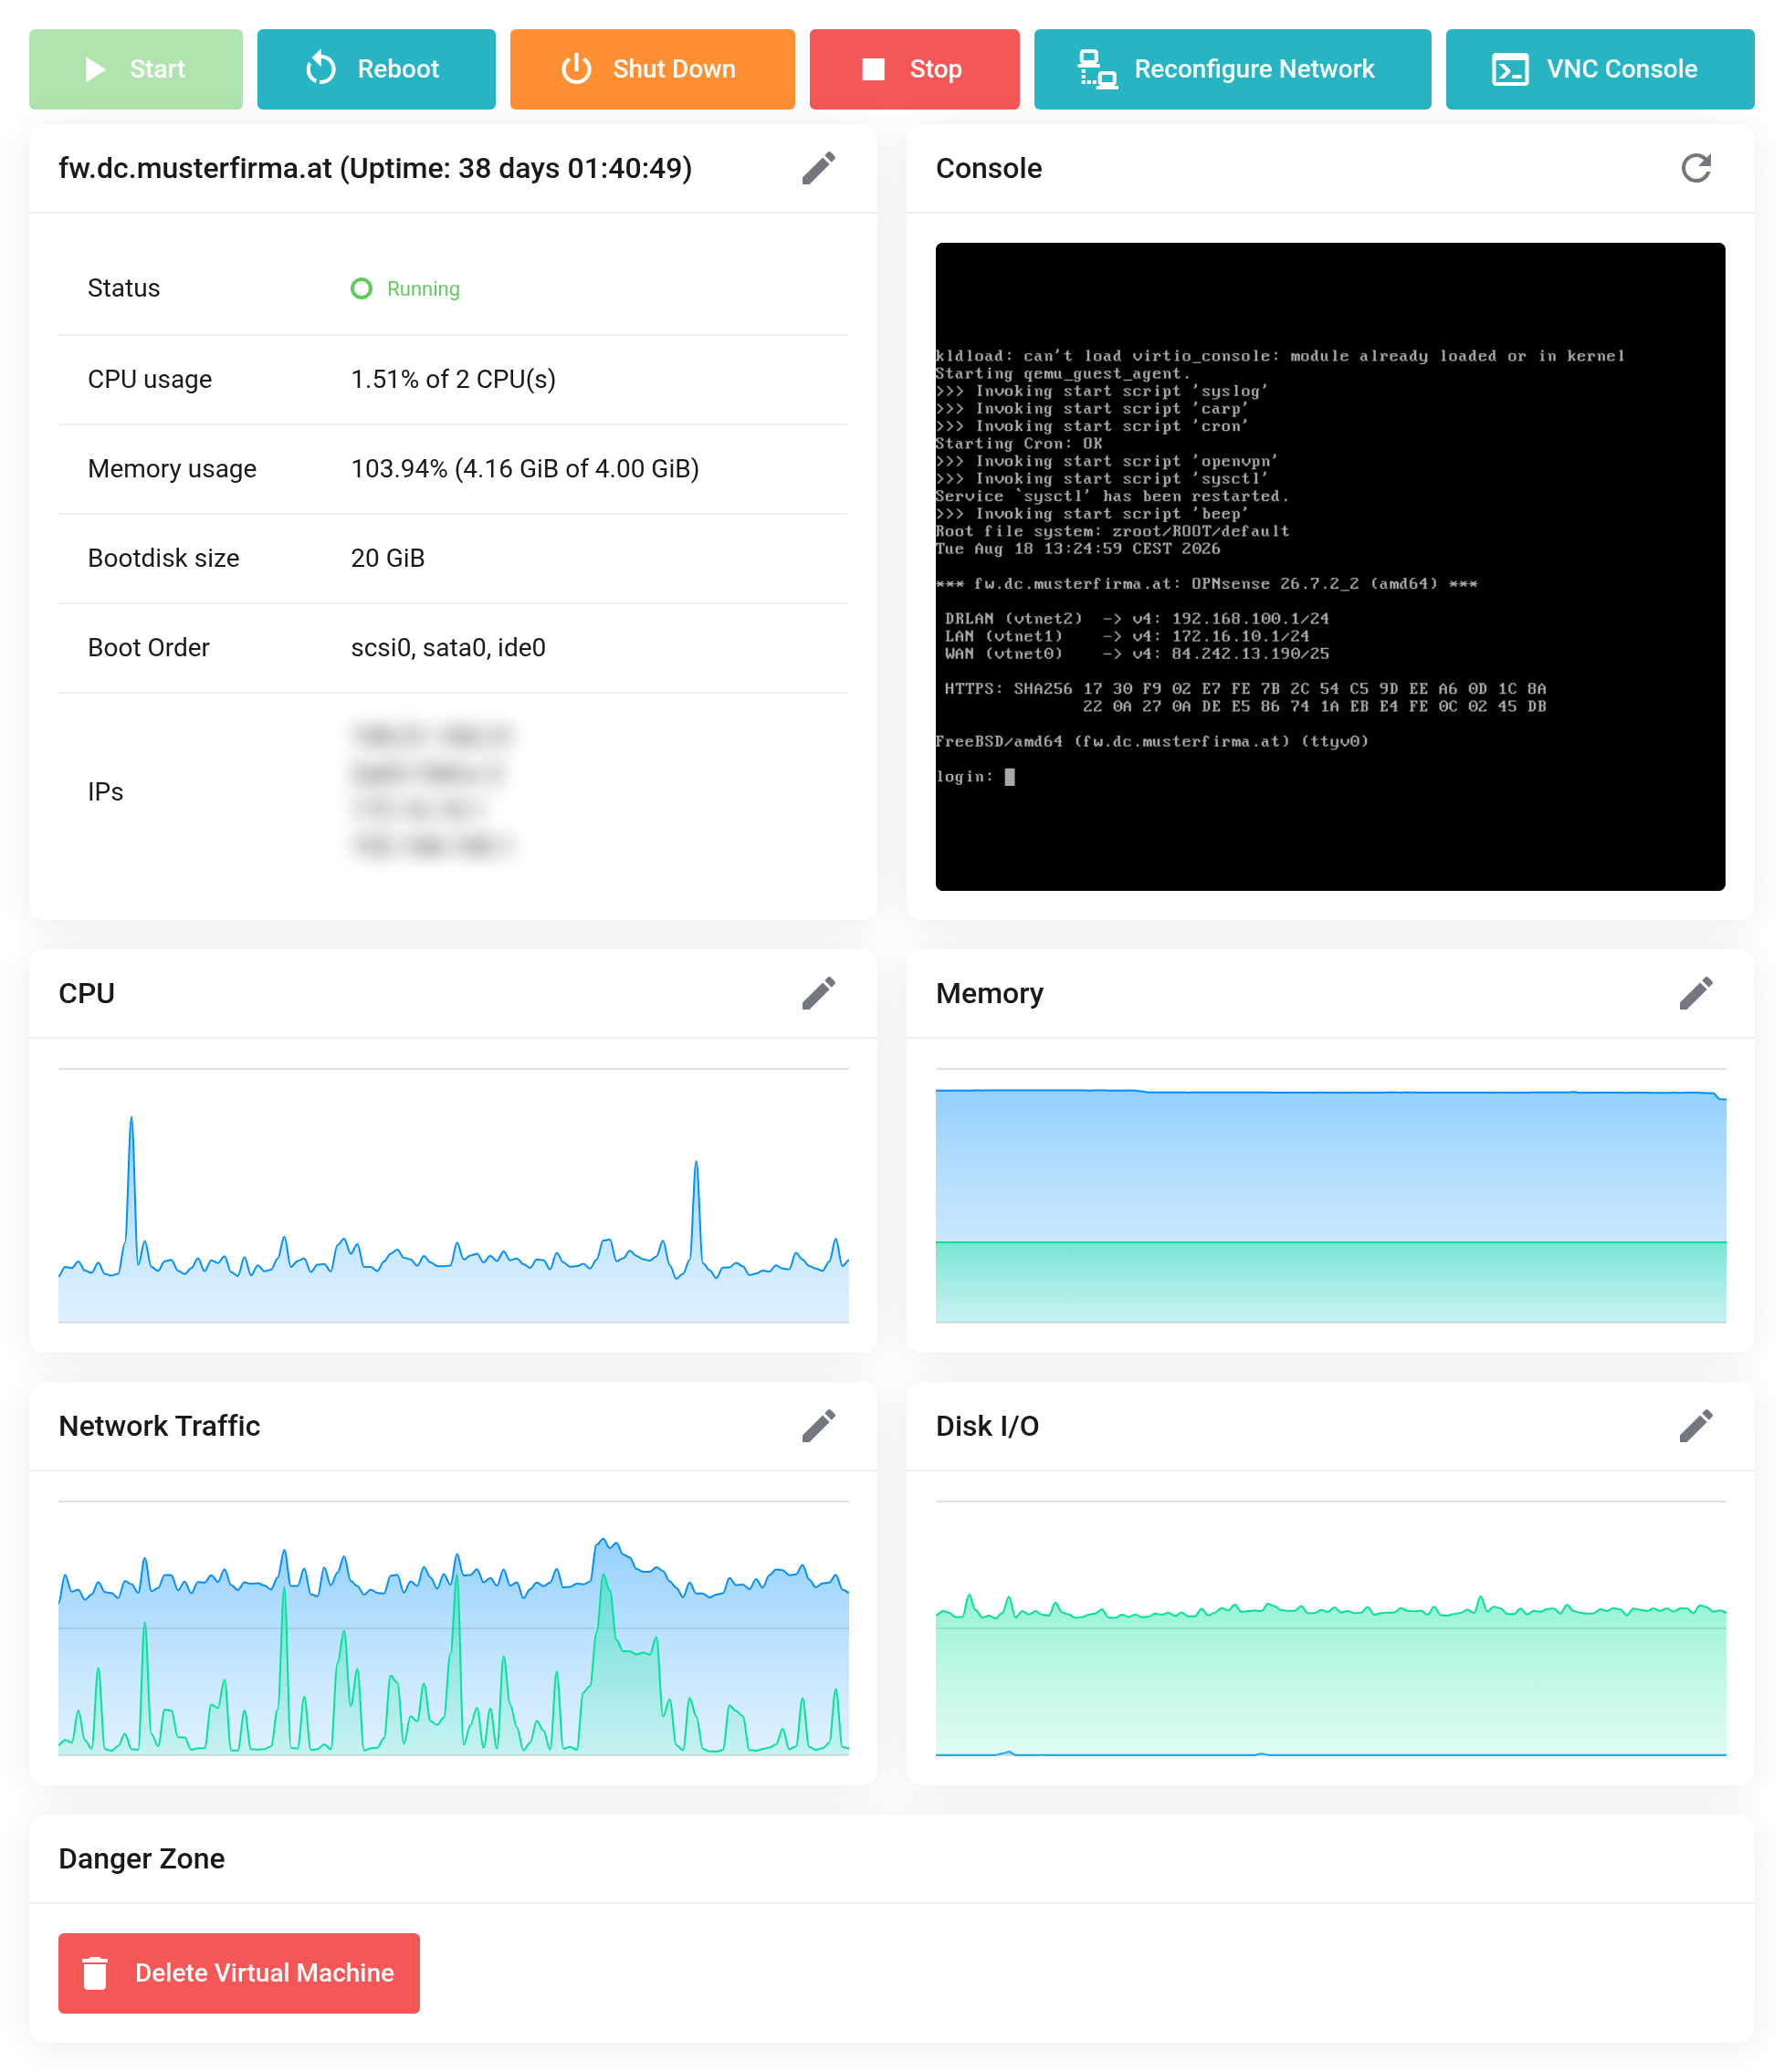
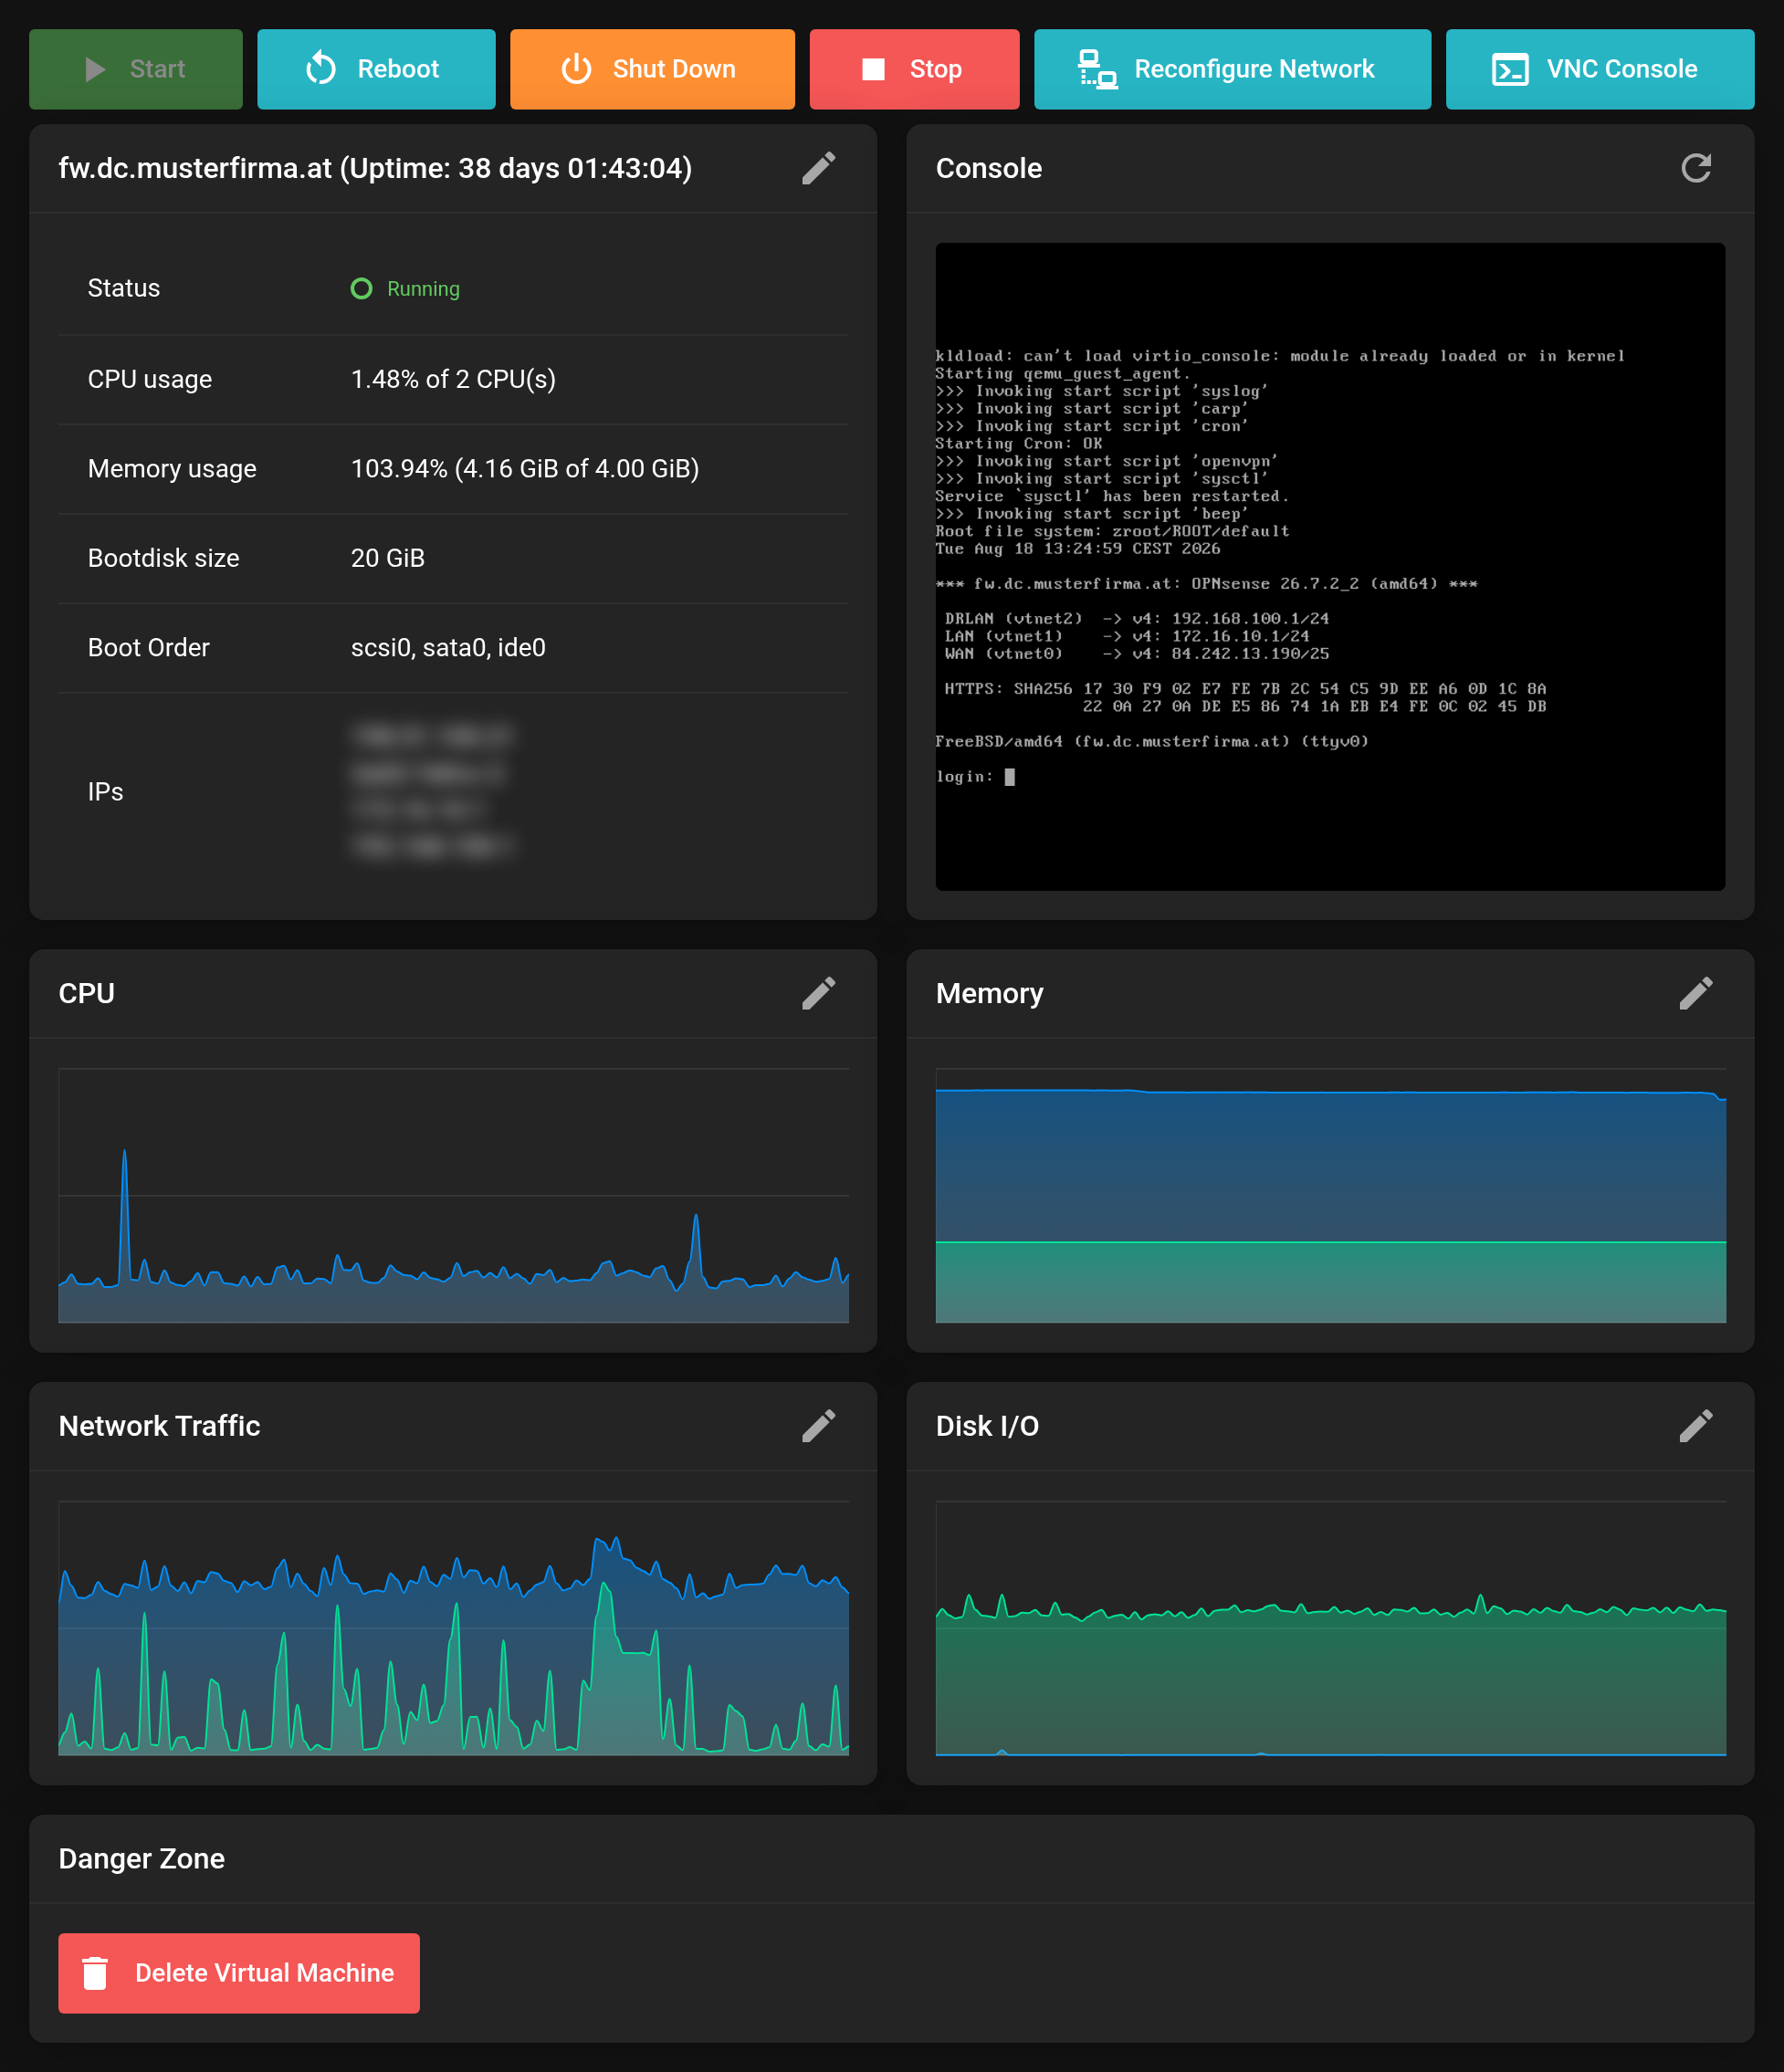 The controls at the top, key figures, console preview and graphs below. IP addresses and screen content are blurred in this picture.
- Buttons at the top
- Start, Reboot, Shut Down, Stop, Reconfigure Network and VNC Console. While an action is running, the others are locked.
- Key figures
- Status, CPU usage, memory usage, boot disk size, boot order and IP addresses. Next to each public IPv4 address there is a pencil for the reverse DNS record.
- Pencil next to the name
- Opens the Details dialog: name, description, ISO image, vCPUs, memory, BIOS, name servers and boot order. You can only change memory and CPU while the VM is stopped.
- Console
- A preview image of the screen. Clicking it opens the VNC Console.
- Graphs
- History for CPU, memory, network traffic and disk I/O. Below each graph you see the smallest, average and largest value of each series (min, Ø, max).
Shut Down and Stop
Shut Down shuts the operating system down in an orderly way. Stop pulls the power from the VM immediately – this can lead to data loss and damaged file systems. Use Stop only when the VM no longer responds.
Always shut down through the Client Area
Your virtual machines run with high availability. If a physical server fails, the platform automatically starts the affected machines again on another one. The same monitoring also applies when a single machine stops on its own.
So never shut a VM down from inside the operating system – that is, not with shutdown or poweroff and not via Start → Shut down in Windows. High availability treats that as a failure and starts the machine up again a short time later. Use the Shut Down button in the Client Area: the VM then stays off until you switch it on again with Start.
A Reboot from inside the operating system is not affected – after an update, for example.
Disks
Under Disks you attach disks, enlarge them, change their storage (NVMe or SSD) and decide whether a disk is backed up.
If you change the storage of a disk, it is moved in the background. The Status column first shows “Move to … queued” and then “Moving to …” with the progress in percent. While this is running, you cannot edit or delete this disk or switch its backup setting. The VM keeps running in the meantime.
The sections in the left-hand column
- Server Summary
- Key figures, console preview, graphs, controls.
- Backups and Backup Collection
- Existing backups – see Backups and snapshots. Only shown with the VM Backup addon.
- Disks
- Attach, enlarge, move and remove disks.
- Firewall and Firewall Options
- Rules in front of the VM – see Setting up the firewall.
- Graphs
- The history over longer periods.
- Network
- Virtual networks and interfaces of this VM – see Virtual networks.
- VNC Console
- The screen of the VM – see Using the VNC Console.
- Reinstallation
- Sets the VM up from scratch.
- Snapshots
- Snapshots of the state – see Backups and snapshots.
- VM Power Tasks
- Scheduled starting and stopping.
- Custom ISO images
- Only if enabled for your account – see Custom ISO images.
Reinstallation and “Delete Virtual Machine” destroy all data on the VM. Deleting sits deliberately under Danger Zone at the bottom of the page. Back up whatever you want to keep beforehand.


