
Each website on your Managed Webserver can be configured individually: how much memory and time PHP gets, whether Apache evaluates your .htaccess files and whether pages are cached for visitors. All settings apply to that one website only.
PHP settings
Here you change limits that many applications mention in their instructions — for example the maximum size when uploading images.
- Open Websites and click PHP settings (slider icon) in the row of your website.
- Change the values you need. The allowed range is shown to the right of each field.
- Click Save. The change takes effect after a few seconds.
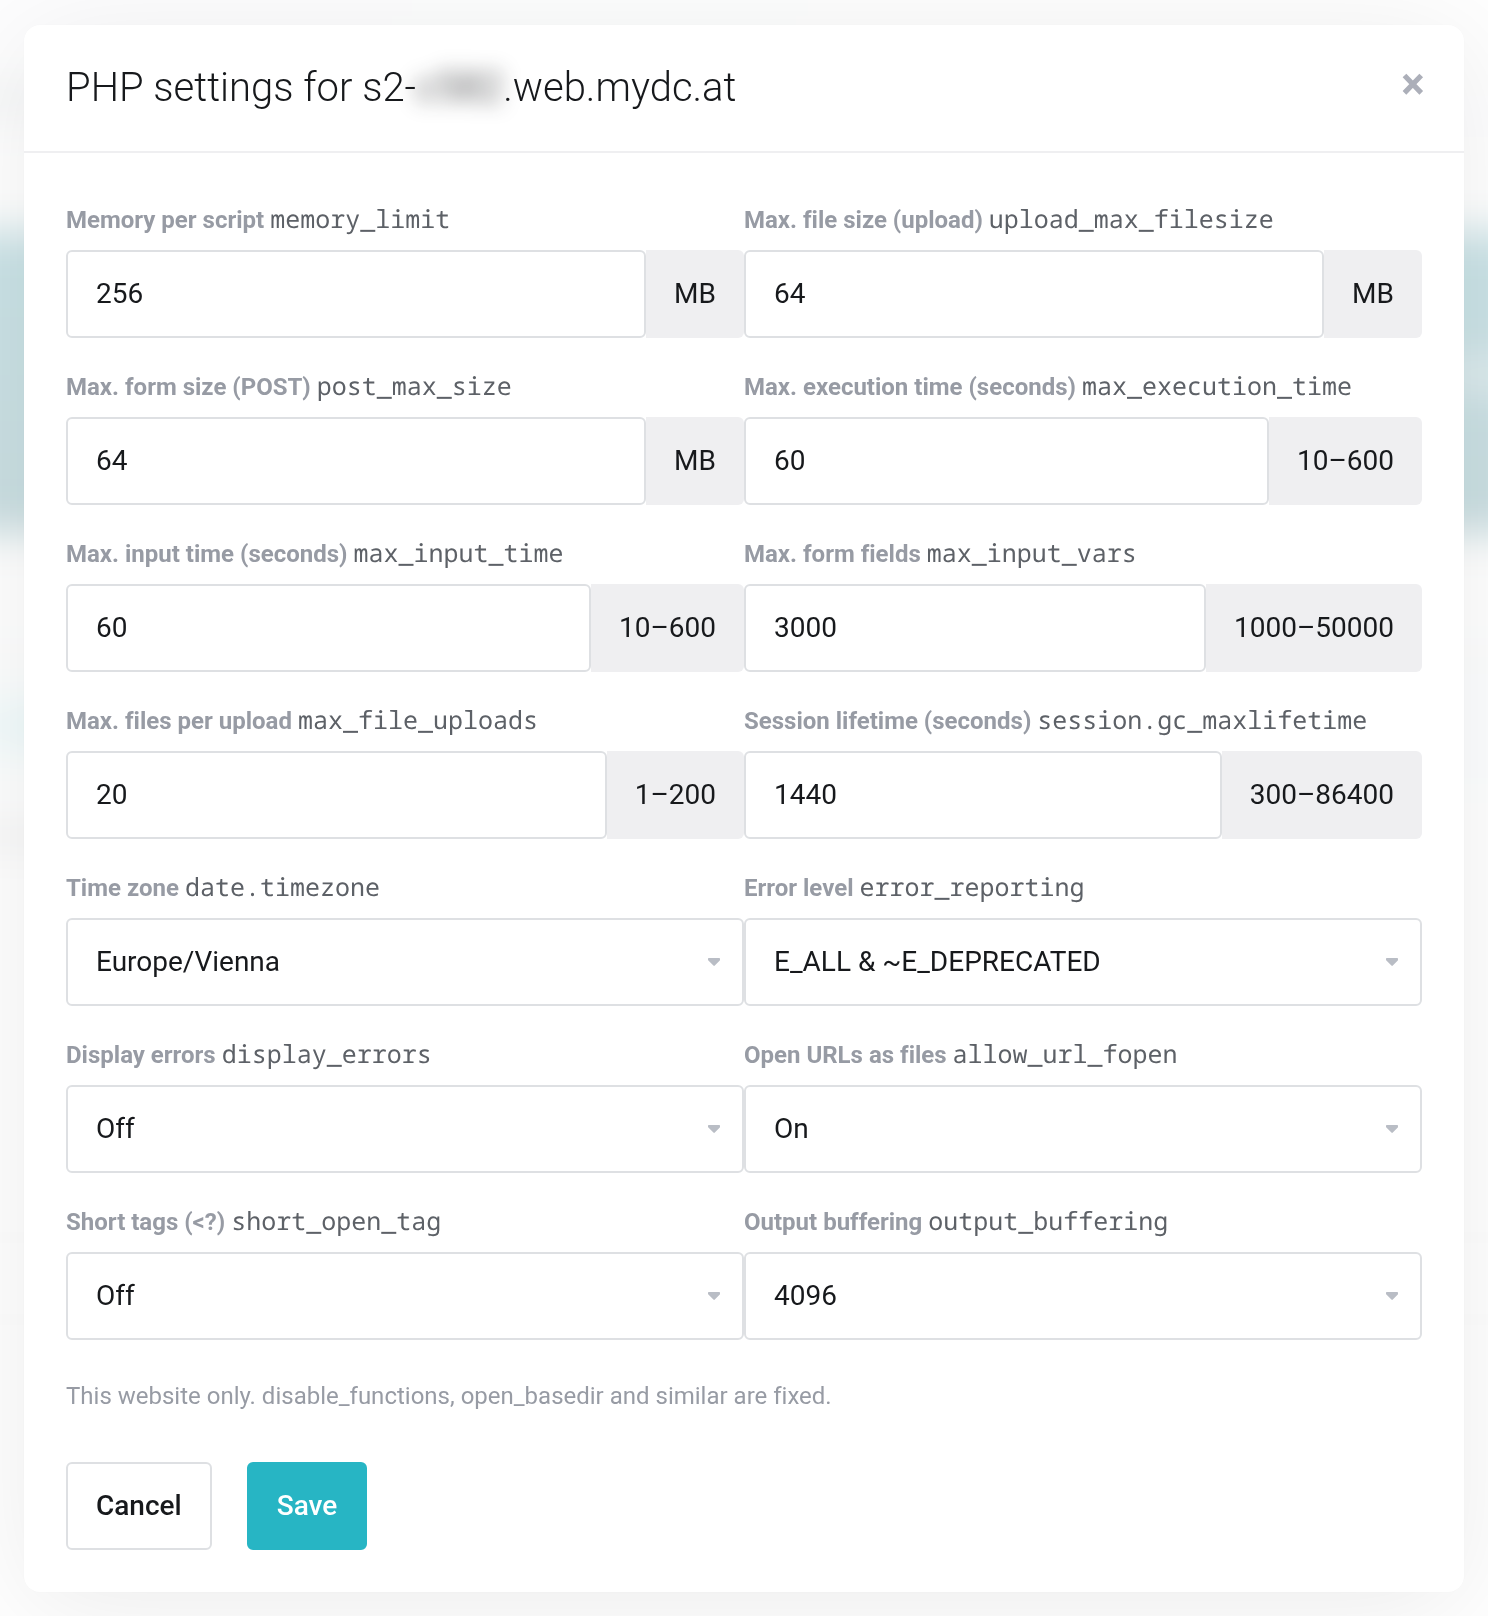
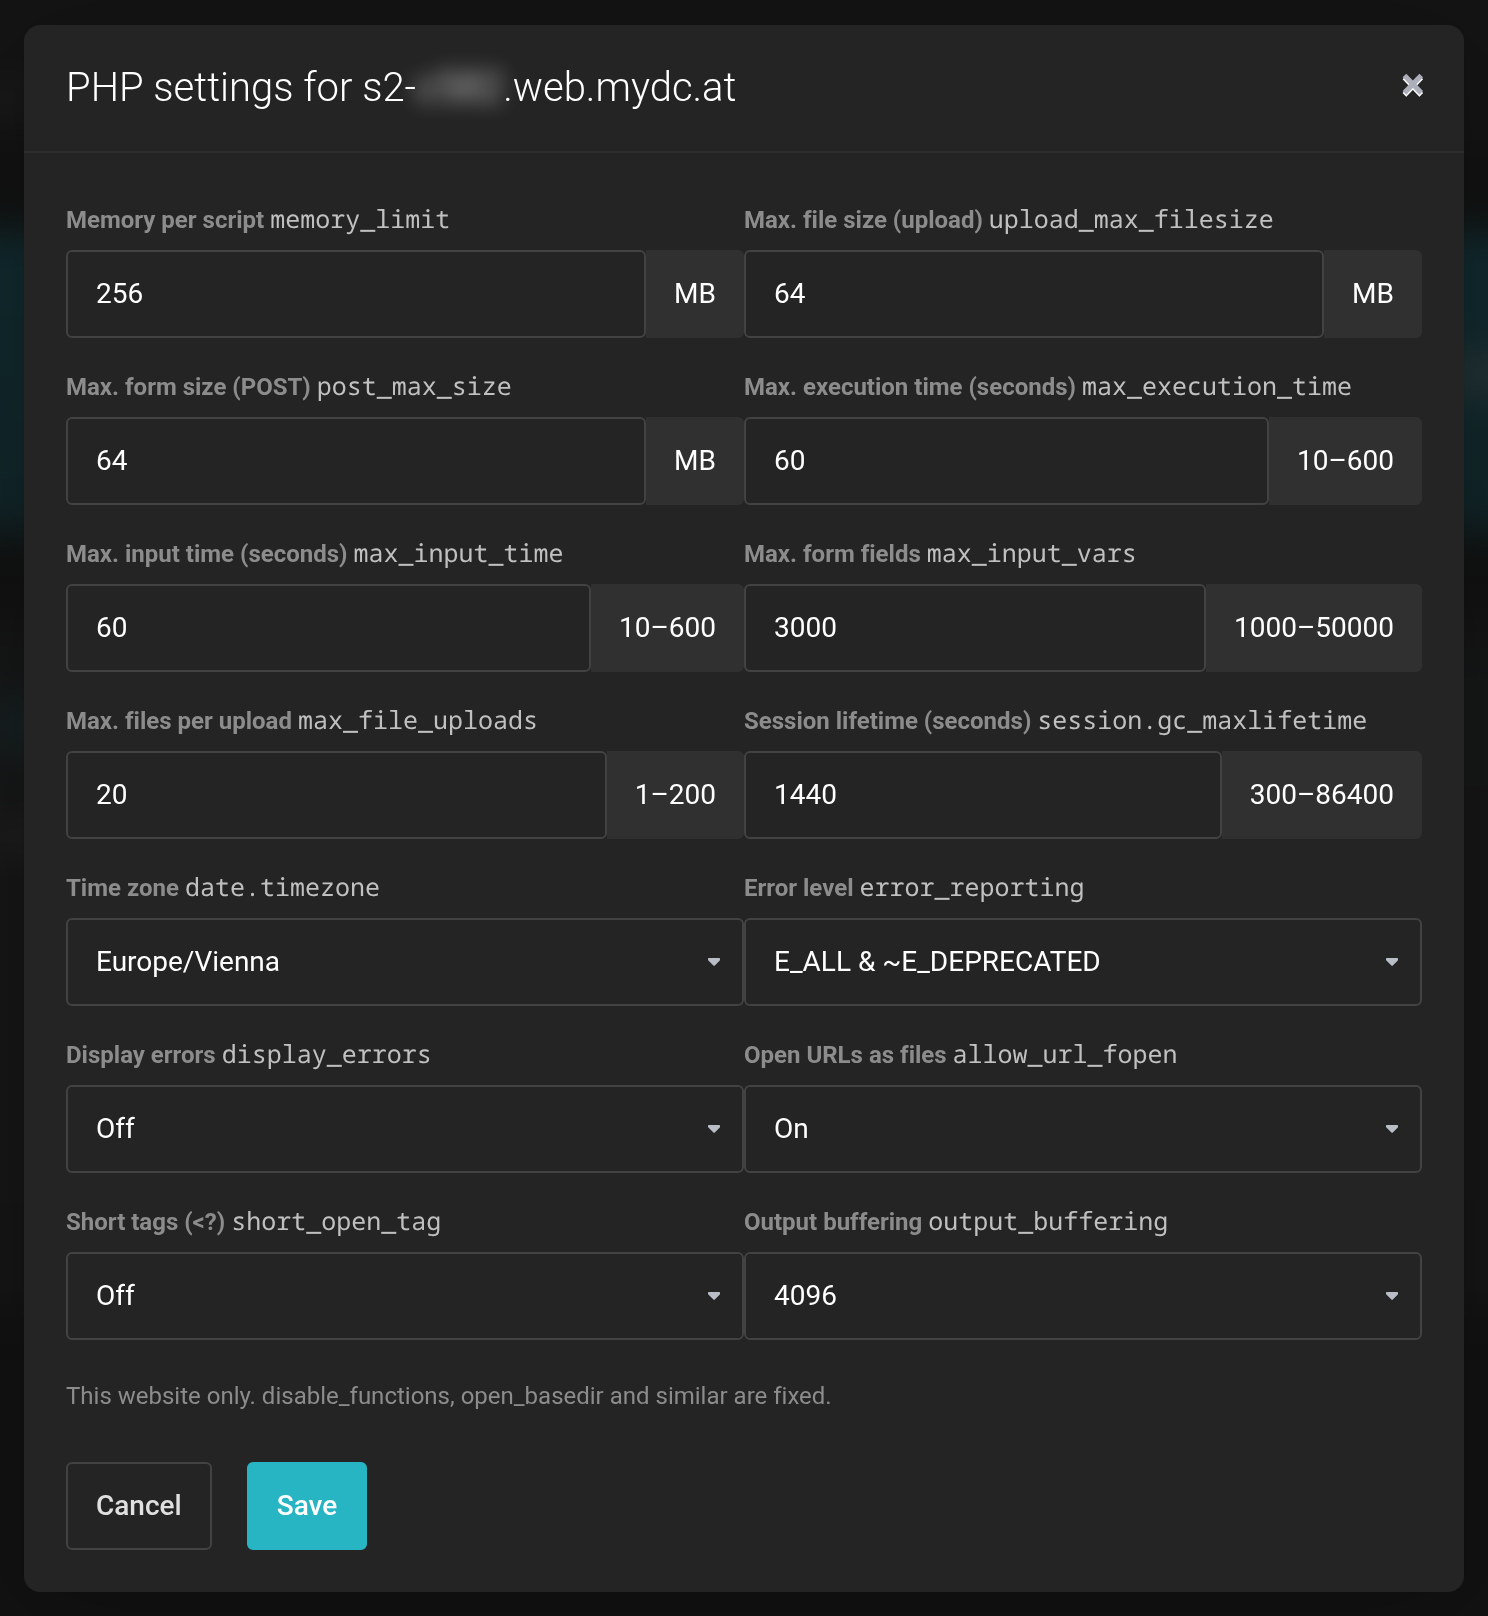 Each field shows its technical name and the allowed range.
The most common settings:
| Field | What it is for |
|---|---|
Memory per script (memory_limit) | The memory a single page request may use at most. |
| Max. file size (upload) and Max. form size (POST) | How large uploaded files may be. Raise both together. |
| Max. execution time (seconds) | How long a page request may compute before PHP stops it. |
| Time zone | For date and time in your application. |
| Display errors | Shows PHP errors directly in the browser. Only switch it on for troubleshooting, then off again. |
Reset to defaults restores all values. Security settings such as disable_functions and open_basedir are fixed and cannot be changed.
You do not change the PHP version itself here but with Edit — see Creating a website and connecting your domain.
The settings page of a website
Under Websites, click Settings (gear icon) in the row of your website. A separate page opens with these sections: Page cache, Maintenance mode, Web server, Redirects, Password protection, Git deploy and Availability. Your websites at the very top takes you back to the list.
Redirects, password protection, maintenance mode and availability are described in Redirects, password protection, maintenance mode and monitoring; Git deploy is covered in Uploading files.
This page does not exist for Node.js and Ruby applications. Cache, redirects, maintenance and password protection are only available for PHP websites.
Web server: Apache mode for .htaccess
By default, nginx serves your website. Many applications, however, ship with .htaccess files — small rule files for Apache, for example for friendly URLs, redirects or access control. For these to take effect, switch on Apache mode.
- In the Web server section, click Enable Apache mode.
- The website restarts briefly. Afterwards the top right shows Apache instead of nginx.
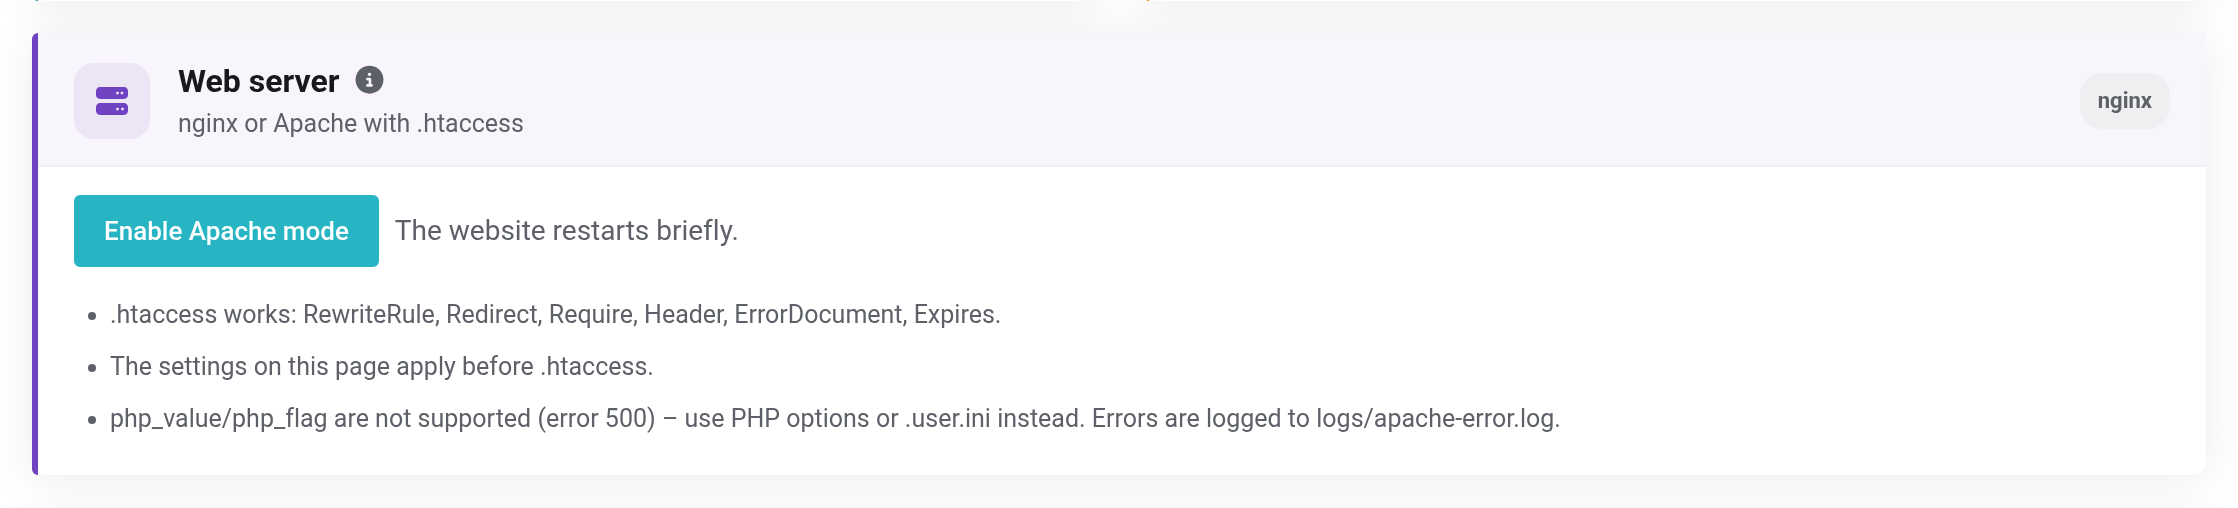
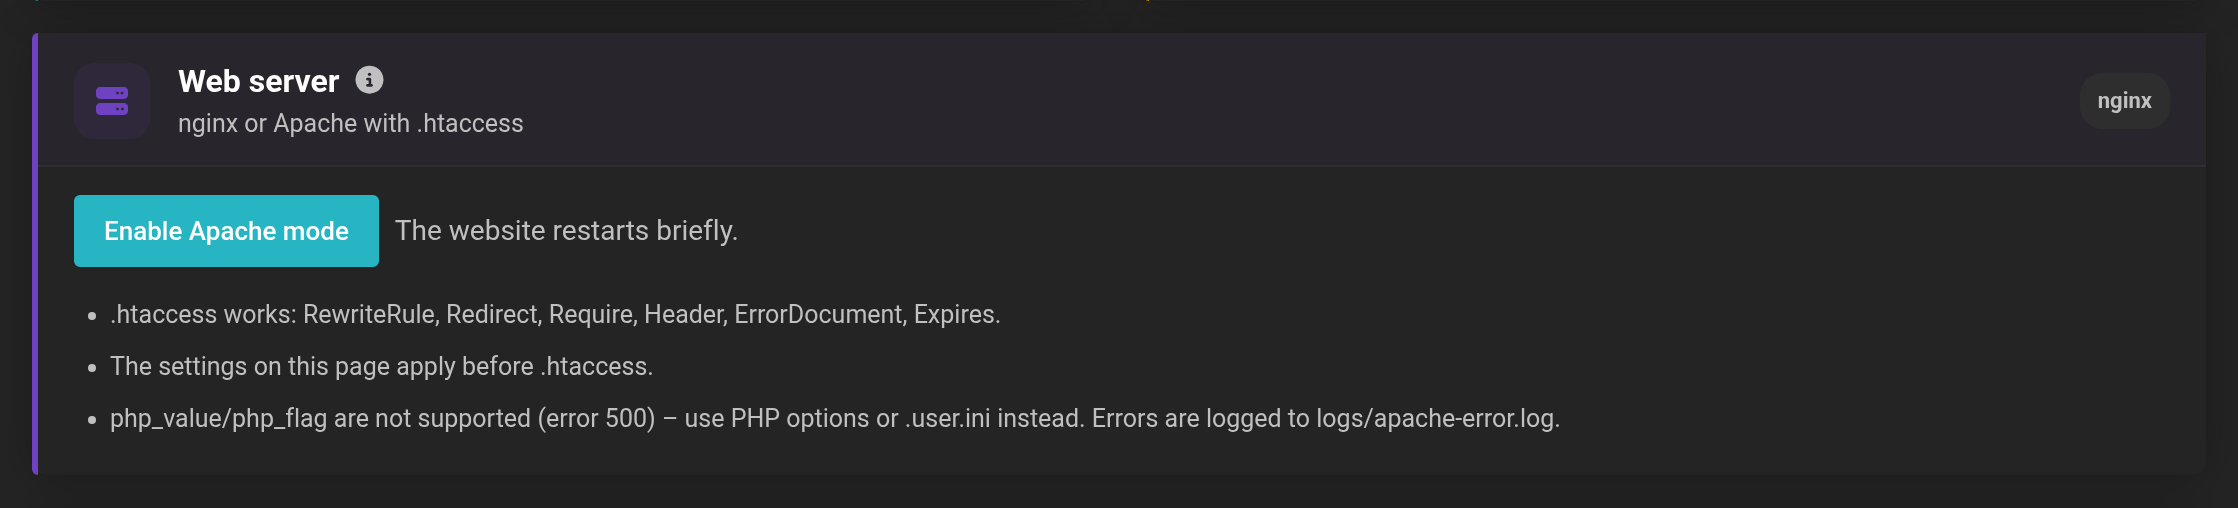 Apache mode evaluates the website's .htaccess files.
Good to know:
- In
.htaccess,RewriteRule,Redirect,Require,Header,ErrorDocumentandExpireswork. - The settings on the settings page apply before
.htaccess. php_valueandphp_flagdo not work and cause error 500. Change PHP values in the PHP settings or in a.user.inifile instead. Errors are logged tologs/apache-error.login the website's folder.- Nextcloud, Shopware and MediaWiki run with nginx only; Apache mode is not available for them.
Back to nginx switches the mode off again.
Page cache
The page cache stores finished pages for a few minutes. Visitors then get them without waiting, and your website needs less computing power.
- In the Page cache section, choose the duration, between 1 minute and 1 hour.
- Click Enable.
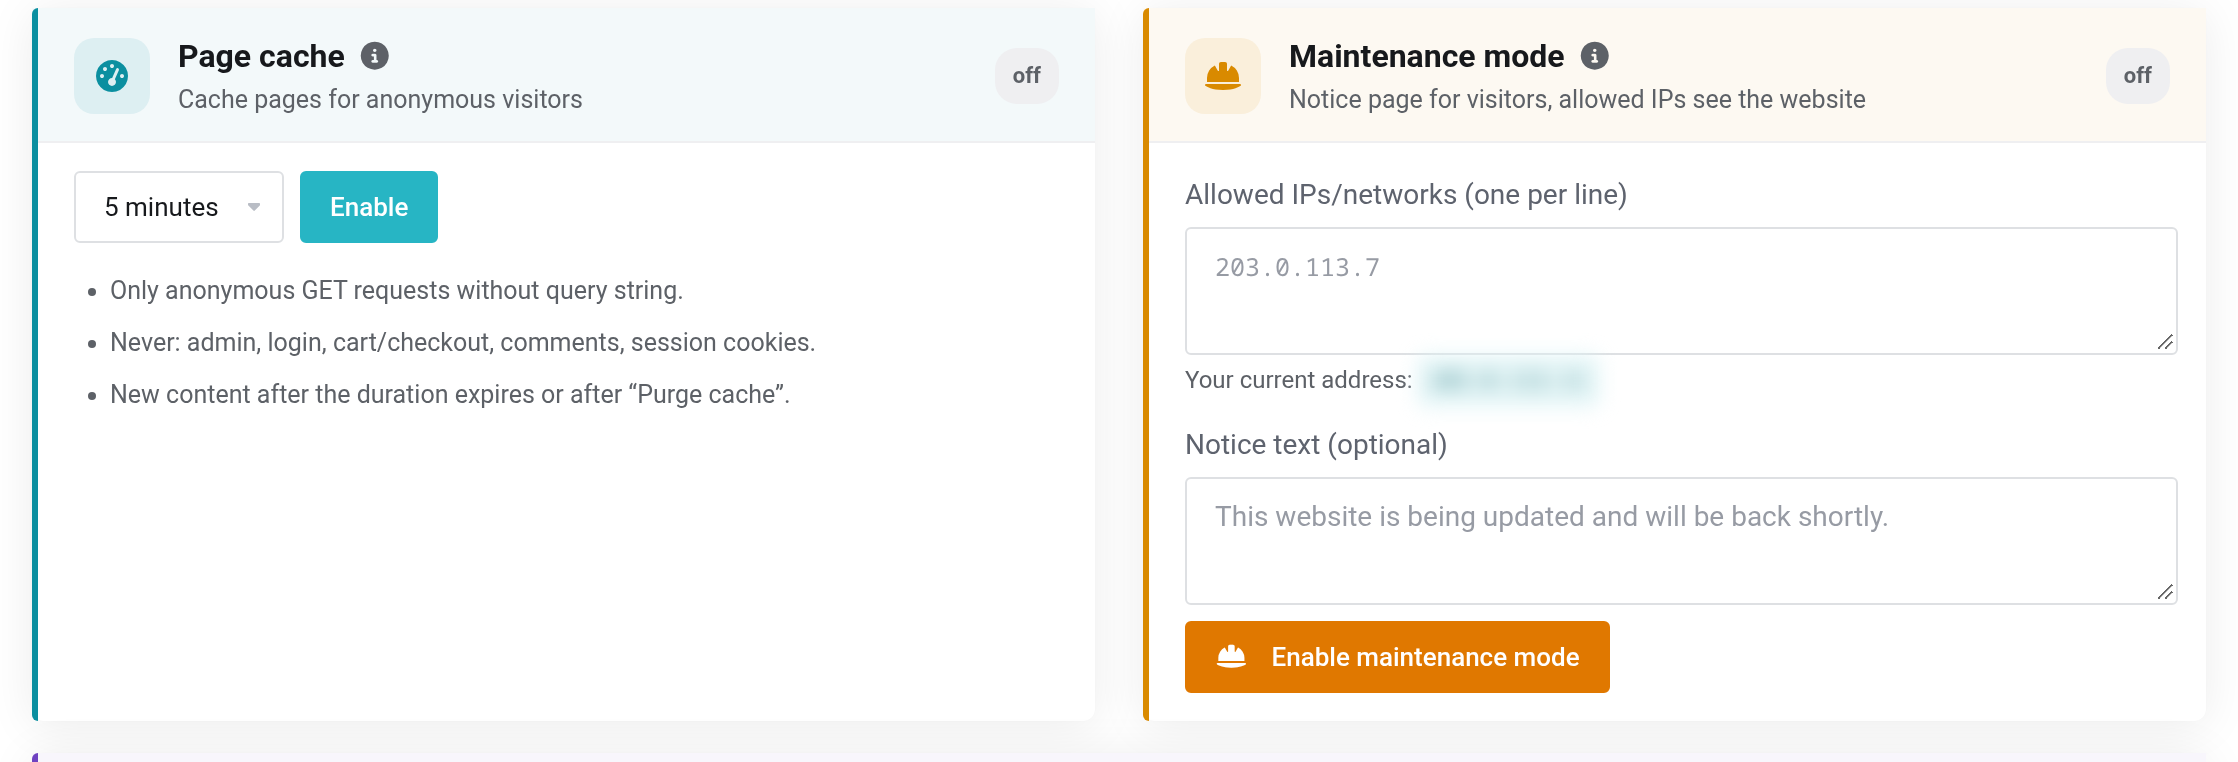
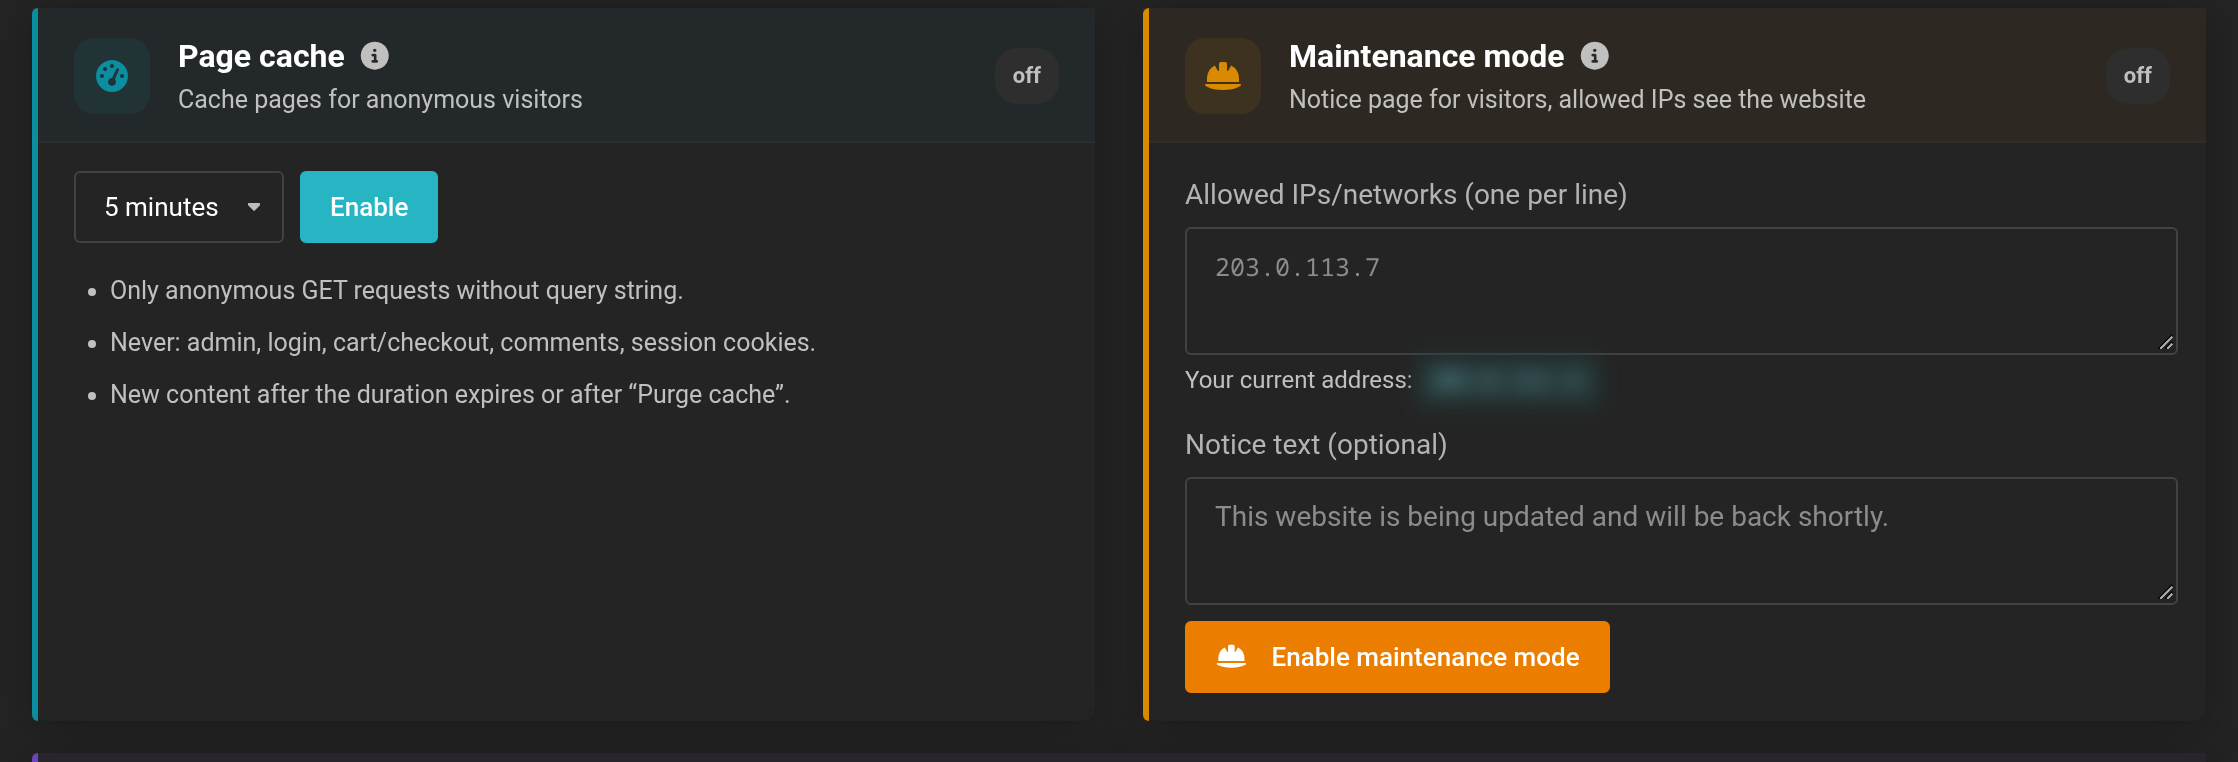 Page cache and maintenance mode are at the top of the settings page.
Only pages for anonymous visitors without parameters in the address are cached. The admin area, sign-in, cart and checkout, comments and anything with a session cookie are never cached. Signed-in editors therefore always see the current state.
New content appears for visitors once the duration expires — or immediately when you click Clear cache. The page cache has no effect for Nextcloud; Redis helps there, see Cron jobs, Memcache, Redis, Node.js and Ruby.
If it does not work
- …: allowed is … to ….
- A value is outside the allowed range. The range is shown next to the field.
- Error 500 after enabling Apache mode
- Usually there is a
php_valueorphp_flagline in an.htaccessfile. Remove it and set the value in the PHP settings. The exact cause is inlogs/apache-error.log. - Visitors see an old version of the page
- The page cache is still serving the stored copy. Click Clear cache.


