
Your Managed Webserver is backed up automatically every night — all websites and all databases, on a separate backup server. This article shows how to restore a backup, download an archive, import a backup of your own and additionally transfer backups to your own server.
What is backed up
Open Backups in the left-hand column. The Backups section shows:
- when the last backup ran and when the next one starts,
- how many backups are kept, for example 14 daily and 8 weekly backups,
- for each backup the time, the content (your websites and databases) and the size.
You do not have to switch anything on. Before a larger change you can additionally start a backup with Back up now — at the earliest 10 minutes after the last one.
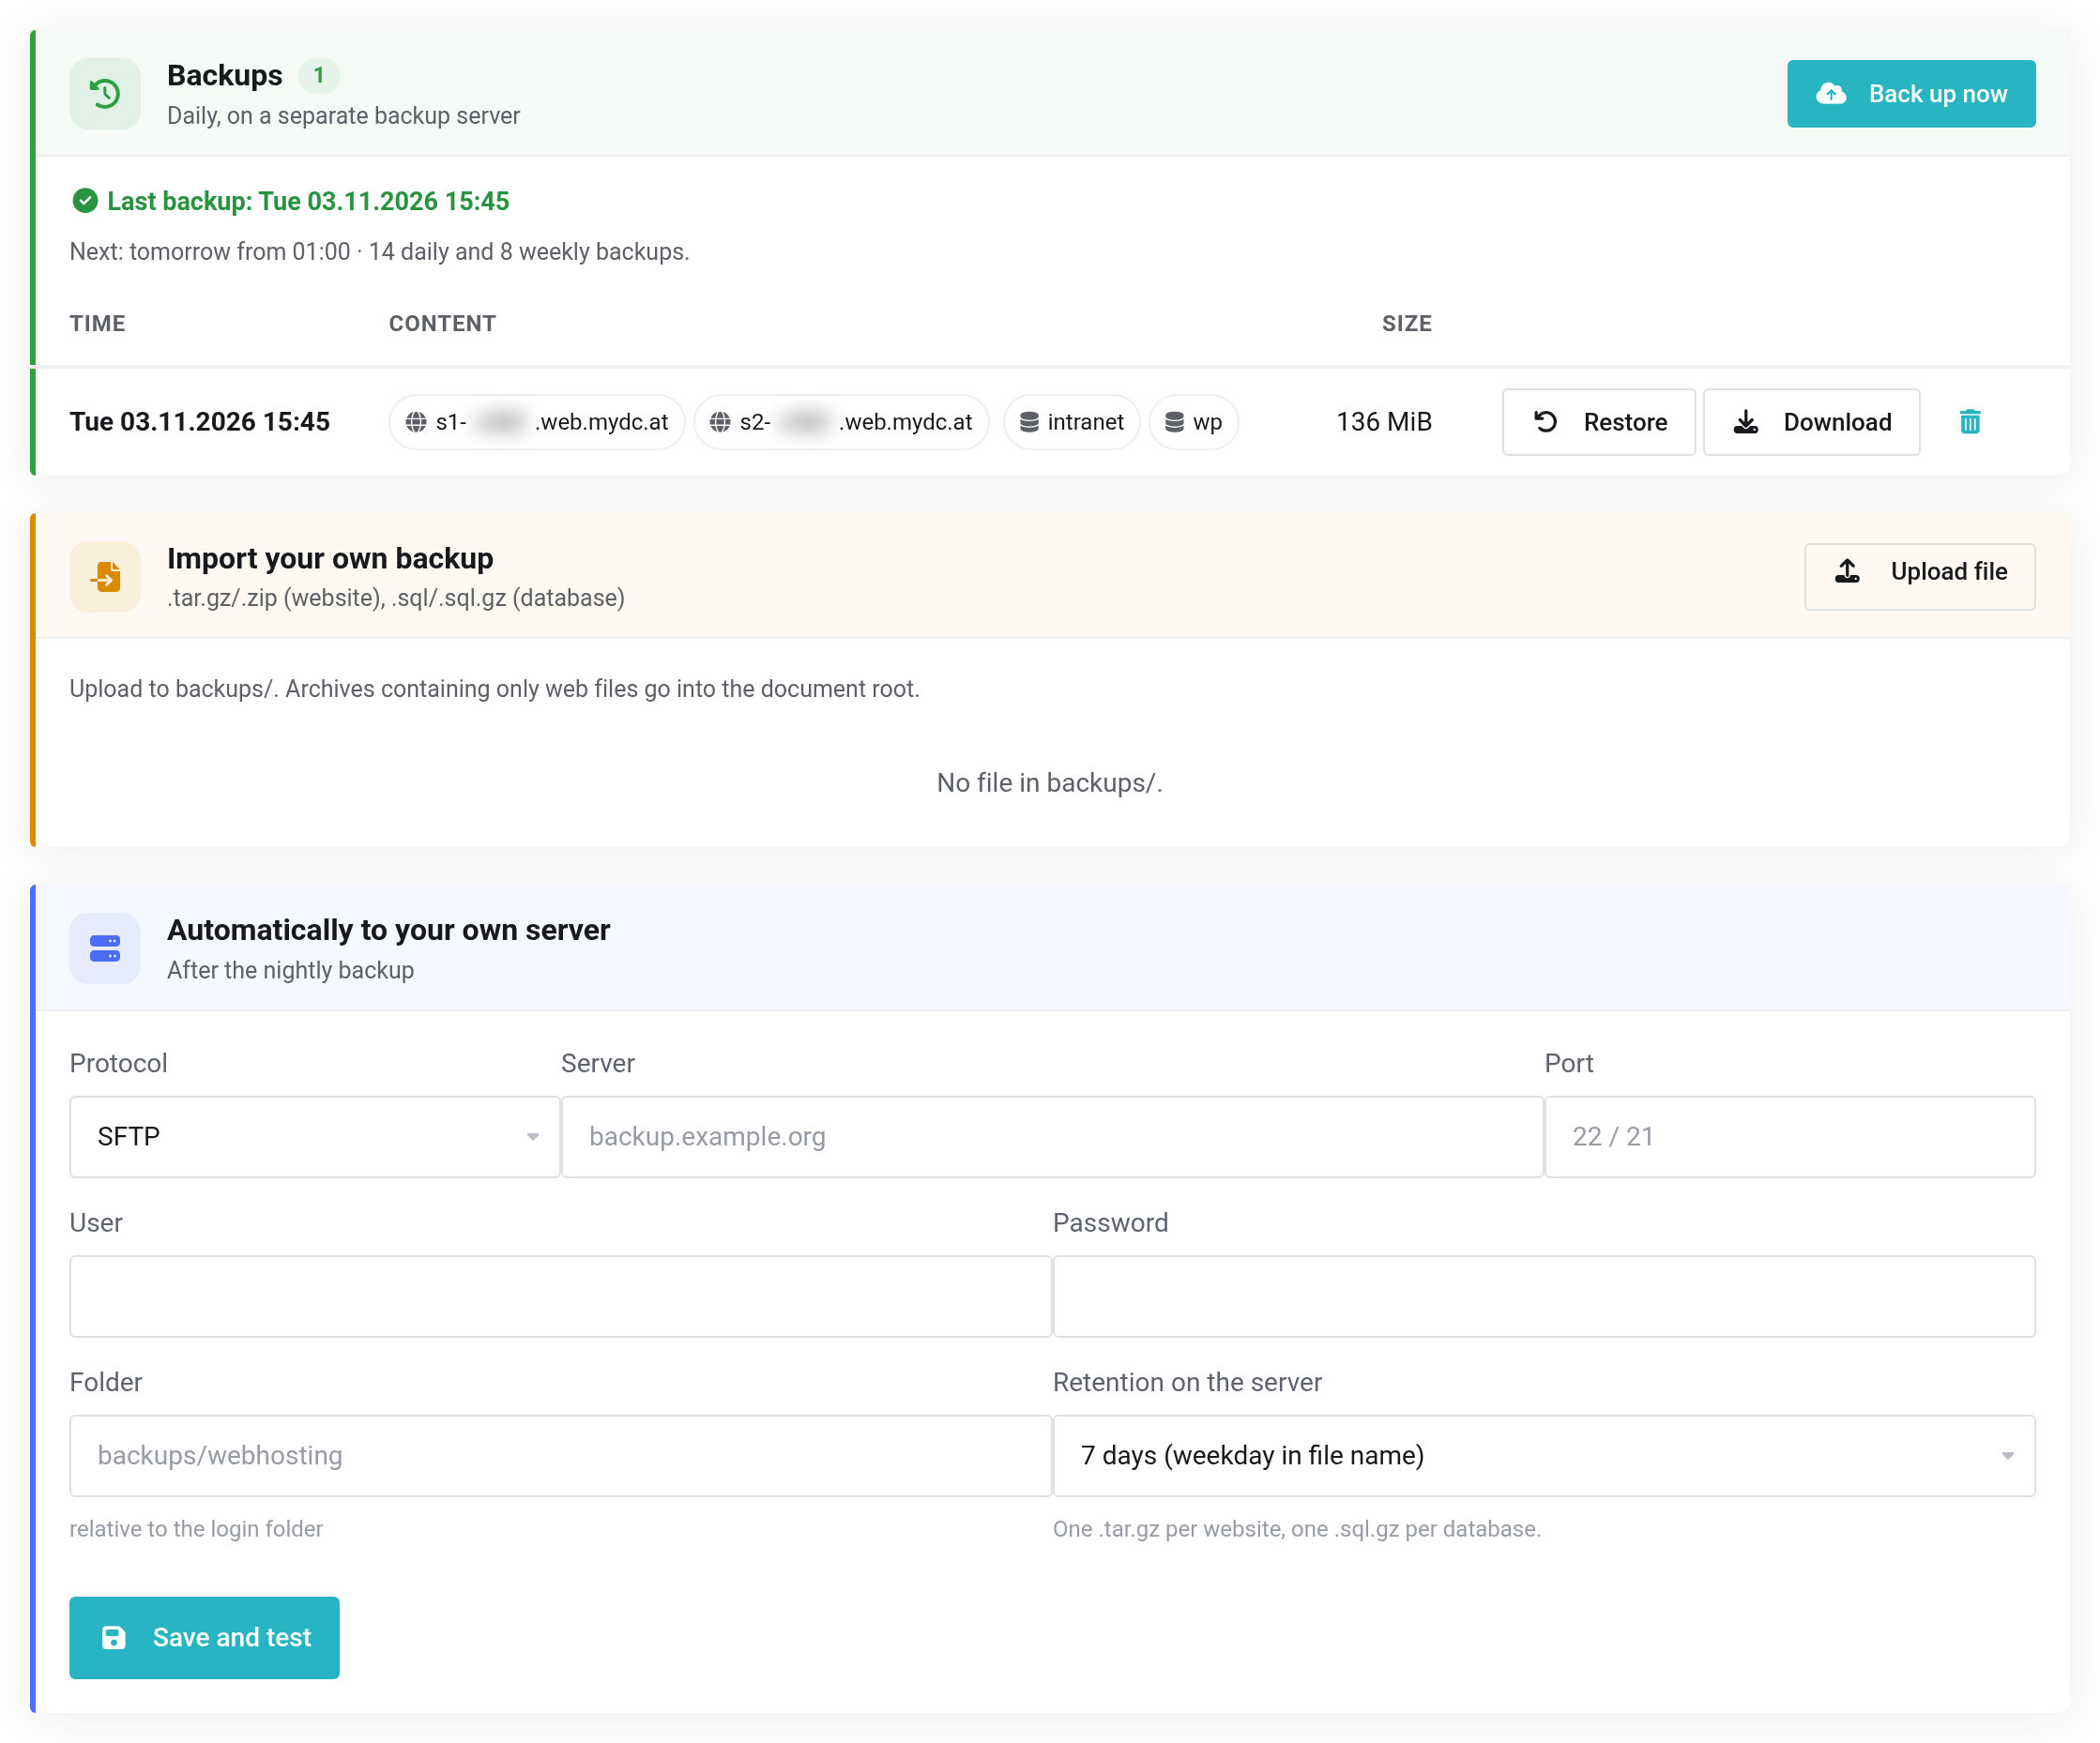
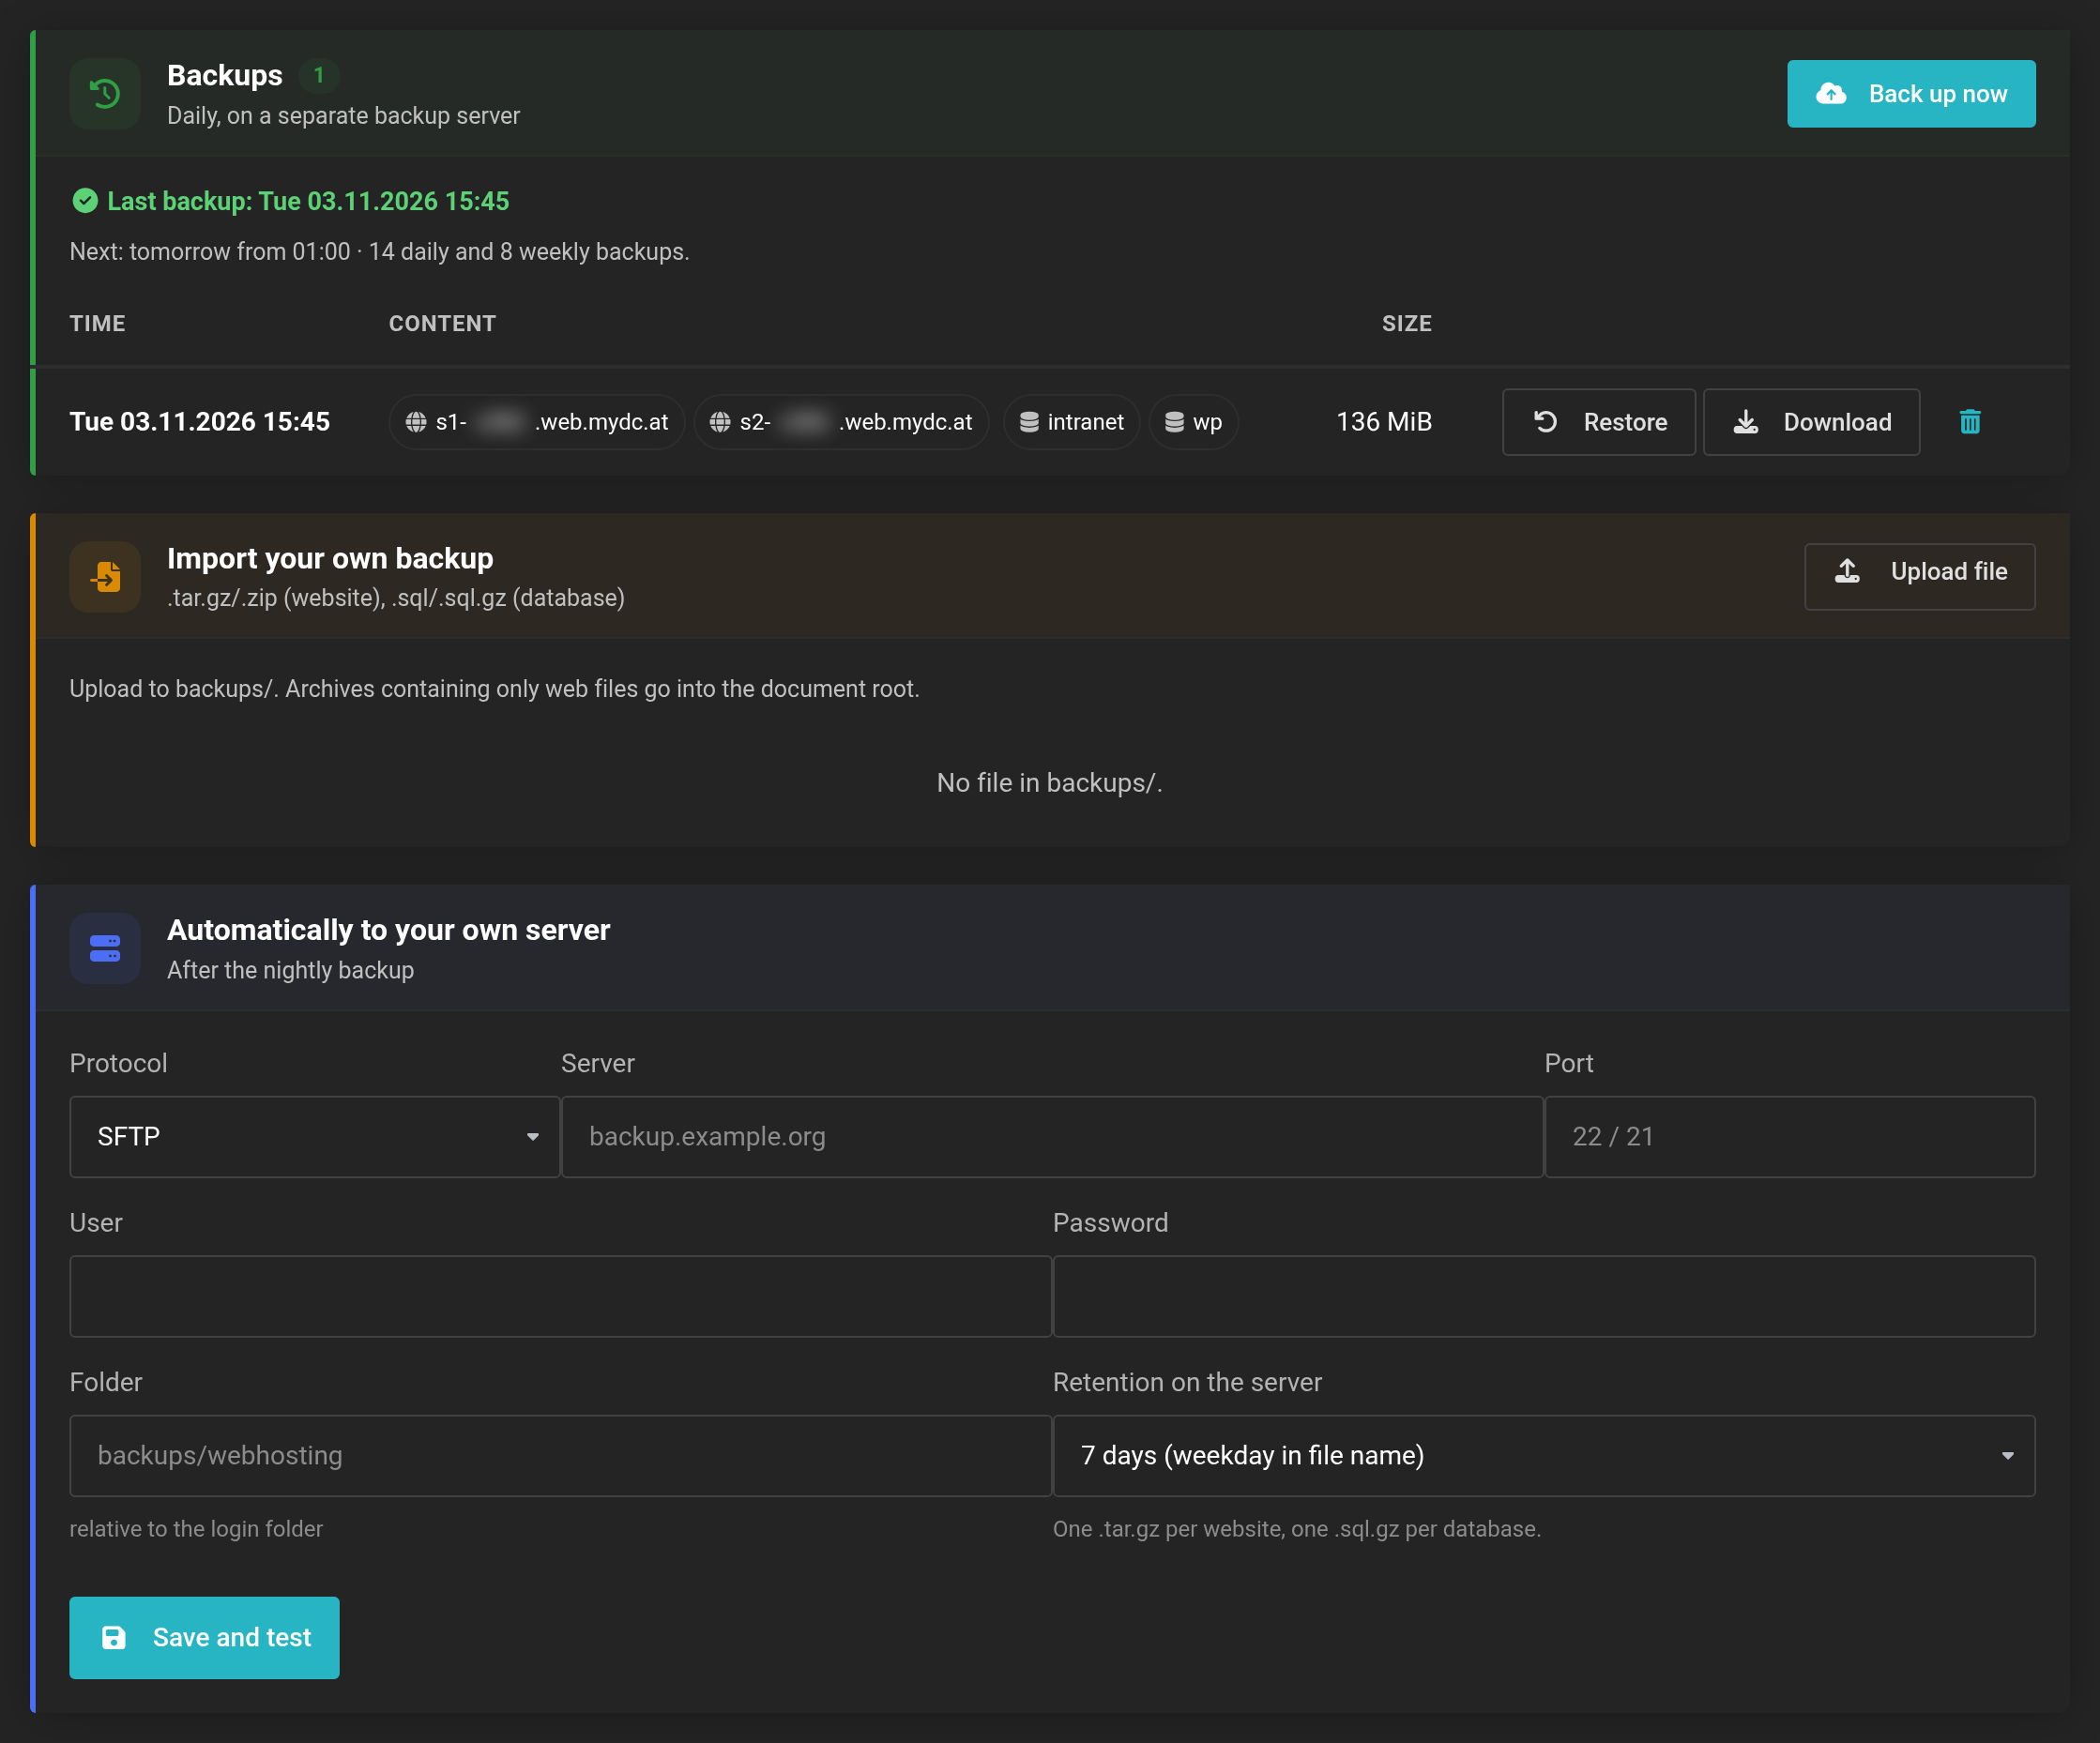 A backup contains all websites and databases of the package.
Restoring
You can bring back a whole website, individual files and folders or a database.
- Click Restore in the row of the backup you want.
- Under What?, choose:
- Entire website — the whole website,
- File or folder from a website — then enter the path under Path inside the website, for example
public/wp-content/uploads, - Database — a database.
- Under How?, choose:
- As a copy in restore/ — the state from the backup goes into the
restore/folder, and your website stays unchanged. This is the safe way if you want to compare first. - Replace — the current state is overwritten. The
logs/folder is kept. Confirm by ticking Yes, overwrite the current state.
- As a copy in restore/ — the state from the backup goes into the
- Click Restore.
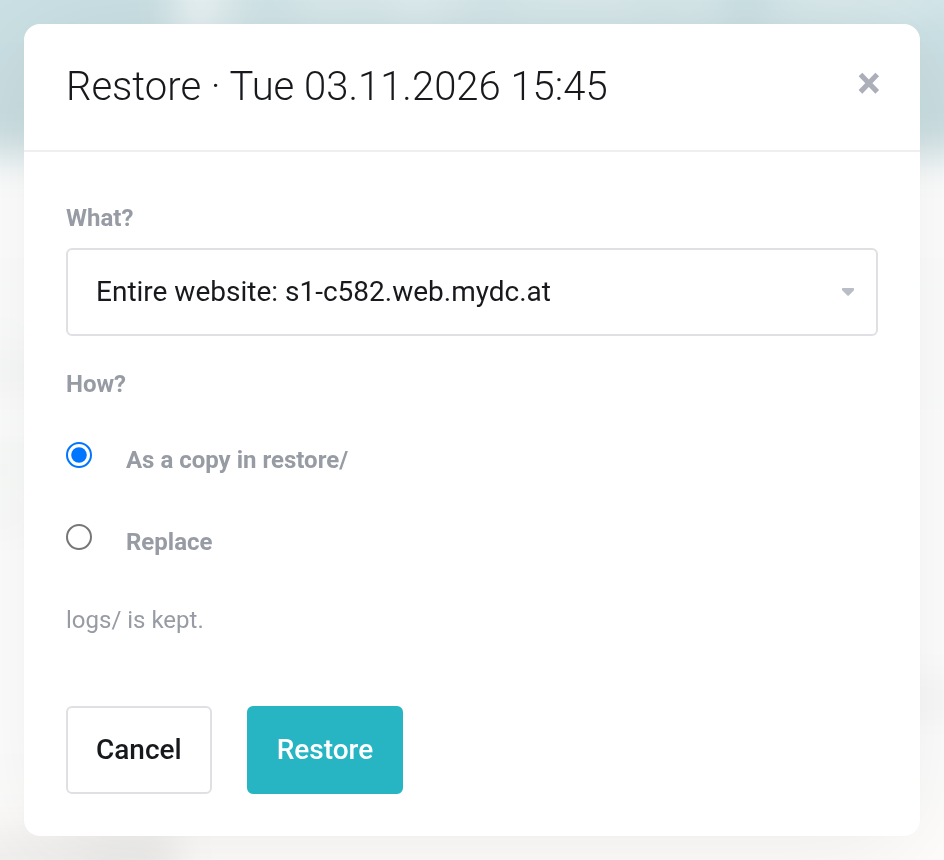
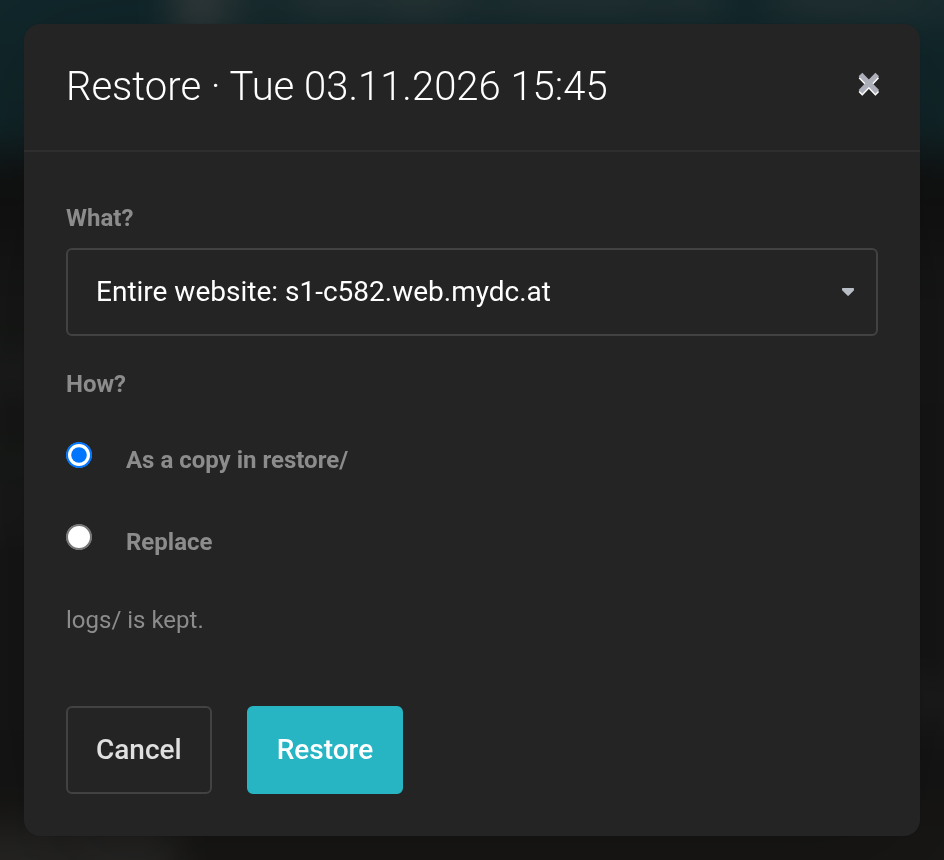 Restoring as a copy leaves your website unchanged.
Replace overwrites the current state. Everything added since the backup is lost. For a database, the whole database is replaced; user and password stay the same. If you are unsure, restore as a copy first.
If a database has been deleted in the meantime, we recreate it when restoring. If the backup does not contain the old password, set a new one under Databases afterwards and enter it in your application.
Downloading
- Click Download in the backup's row.
- Under What goes into the archive?, choose a website (
.tar.gz), a database (.sql.gz) or Everything (websites + databases). - Click Create archive.
- When the archive is ready, it is kept in the
backups/folder for 7 days. With Open in file manager you download it to your computer.
Importing your own backup
This is how you take over a website from another provider or restore a backup of your own.
- In the Import your own backup section, click Upload file. The file manager opens in the
backups/folder; upload your file there. Accepted are.tar.gzor.zipfor a website and.sqlor.sql.gzfor a database. - Go back to Backups. The file is now in the list.
- Click Import and choose under Where to? the website or database to be replaced. Tick Yes, overwrite the current state and click Import in the dialog.
If an archive contains only the website's files, they go into the document root. If a database import fails, the previous state is kept.
Importing replaces the current content of the target. For a website you take over, it is best to create a new, empty website and a new database.
Automatically to your own server
In addition to our backups, you can have a copy transferred to a server of your own every night — one .tar.gz per website and one .sql.gz per database.
- In the Automatically to your own server section, choose the Protocol: SFTP, FTPS or FTP.
- Enter Server, Port, User and Password of your server, and the target folder under Folder, relative to the login folder.
- Under Retention on the server, choose whether 7 days are kept there (the weekday is in the file name) or only the latest copy.
- Click Save and test. We check the connection immediately.
Afterwards you see when the last upload took place. Upload now starts a transfer immediately, Switch off ends it. FTP transfers unencrypted — use SFTP or FTPS if you can.
Deleting a backup
The trash icon in the row deletes a backup permanently. You only need this if a backup contains data that must not be kept.
If it does not work
- The last backup is less than 10 minutes old.
- Wait a few minutes and click Back up now again.
- File missing in backups/ or unknown format.
- The file is not directly in the
backups/folder or has an ending other than.tar.gz,.zip,.sqlor.sql.gz. - Connection to the server failed: …
- Your own server cannot be reached at that server and port, or it rejects the sign-in. Check the details and whether your firewall allows connections from outside.


