
Under Services you find everything that goes beyond simply serving pages: caches that make your website faster, commands that run at fixed times, and applications with Node.js or Ruby instead of PHP. Email sending on the same page has an article of its own: Sending email from your website.
Memcache and Redis
Memcache and Redis are fast caches in memory. Applications such as WordPress, Joomla or Nextcloud store frequently used data there instead of fetching it from the database every time. This takes load off the database and speeds up the website noticeably.
Requirement: your package includes the Memcache & Redis option. Otherwise both sections show Not in your plan. — you can add the option, see Changing resources.
- In the Memcache or Redis section, choose the size.
- Click Enable. The top right then shows active with the size.
- Enter the Socket shown below the section in your application.

 Here Redis is active and Memcache is off.
| Service | Socket | Example |
|---|---|---|
| Memcache | /run/memcached/memcached.sock | WordPress with a Memcached object cache: the socket as server, port 0. |
| Redis | /run/redis/redis.sock | WordPress: WP_REDIS_SCHEME = unix, WP_REDIS_PATH = /run/redis/redis.sock. Laravel: REDIS_SCHEME = unix, REDIS_PATH = /run/redis/redis.sock. |
Both services are available to all your websites and reachable only by them. The memory you choose here counts towards the RAM of your package. If you install WordPress, Joomla or Nextcloud with one click, we switch Redis on automatically if your package includes it.
Apply size changes the size of a running service. Disable stops it; its content is lost, which does not matter for a cache.
Cron jobs
A cron job is a command that runs automatically at fixed times — for example WordPress's background tasks or a nightly export. A one-click installation creates the cron job it needs by itself.
- In the Cron jobs section, click Add cron job.
- Choose the Schedule, for example every 15 minutes or daily with a time. With custom schedule you define it freely, for example
Mon..Fri *-*-* 07:30for weekdays at 7:30 a.m. - Enter the Command, for example
php artisan schedule:run. - Under Folder, choose the website in whose folder the command should run.
- Keep active ticked and click Save.
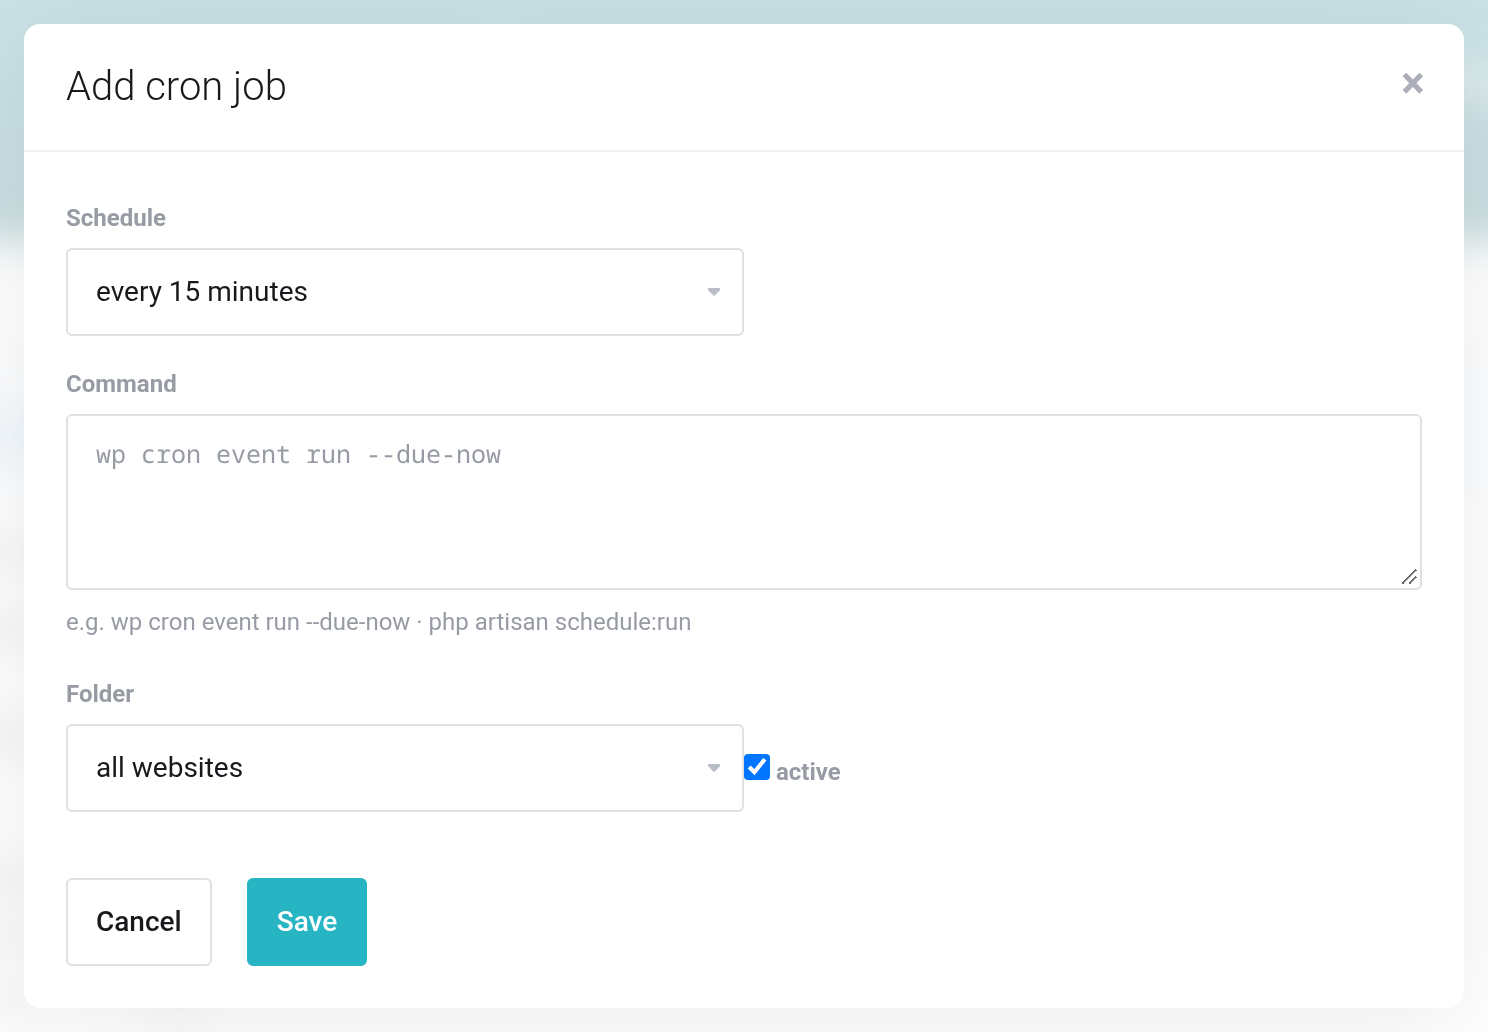
 Choose the schedule, enter the command, set the folder.
The command runs in the website's folder with its PHP version. There are at least 5 minutes between two runs, and a run may take at most 15 minutes.
The list shows the schedule, the next and the last run for each cron job. A green last run finished without errors; a red one shows the exit code. At the end of the row you start the job immediately with Run now, see the last output with Show log, change it with Edit or remove it with Delete cron job.

 The one-click installation created the cron job for WordPress.
Node.js and Ruby
Instead of PHP, a website can also run an application with Node.js or Ruby (Rails, Rack). The application then listens on the port from the environment variable $PORT (8080); we take care of the rest — address, certificate, forwarding from outside.
- Create a separate website for the application and put your code into its folder, for example via Git deploy or SFTP.
- In the Applications (Node.js / Ruby on Rails) section, click Set up runtime (gear icon) in the website's row.
- Choose the Runtime and its version.
- Check the Start command, for Node.js for example
npm start. It runs in the website folder and must listen on0.0.0.0:$PORT. - Check the Build command, for example
npm ci && npm run buildorbundle install. It may take at most 14 minutes. - Click Save.
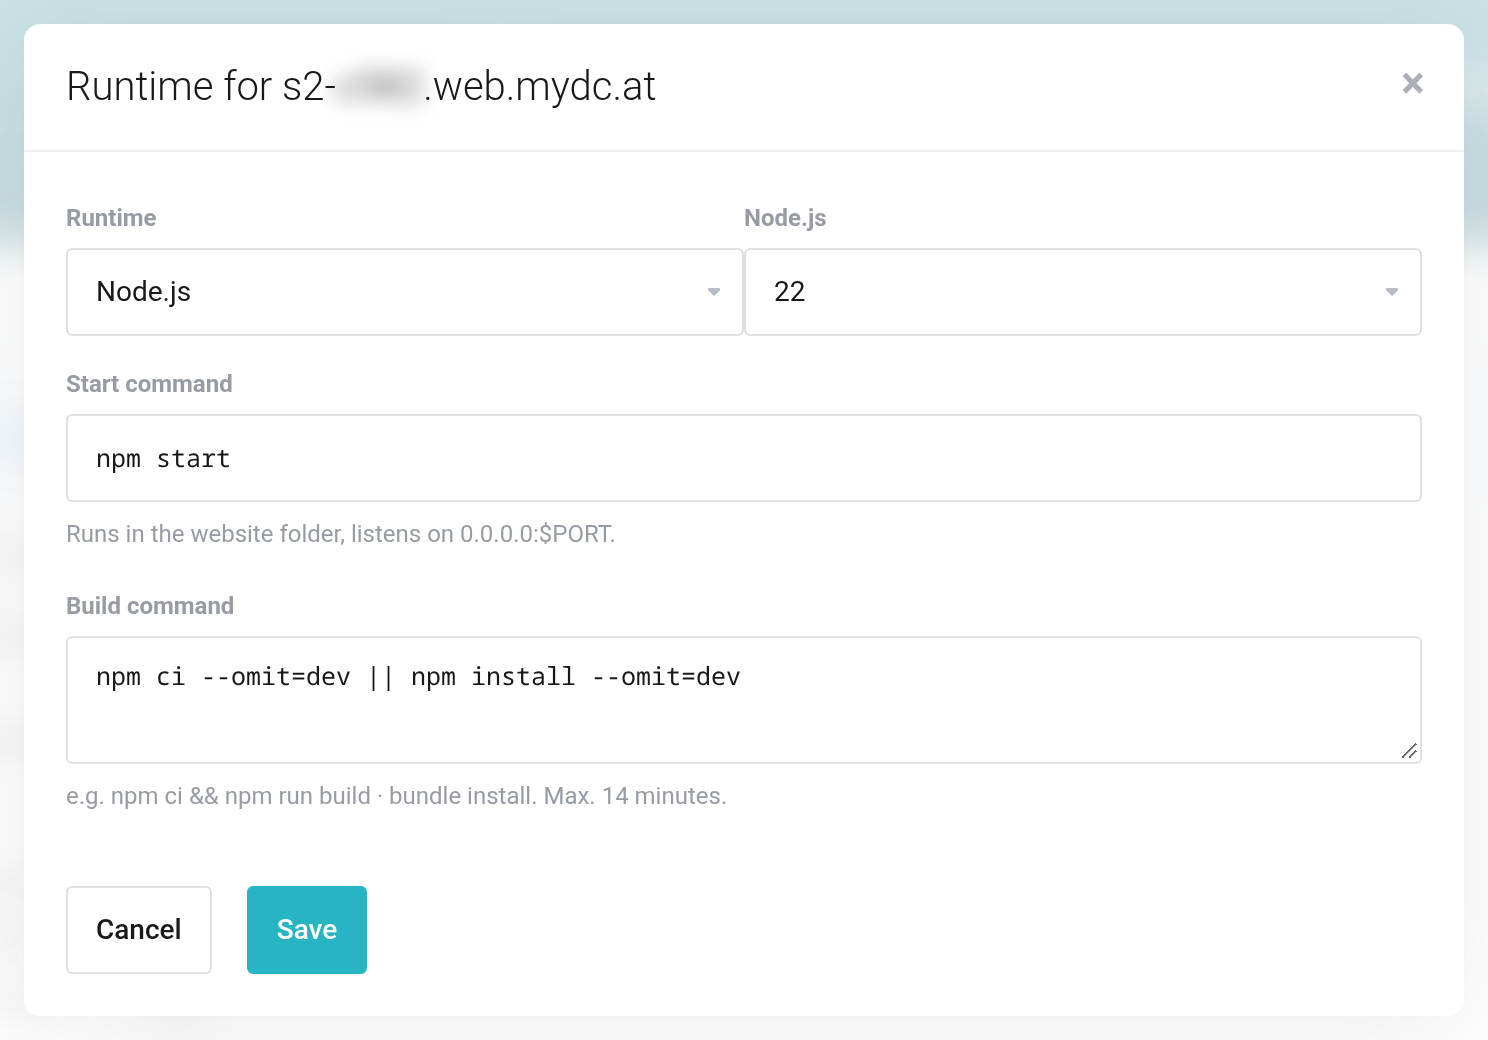
 For Node.js, start and build commands are prefilled.
After each code change, click Build (install dependencies) (hammer icon) in the website's row: this runs the build command and restarts the application. Restart restarts without a build. You find the output under Application log and Log of the last build. With the runtime PHP, you turn the website back into a PHP website.
Node.js and Ruby websites have no settings page. Page cache, redirects, maintenance mode and password protection are only available for PHP websites.
If it does not work
- Interval min. 5 minutes.
- The schedule would start the command more often than every 5 minutes. Choose a longer interval.
- The last run is red
- The command ended with an error. Show log shows the output. Often the right folder is missing: a command like
wpneeds to know where WordPress is, for example with--path=public. - Memcache could not be started.
- Try a smaller size. If that does not help, get in touch with us.
- The Node.js application is not reachable
- The application does not listen on
$PORT, or only onlocalhost. Check the Application log.


