You create a new virtual machine via Add New Virtual Machine in the left-hand column of your platform.
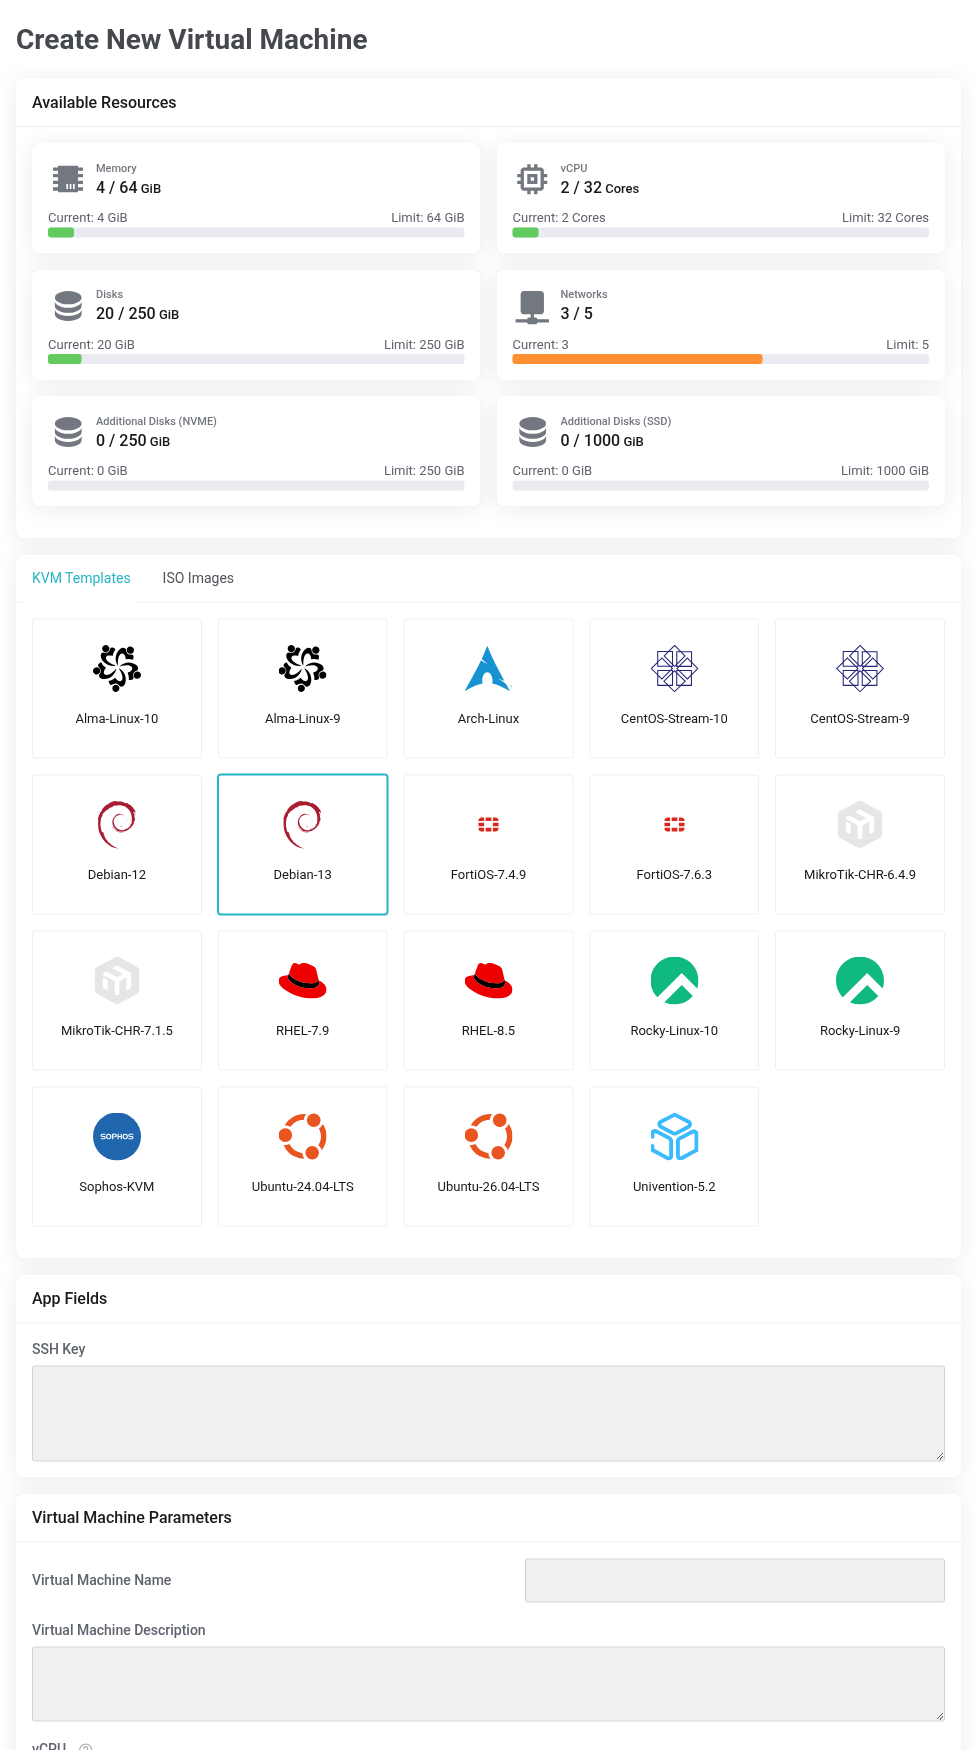
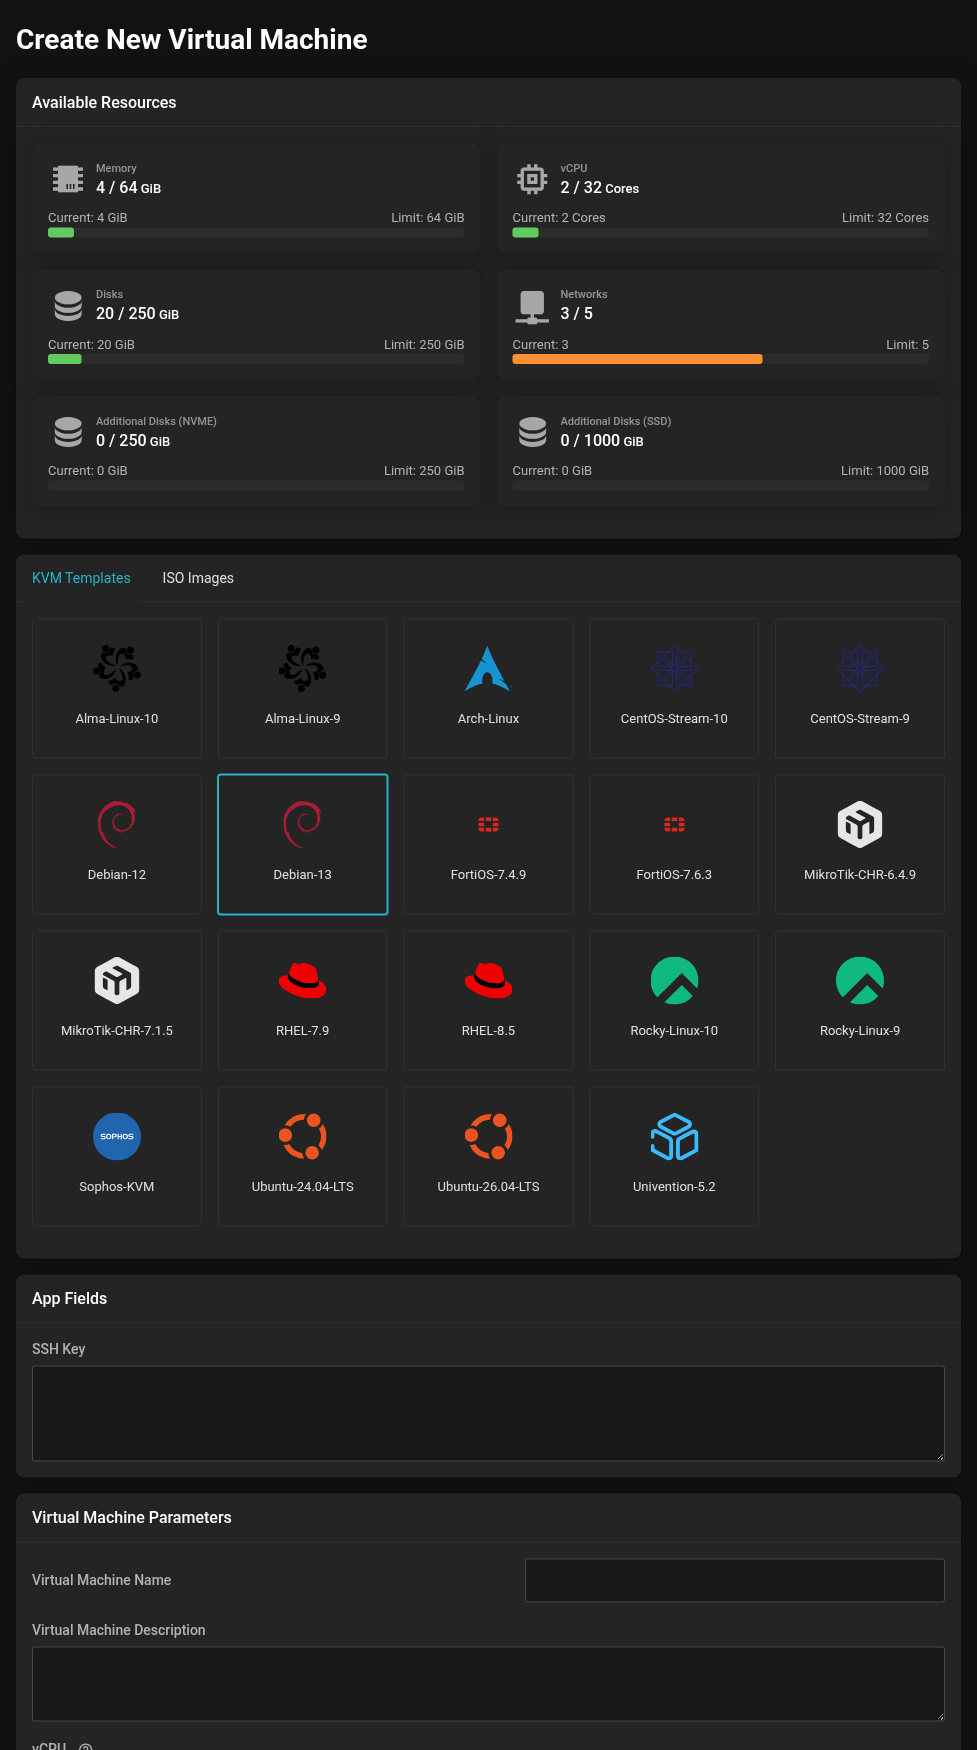 At the top your free allowance, below it the choice of installation source.
Step 1: Installation source
- KVM Templates
- Ready-made images that start right after creation — including Alma Linux, CentOS Stream, Debian, Rocky Linux, Ubuntu, Arch Linux, RHEL and Univention as well as the FortiOS, MikroTik CHR and Sophos appliances. The fastest way.
- ISO Images
- Installation media that you then install yourself through the console — Debian and Ubuntu as Netinst or Live Server, plus OPNsense, pfSense and Windows Server.
Step 2: Parameters
- Virtual Machine Name
- Used throughout as the hostname and in the management view.
- Virtual Machine Description
- Free to choose; it helps you recognize the machine.
- vCPU and VM RAM
- Via sliders, out of your free allowance.
- Disk Size [GiB]
- The boot disk.
- BIOS
- BIOS or UEFI. When in doubt, BIOS; UEFI is needed by current Windows versions and some appliances, among others.
- Search Domain, Name Server, Second Name Server
- With templates, these are carried over into the system.
- Os Type
- Select the matching operating system — it determines virtualization parameters that noticeably affect performance.
- Secondary ISO
- A second medium that is mounted in addition. For Windows, the driver disk belongs here — see Creating a Windows server.
- SSH Key
- With Linux templates, the stored public key is set up — see Creating and using SSH keys.
Step 3: Networks and additional disks
Under Virtual Networks you give the VM one or more network interfaces and assign each of them a virtual network together with an IP address. A firewall VM typically gets several interfaces here, for example WAN, LAN and DMZ.
Under Additional Disks you attach further disks and choose, for each disk, the storage (NVMe or SSD) and whether it is included in the backup.
Create the virtual network before you create the VM. Only networks that already exist can be selected during creation.
Creating the VM
Submit creates and starts the virtual machine. It then appears in the list on your platform; clicking the name opens the management view.