
There are three ways to get your files onto the Managed Webserver: with the file manager right in the browser, with an FTP program such as FileZilla over SFTP or FTPS, or automatically from a Git repository. If you like working on the command line, you also get an SSH shell.
The quickest way: the file manager
Click File manager in the left-hand column. You are signed in right away and see the folders of your websites — s1, s2 and so on. Your home page belongs in the document root, s1/public by default.
- Upload Files uploads files from your own computer.
- New Folder and New file create folders and files. You edit text files right in the browser.
- The menu at the end of each row (three dots) offers further actions for a file or folder.
- Open in new tab gives you more room.
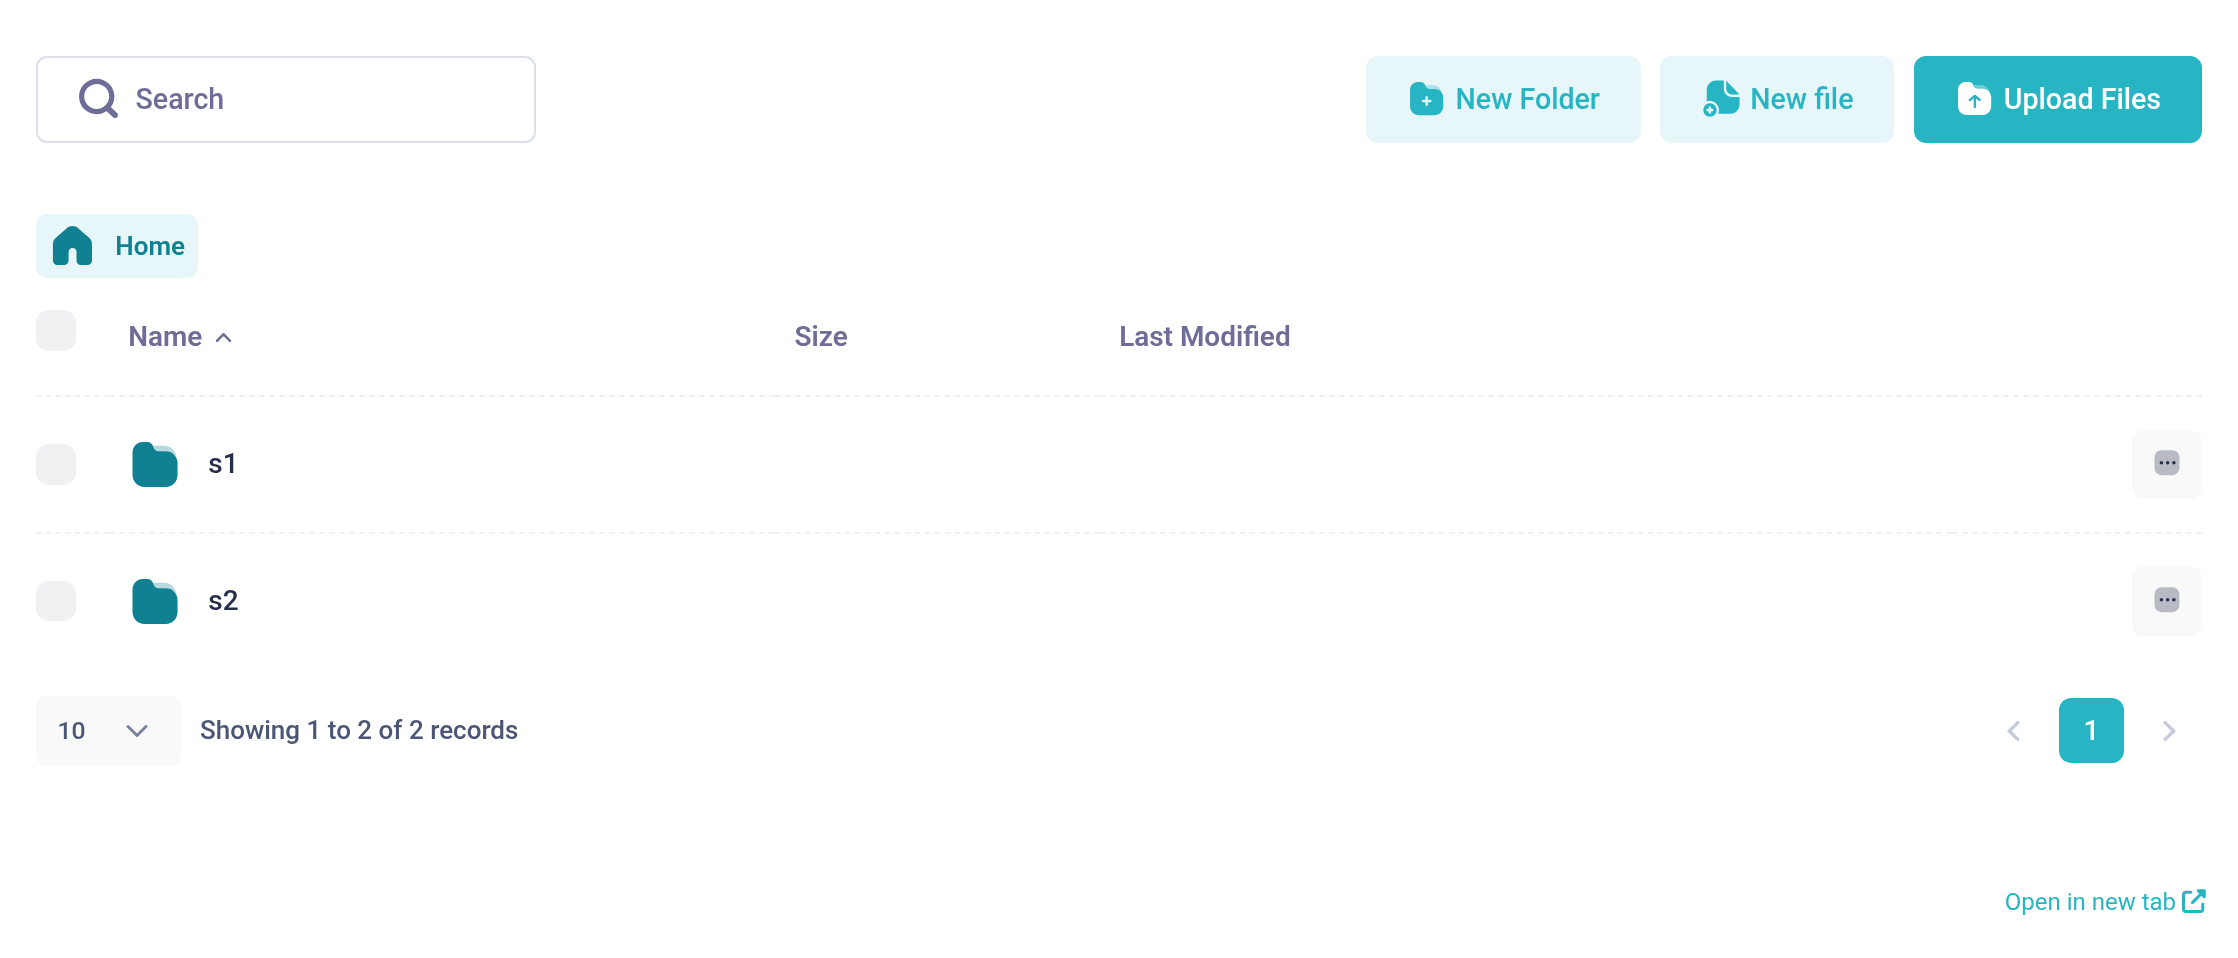
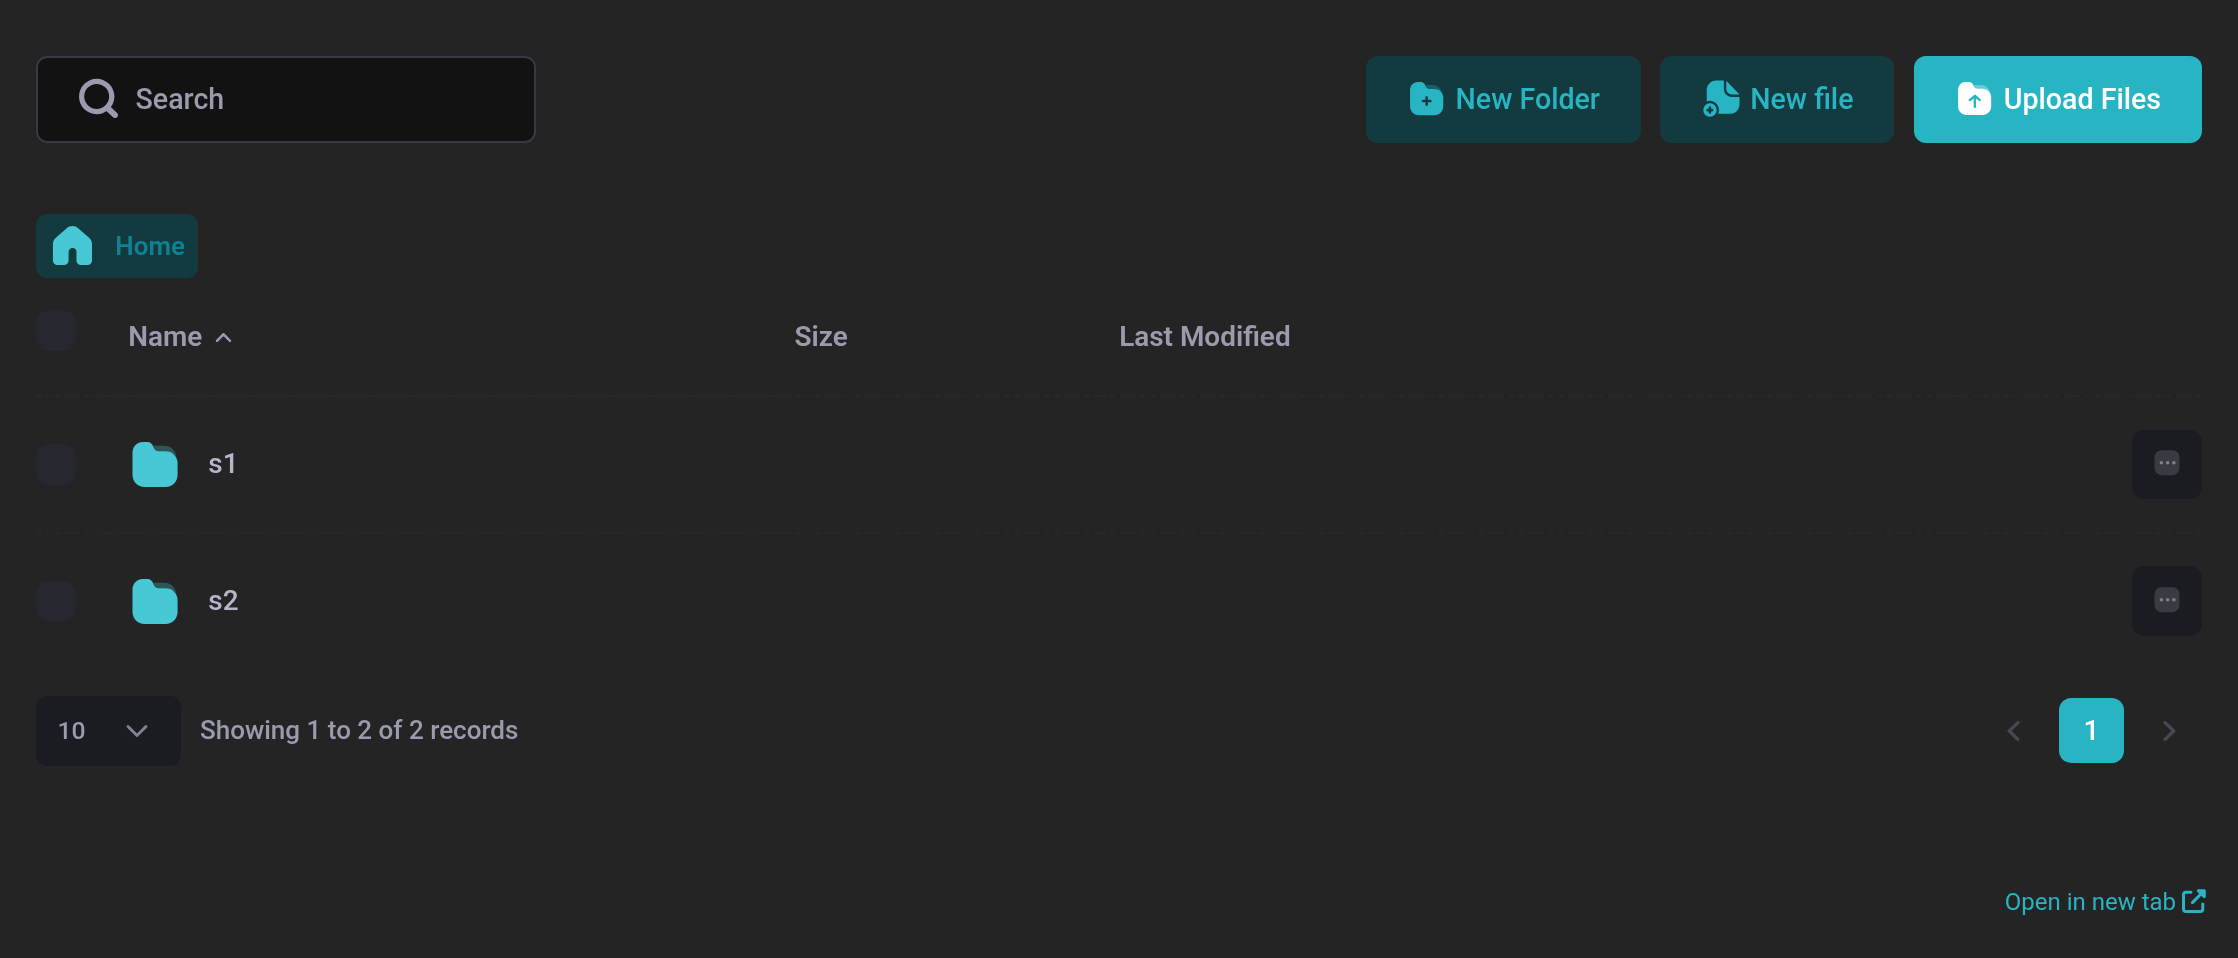 One folder per website. The folder icon in the website list opens the right one directly.
Connection details
For an FTP program or the shell you need the details from Access → Connection details:
| Row | Meaning |
|---|---|
| Server | The server name for SFTP and SSH. |
| SFTP | Port 22, sign-in with password or SSH key. |
| FTPS | A server name of its own, shown in this row, and port 21. Encrypted only (explicit TLS); plain FTP is switched off. |
| SSH (shell) | Port 2222, SSH key only. The ready-made command is shown below it. |
| Folders | One folder per website; the document root inside it is served. |
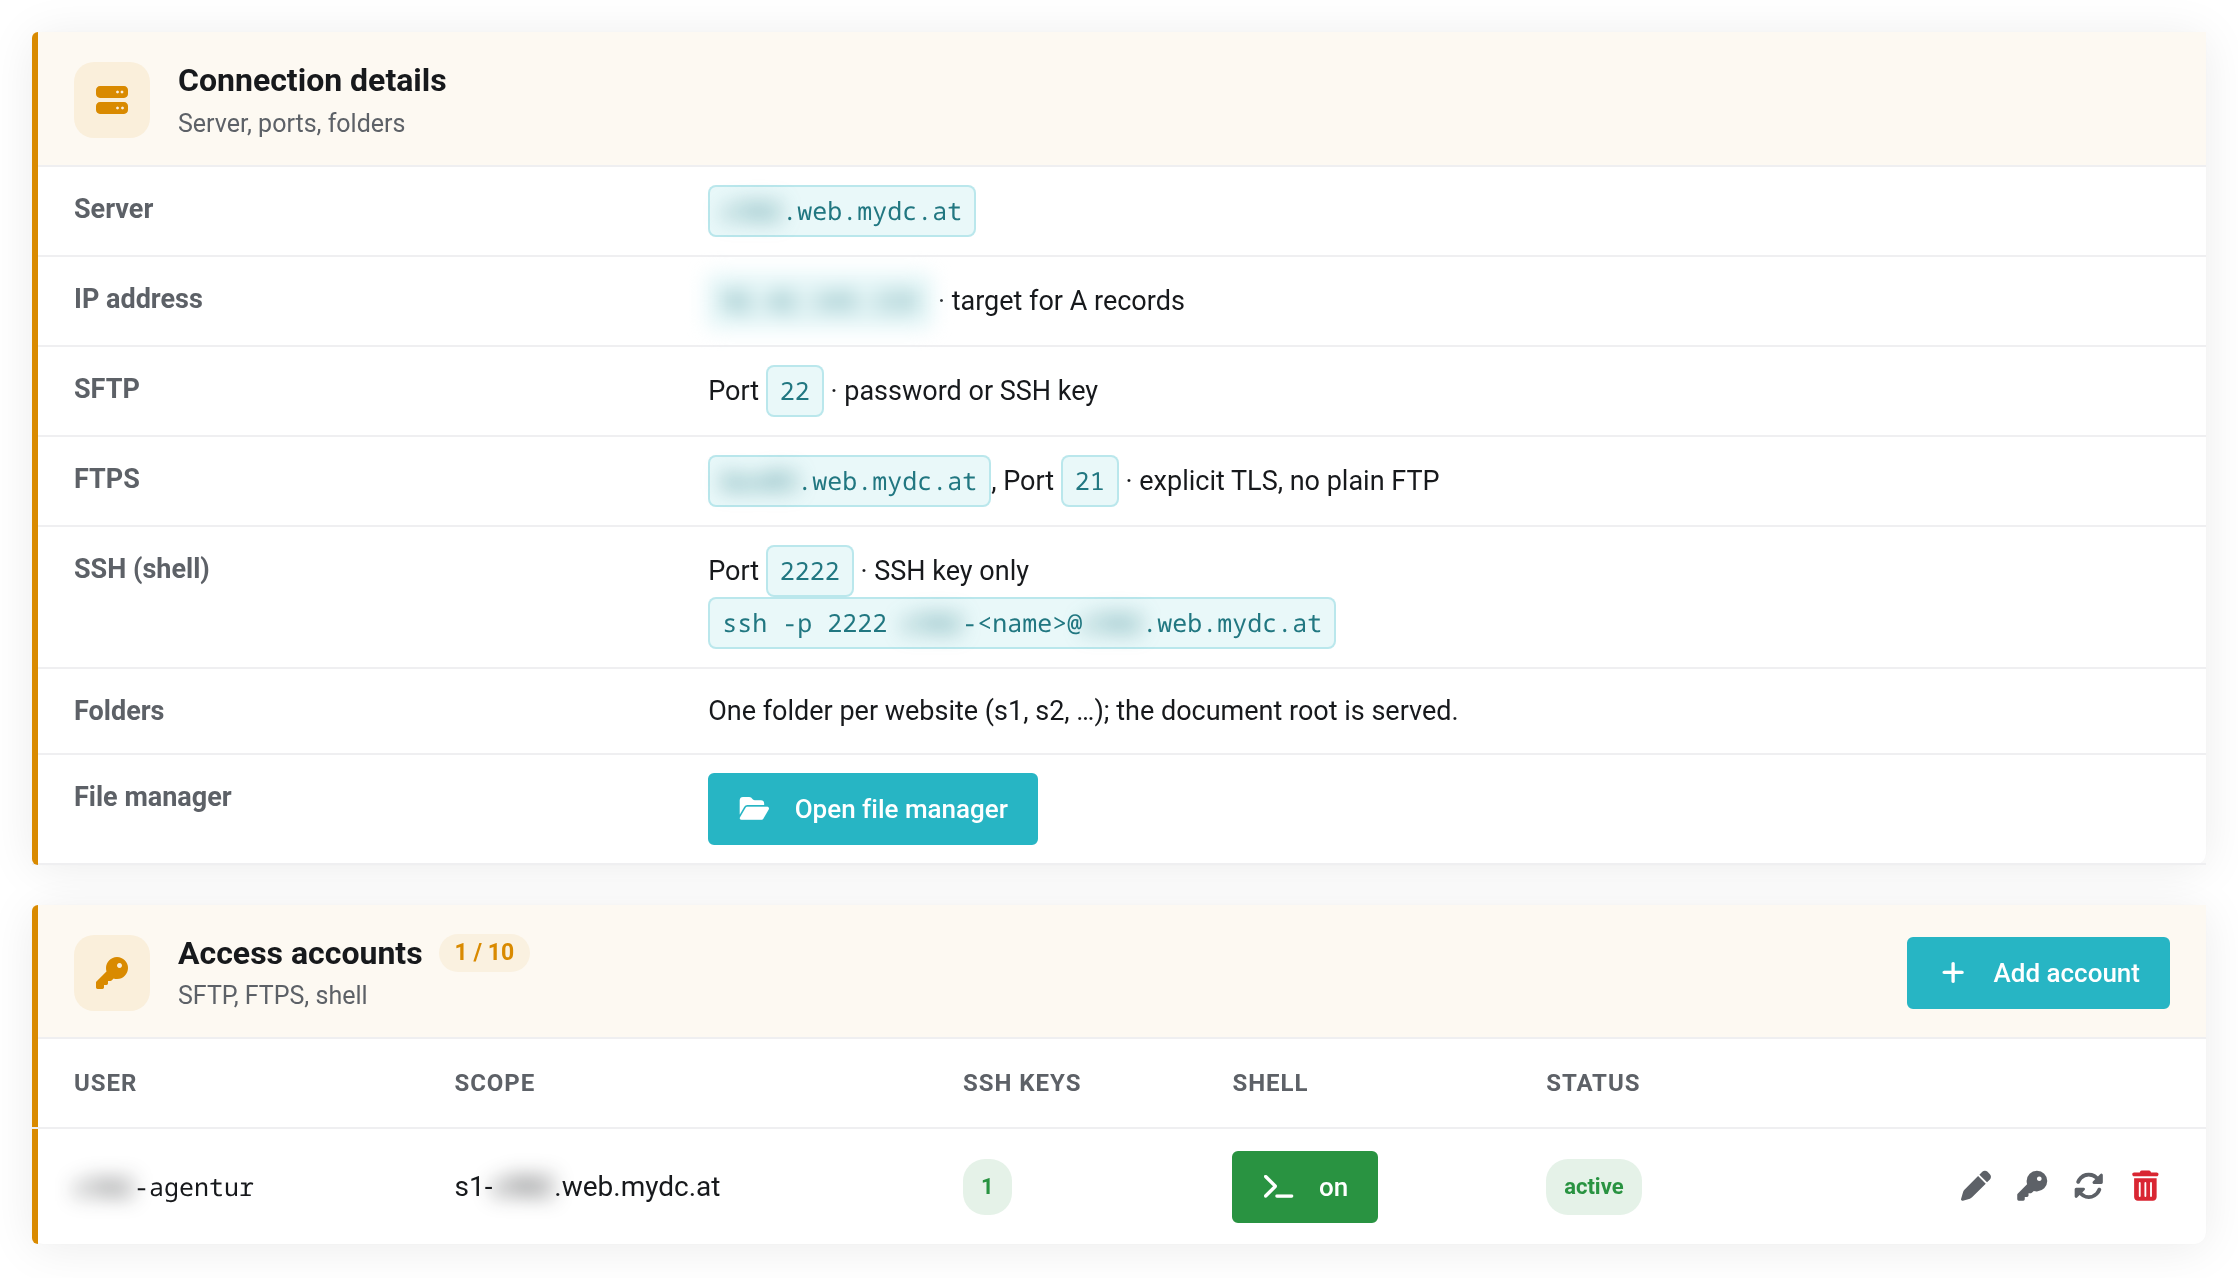
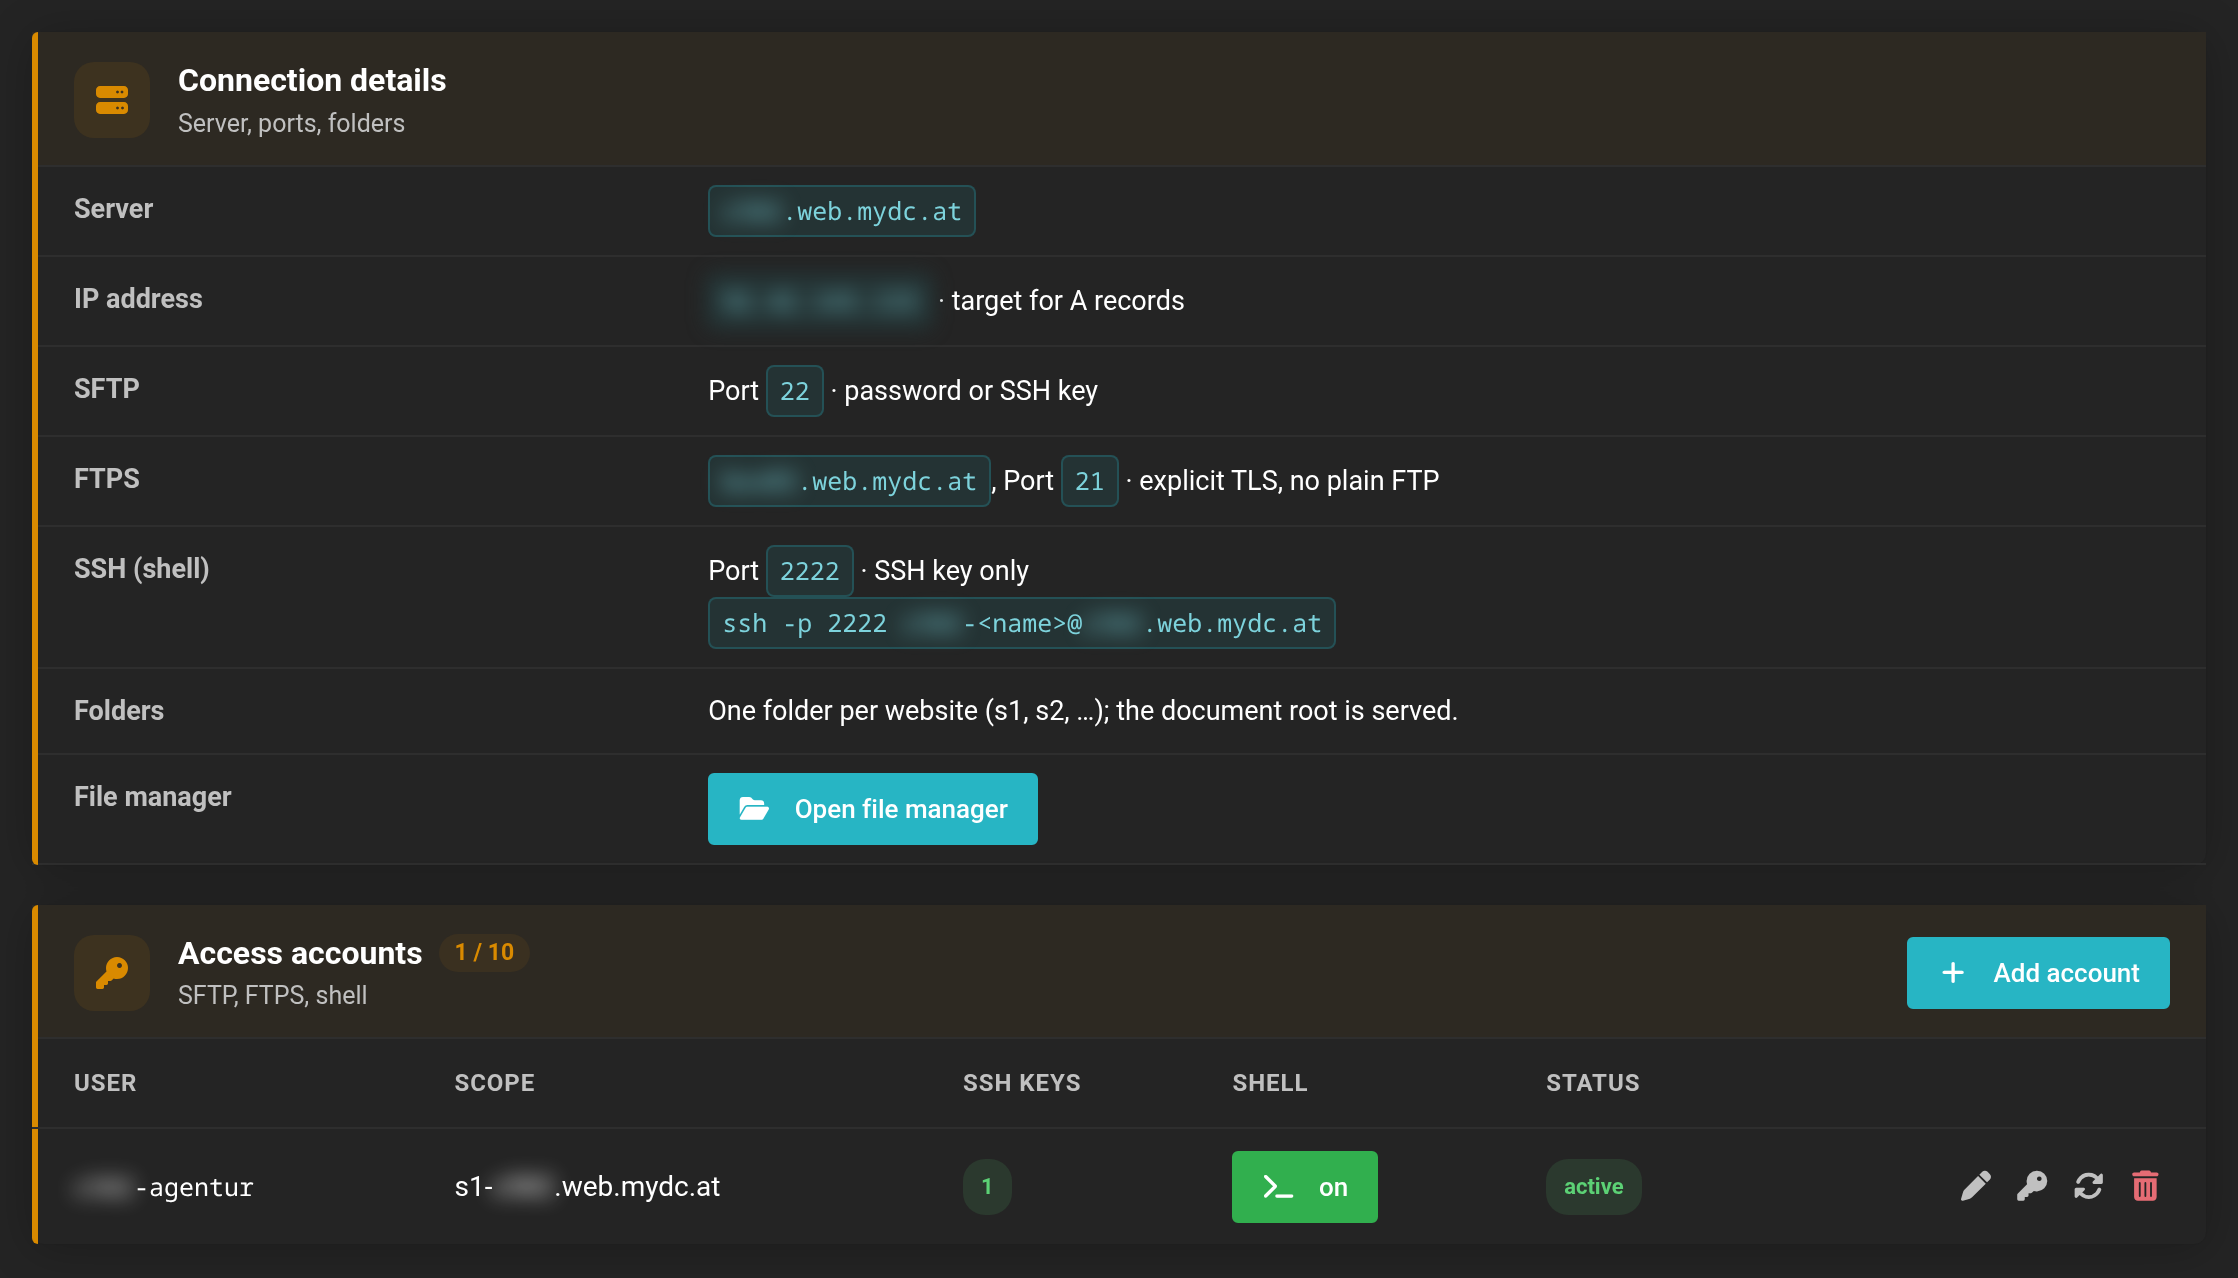 Connection details at the top, your access accounts below.
Creating an access account
An access account is a user for SFTP, FTPS and the shell. Create a separate one for each person — for example one for your web agency that you can simply delete again later.
- Under Access, click Add account.
- Enter a Username: lowercase letters and digits, at most 16 characters. We put your client prefix in front;
agentur, for example, becomesc1234-agentur. - Under Scope, choose whether the account sees all websites or just one.
- Click Create.
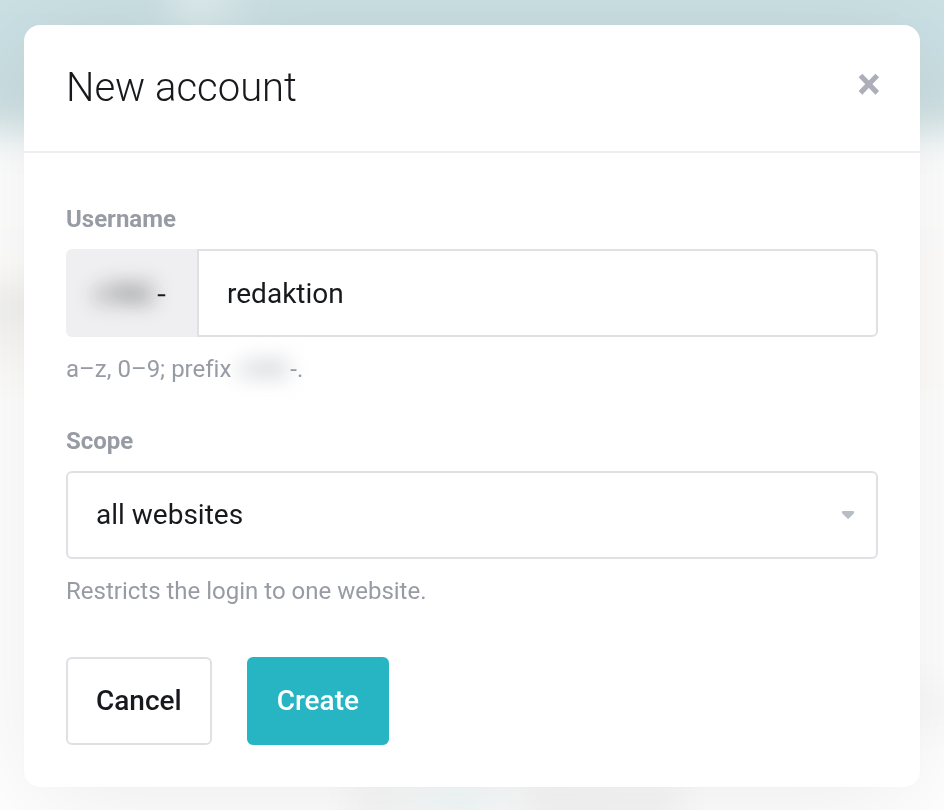
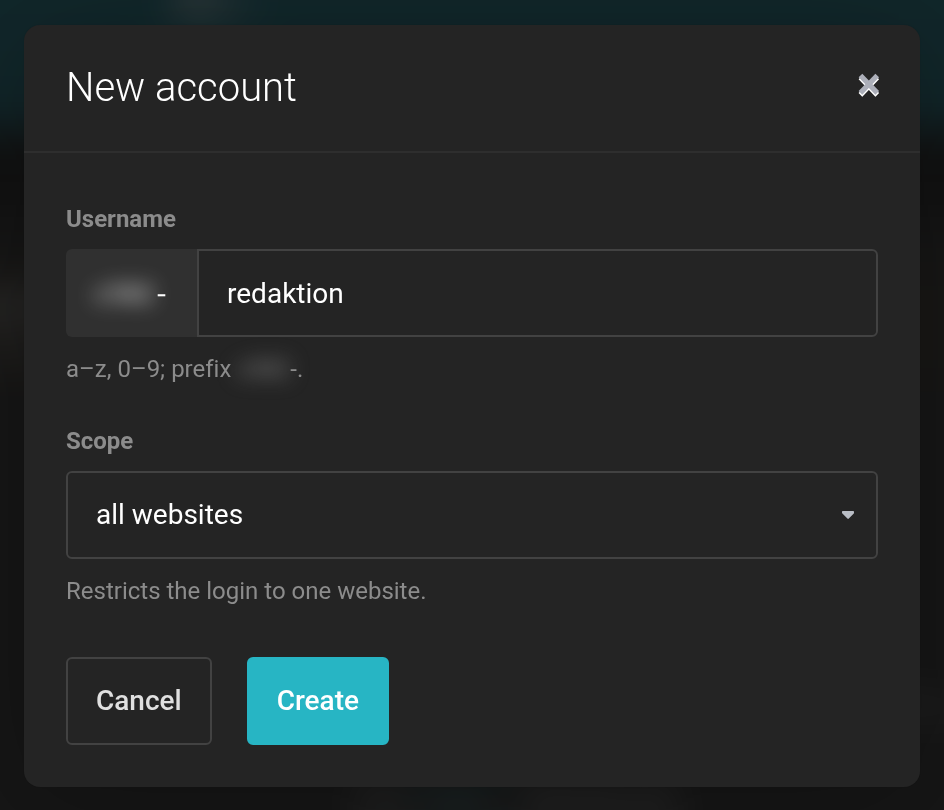 Use the scope to restrict an account to a single website.
The password is shown only once. Copy it from the box at the top of the page before you click on. You can create a new one at any time with Generate new password in the account's row — the old one then stops working immediately.
Connecting with FileZilla
- In FileZilla, open File → Site Manager → New site.
- Choose SFTP – SSH File Transfer Protocol as the protocol.
- Enter the value from the Server row as host and
22as port. - Enter the full username including the client prefix, and the password.
- Click Connect. The first time, FileZilla asks whether you trust the server — confirm.
Prefer FTPS? Choose FTP – File Transfer Protocol with Require explicit FTP over TLS, the server name from the FTPS row and port 21.
SSH keys and shell
An SSH key replaces the password with a key pair on your computer. It is optional for SFTP and required for the shell. How to create a key is explained in Creating and using SSH keys.
- Click Manage SSH keys (key icon) in the account's row.
- Under Add public key, paste the content of your file ending in
.pub. Ed25519, ECDSA and RSA from 2048 bit are accepted. - Click Add key.
- Switch the shell on for this account in the Shell column.
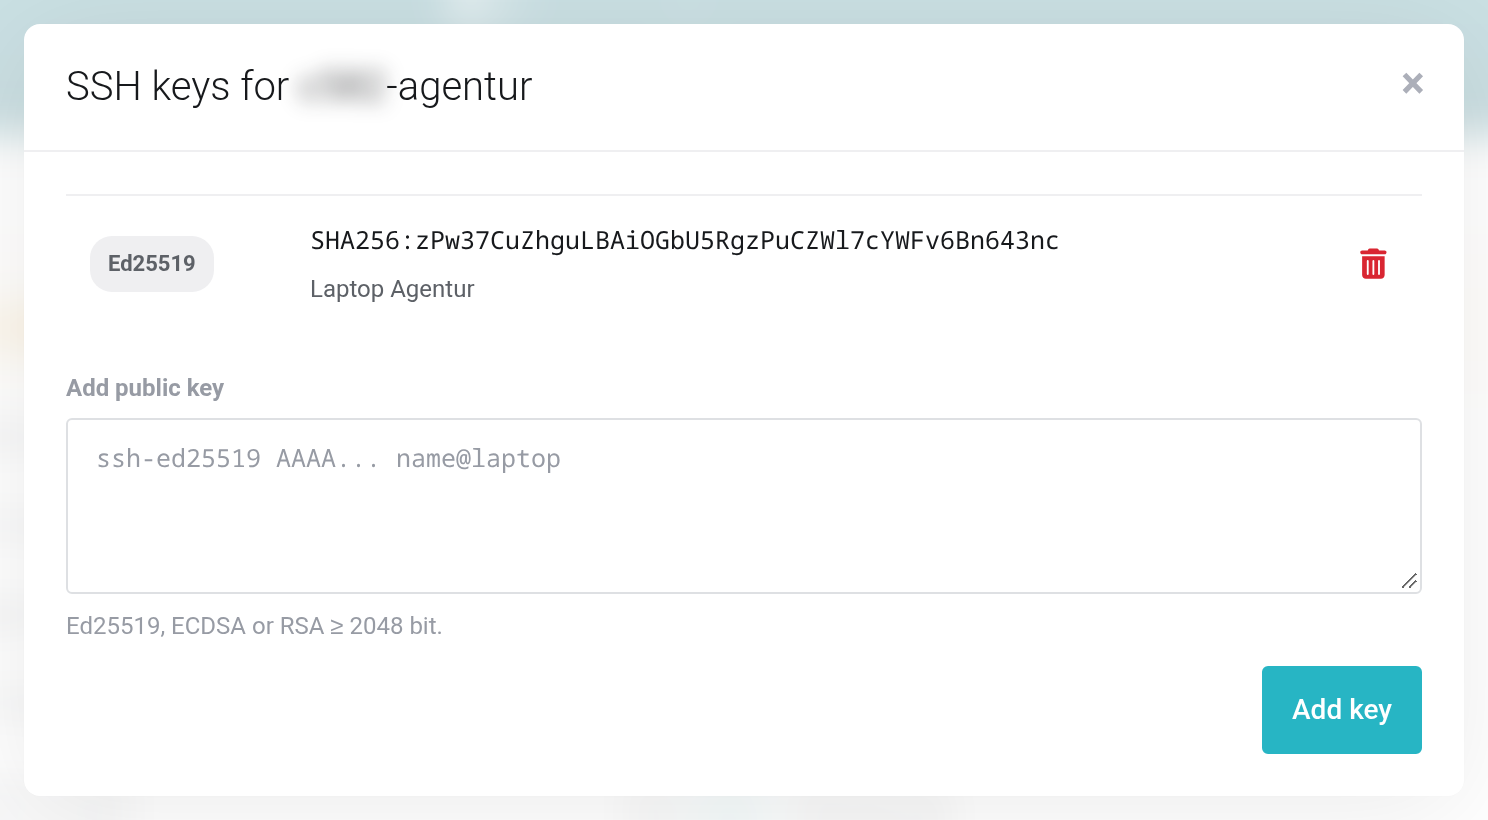
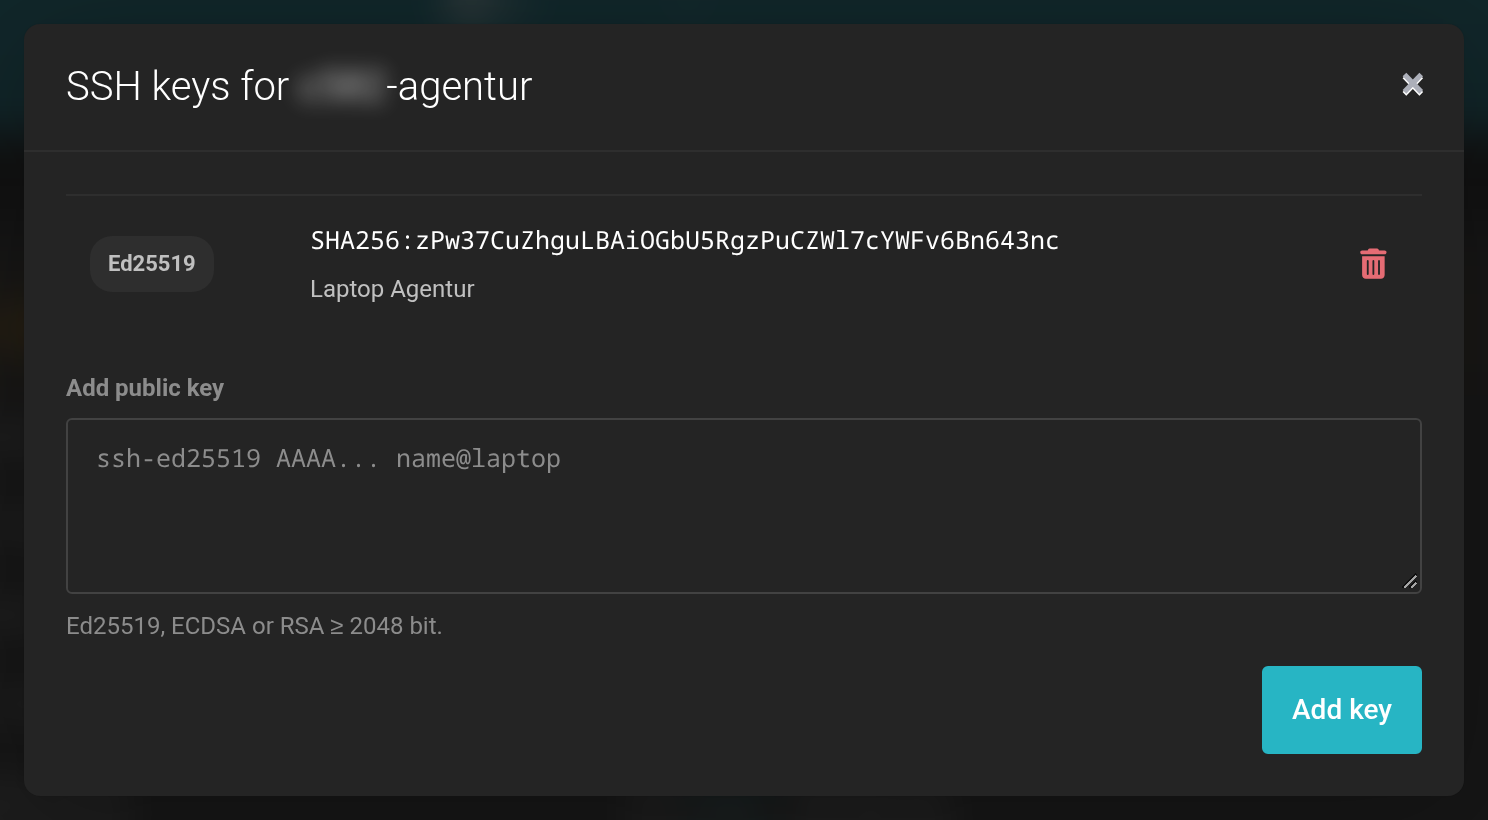 Up to 20 keys are possible per account.
Then sign in with the command from the SSH (shell) row. Replace <name> in it with the part of your username after the client prefix:
ssh -p 2222 c1234-agentur@servernameThe shell works within the account's scope and with the website's PHP version. Tools such as php, composer and, for WordPress, wp are available there.
Changing, suspending or deleting an account
- Edit
- Changes the account's scope.
- Generate new password
- Assigns a new password; the old one stops working immediately.
- Delete account
- Removes the account. The files are kept.
Deploying automatically from Git
If your website lives in a Git repository, for example on GitHub or GitLab, the Managed Webserver fetches the latest state at the push of a button or automatically on every push. You find this under Websites → Settings (gear icon) → Git deploy.
- Click Connect repository.
- Enter the address of the Repository —
https://…for public repositories orgit@…for private ones. Credentials do not belong in the address. - Check Branch (usually
main) and Target folder. If the target folder is left empty, the repository goes into the whole website folder. - If needed, enter a command under Command afterwards that runs after each deployment, for example
composer install --no-dev. - Click Save. Deploy key and Webhook now appear.
- Add the deploy key at your Git provider as a read-only deploy key. Enter the webhook address there as a push webhook if every push should be deployed automatically.
- Click Deploy now.
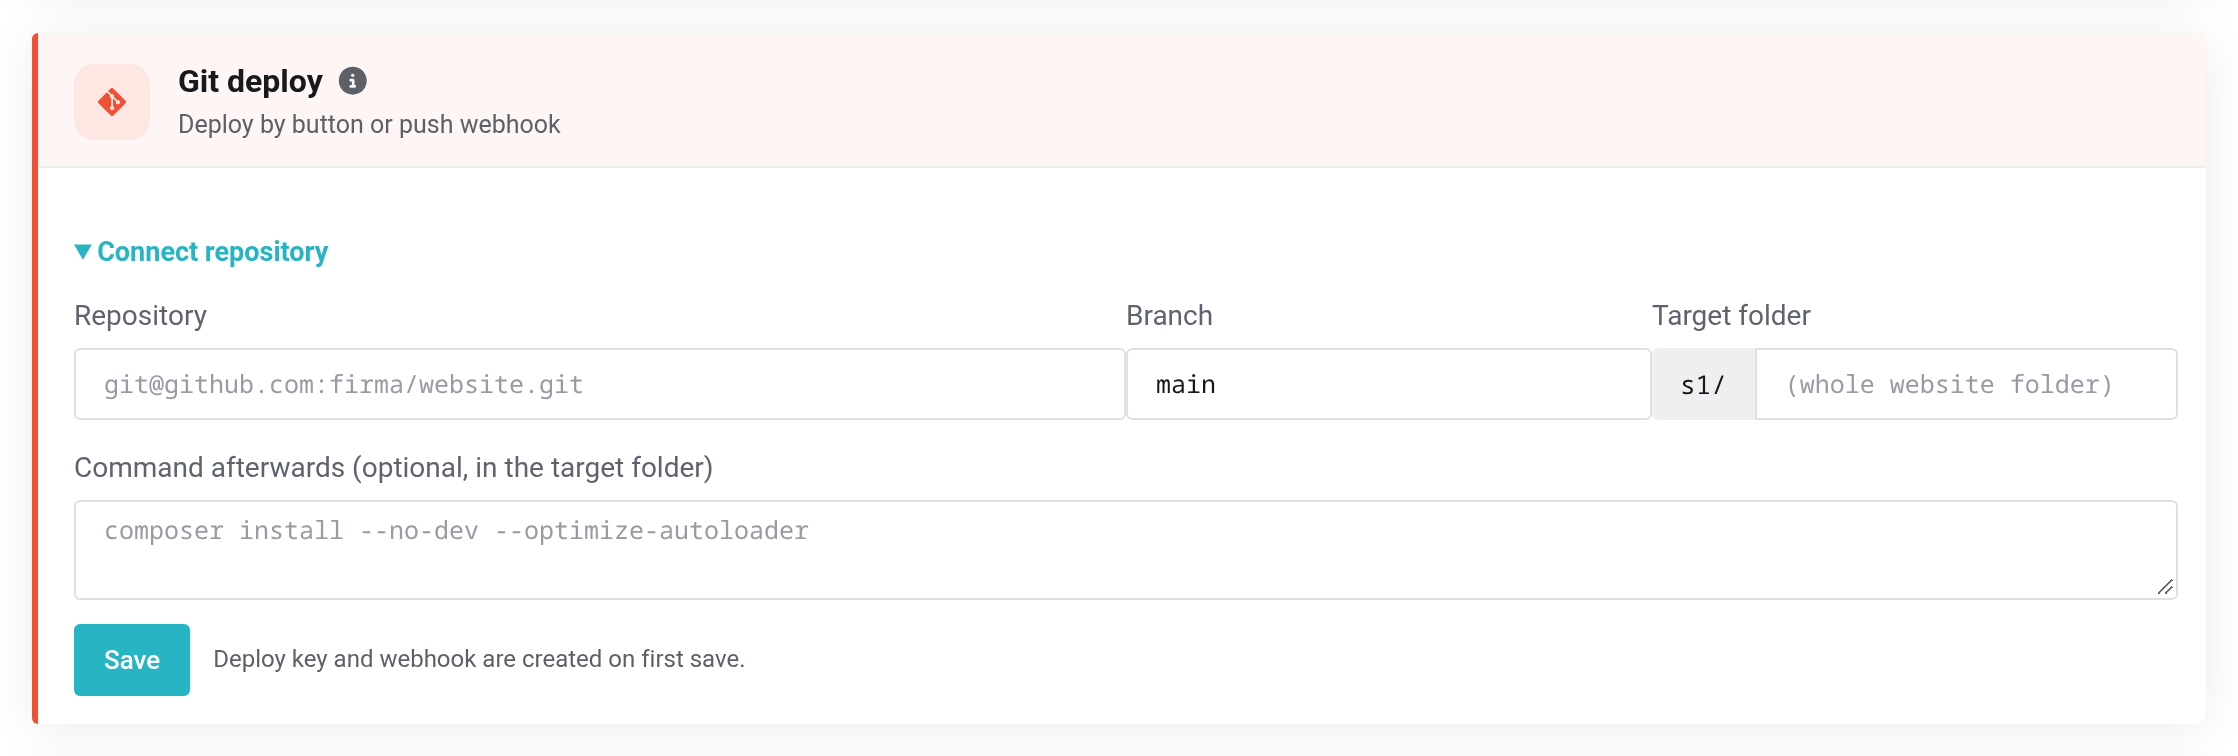
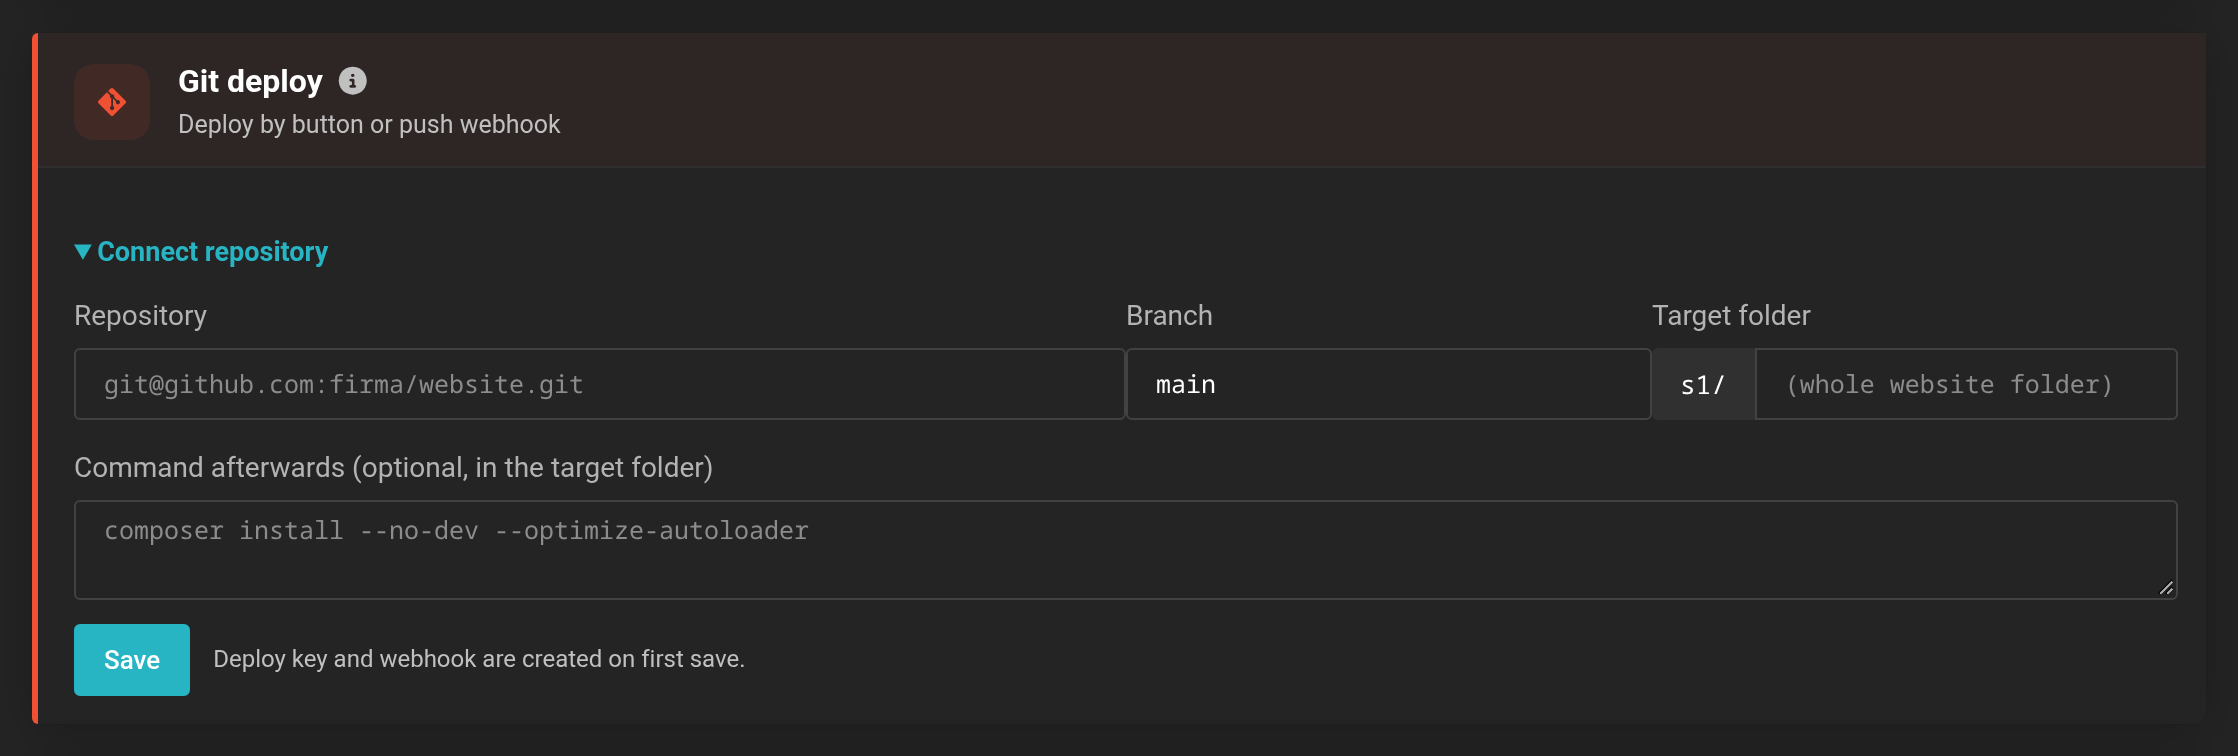 Deploy key and webhook are created on first save.
A deployment sets the target folder exactly to the state of the branch. Changes you made there via SFTP to files from the repository are lost. Files that are not in the repository — uploads, for example — are kept.
The webhook address is secret. If it has fallen into the wrong hands, create a new one with New webhook. Disconnect removes the connection; the files stay.
If the connection fails
- FileZilla reports “Authentication failed”
- Check that you entered the username with the client prefix. If in doubt, generate a new password.
- FTPS does not connect
- For FTPS, use the server name from the FTPS row, not the one from the Server row. Plain FTP is switched off.
- The shell rejects the sign-in
- The shell needs an SSH key; a password is not enough. Also make sure to use port
2222. - Not a valid public SSH key.
- You probably pasted the private key. Use the file ending in
.pub.


